Mini-splits are a type of air conditioning unit where the two main components are divided into separate parts (an indoor and an outdoor unit), with refrigerant piping connecting them. 77% of the world’s air conditioning market is handled by mini-split. And while they’re simple and efficient, they do require some maintenance. Here’s what you need to know to maintain yours like a professional.
How to Clean and Maintain a Mini Split
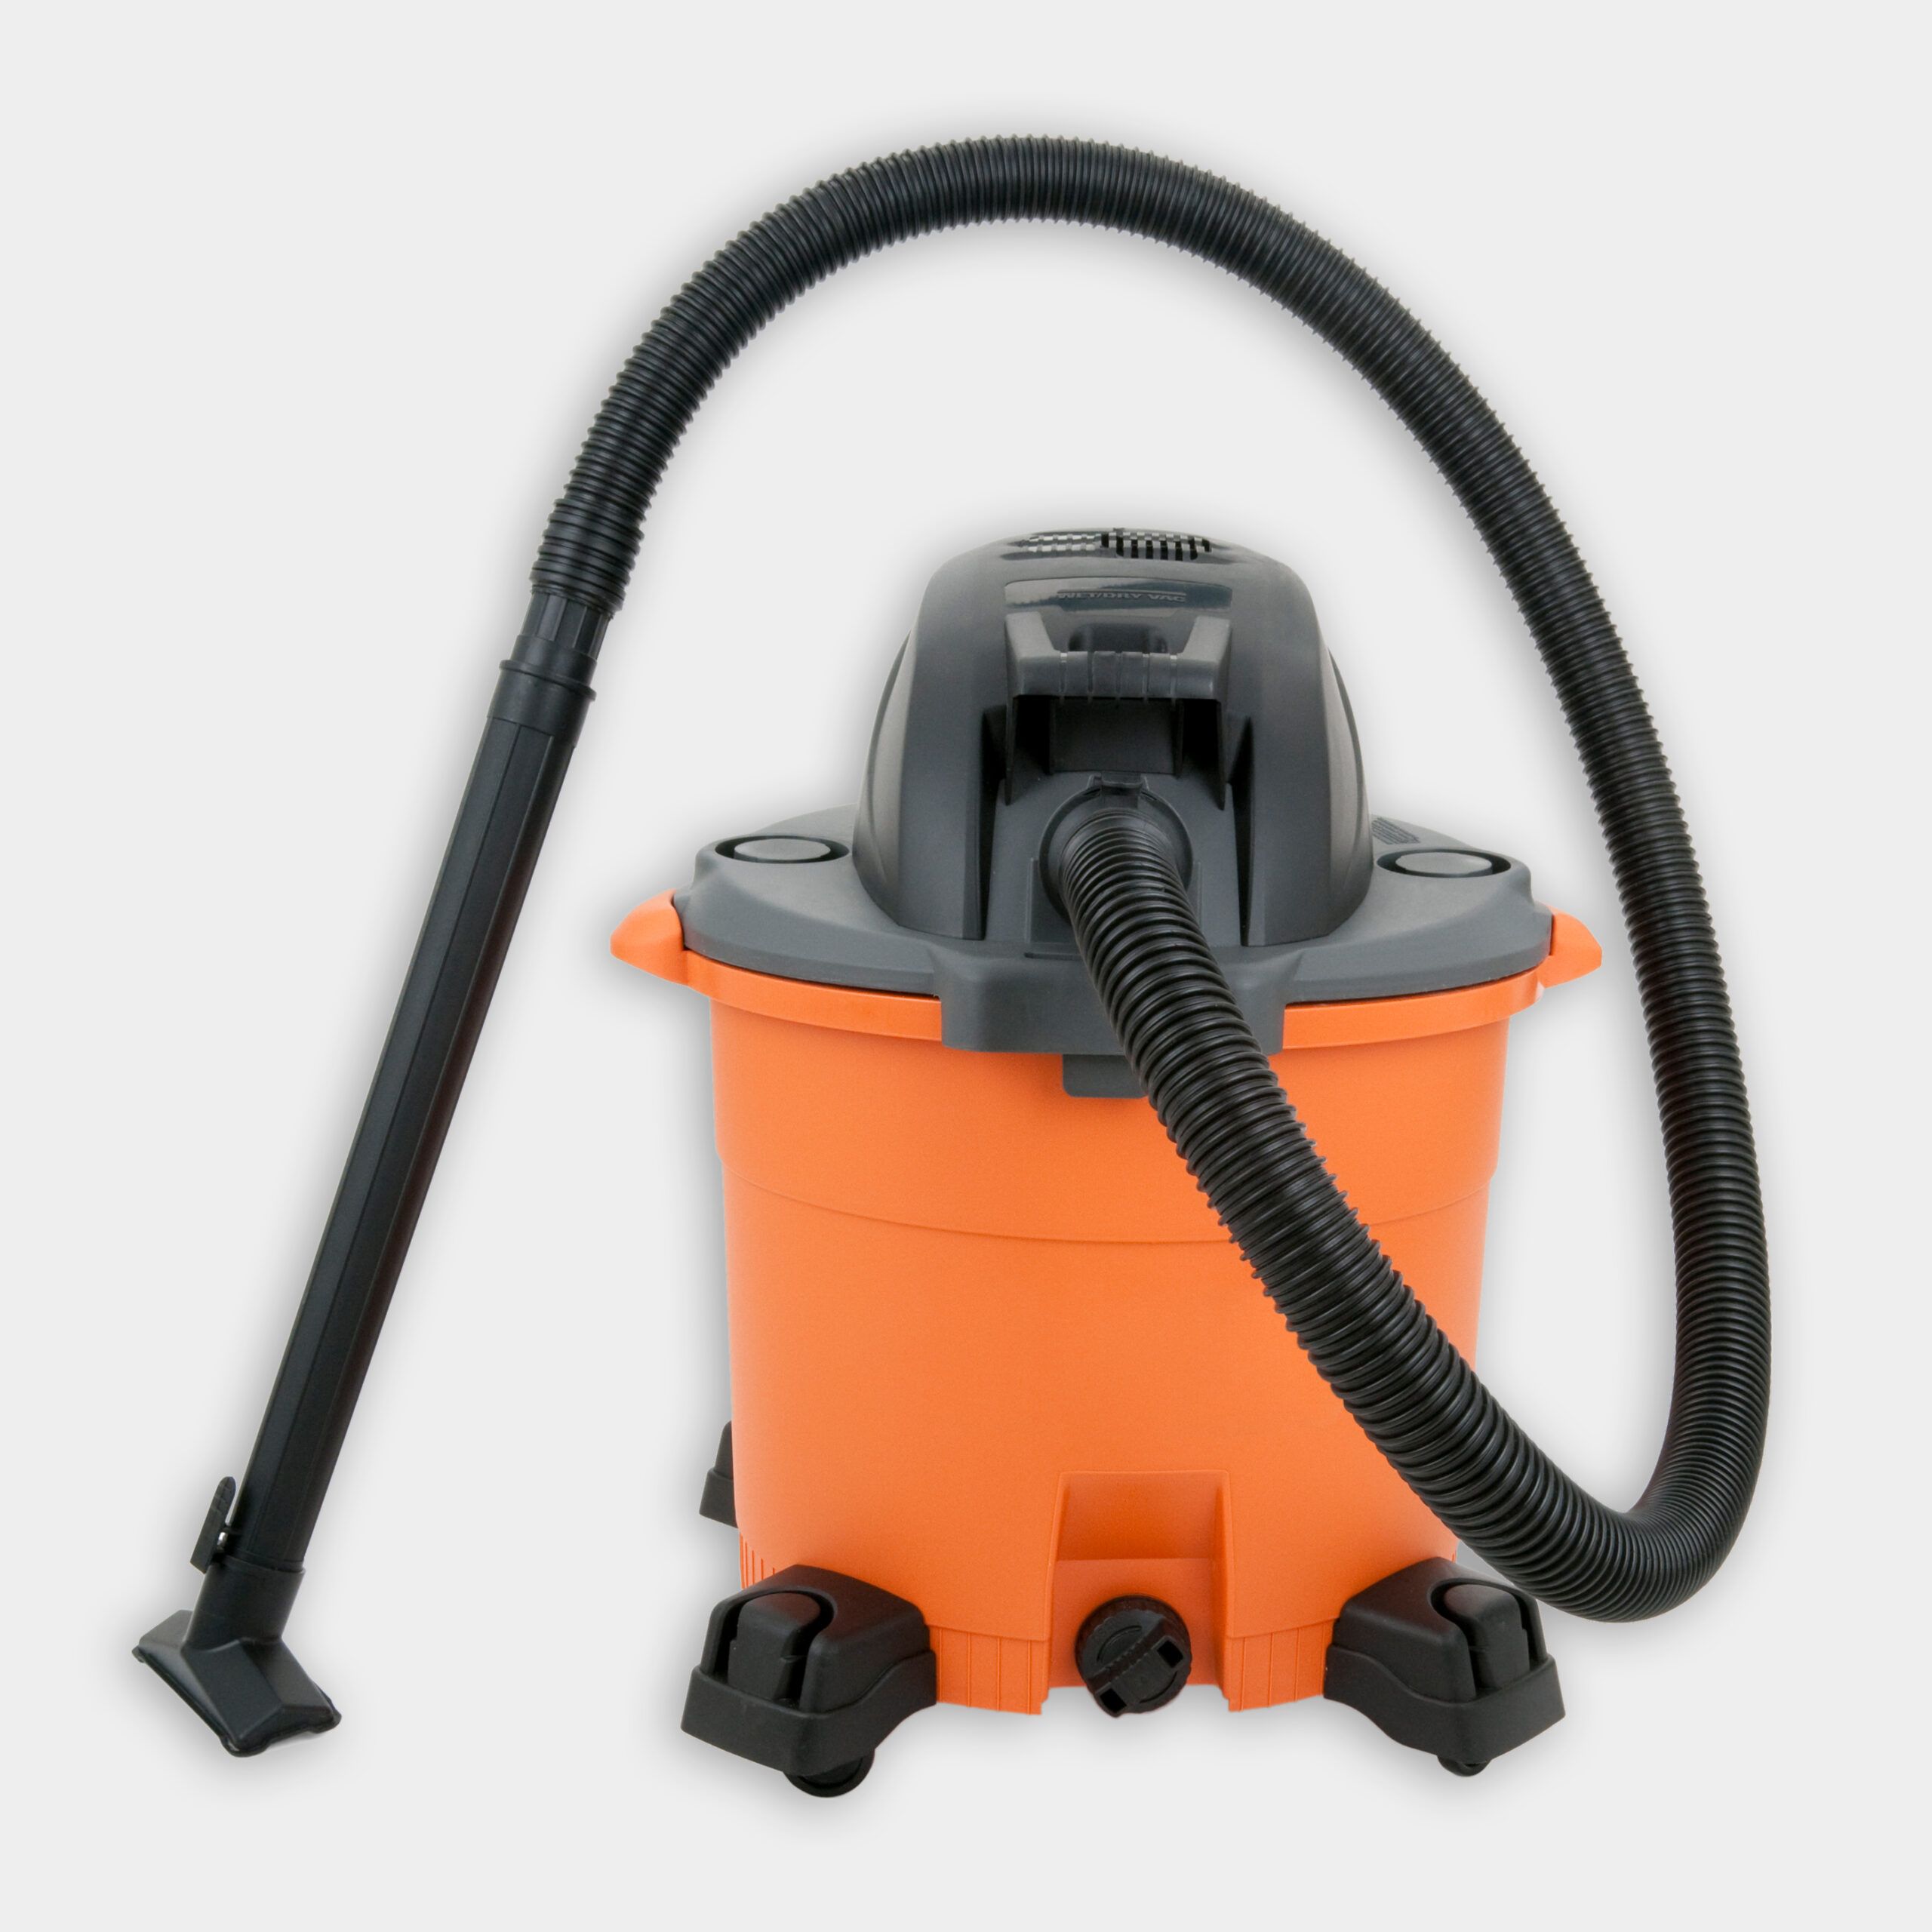
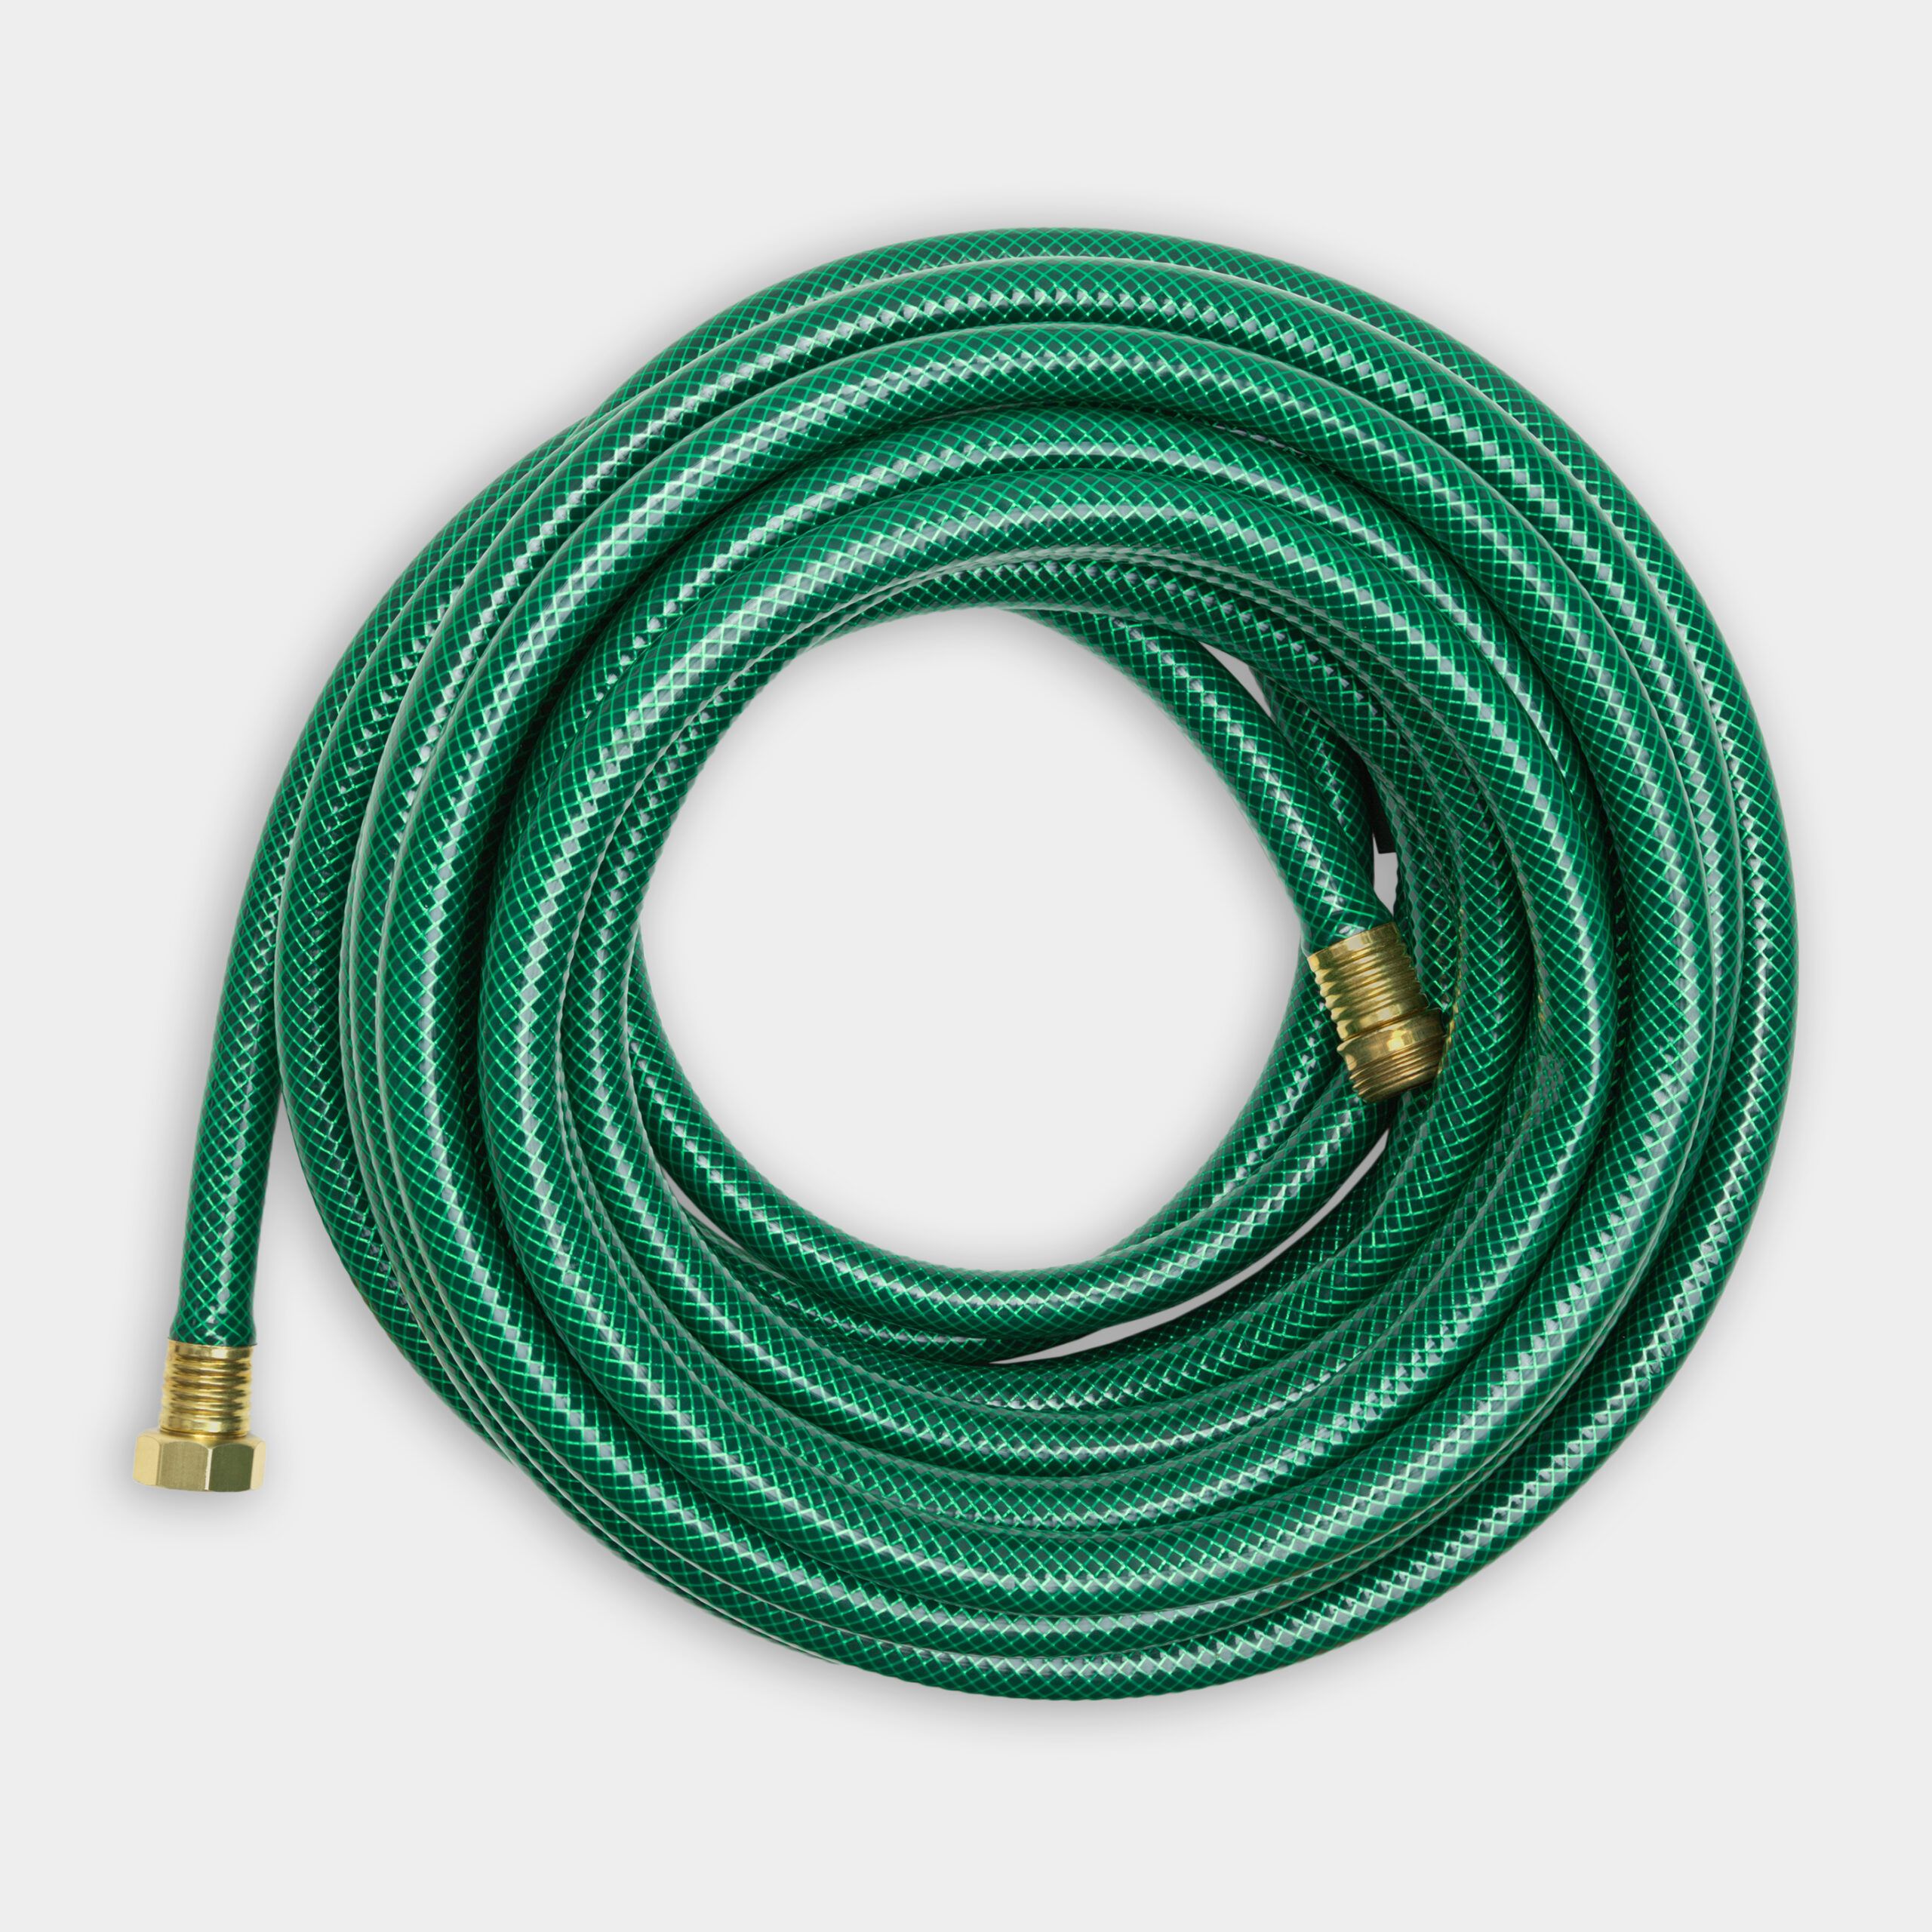
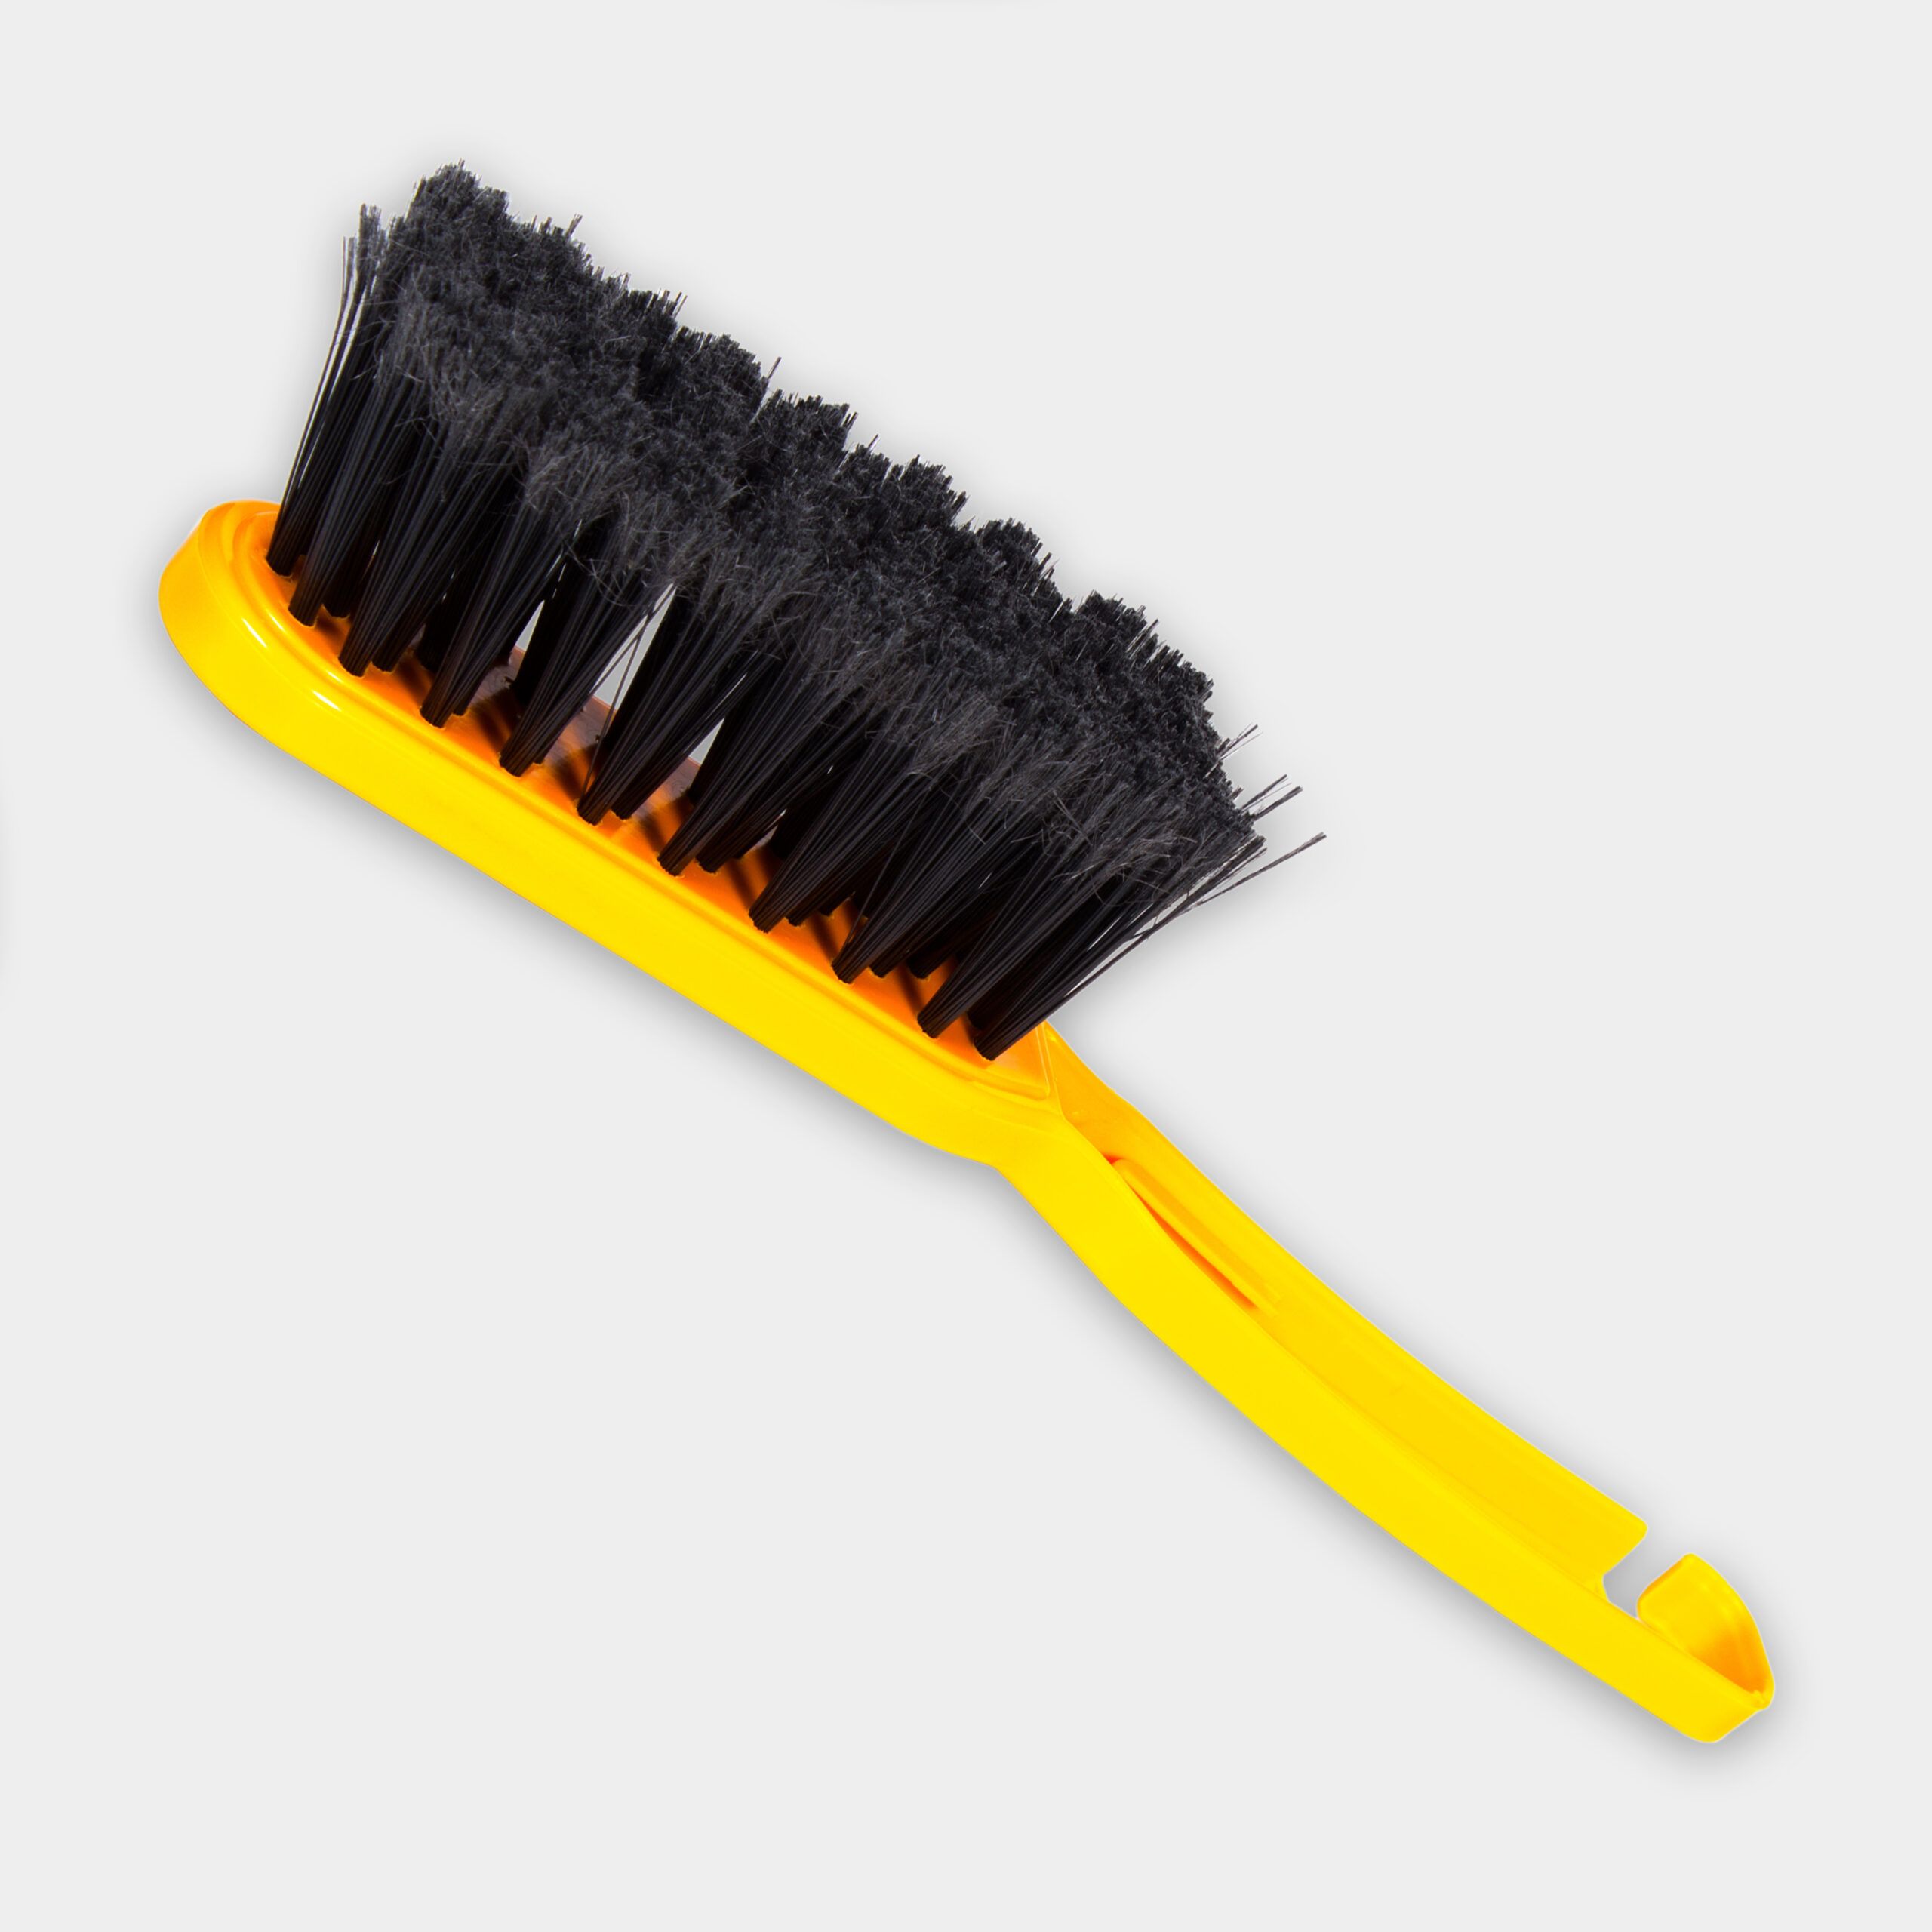
- Open the door covering the basic filter. Remove these filters and vacuum them with the brush attachment to remove most of the dust and dirt. Then wash them in the kitchen sink or with a garden hose to remove the rest of the particles. Let them dry before replacing them.
- If you want to go deeper (which a professional would), you’ll need to remove the cowl. Each unit is slightly different but this typically involves:
• Shutting off the power to the mini split at the breaker
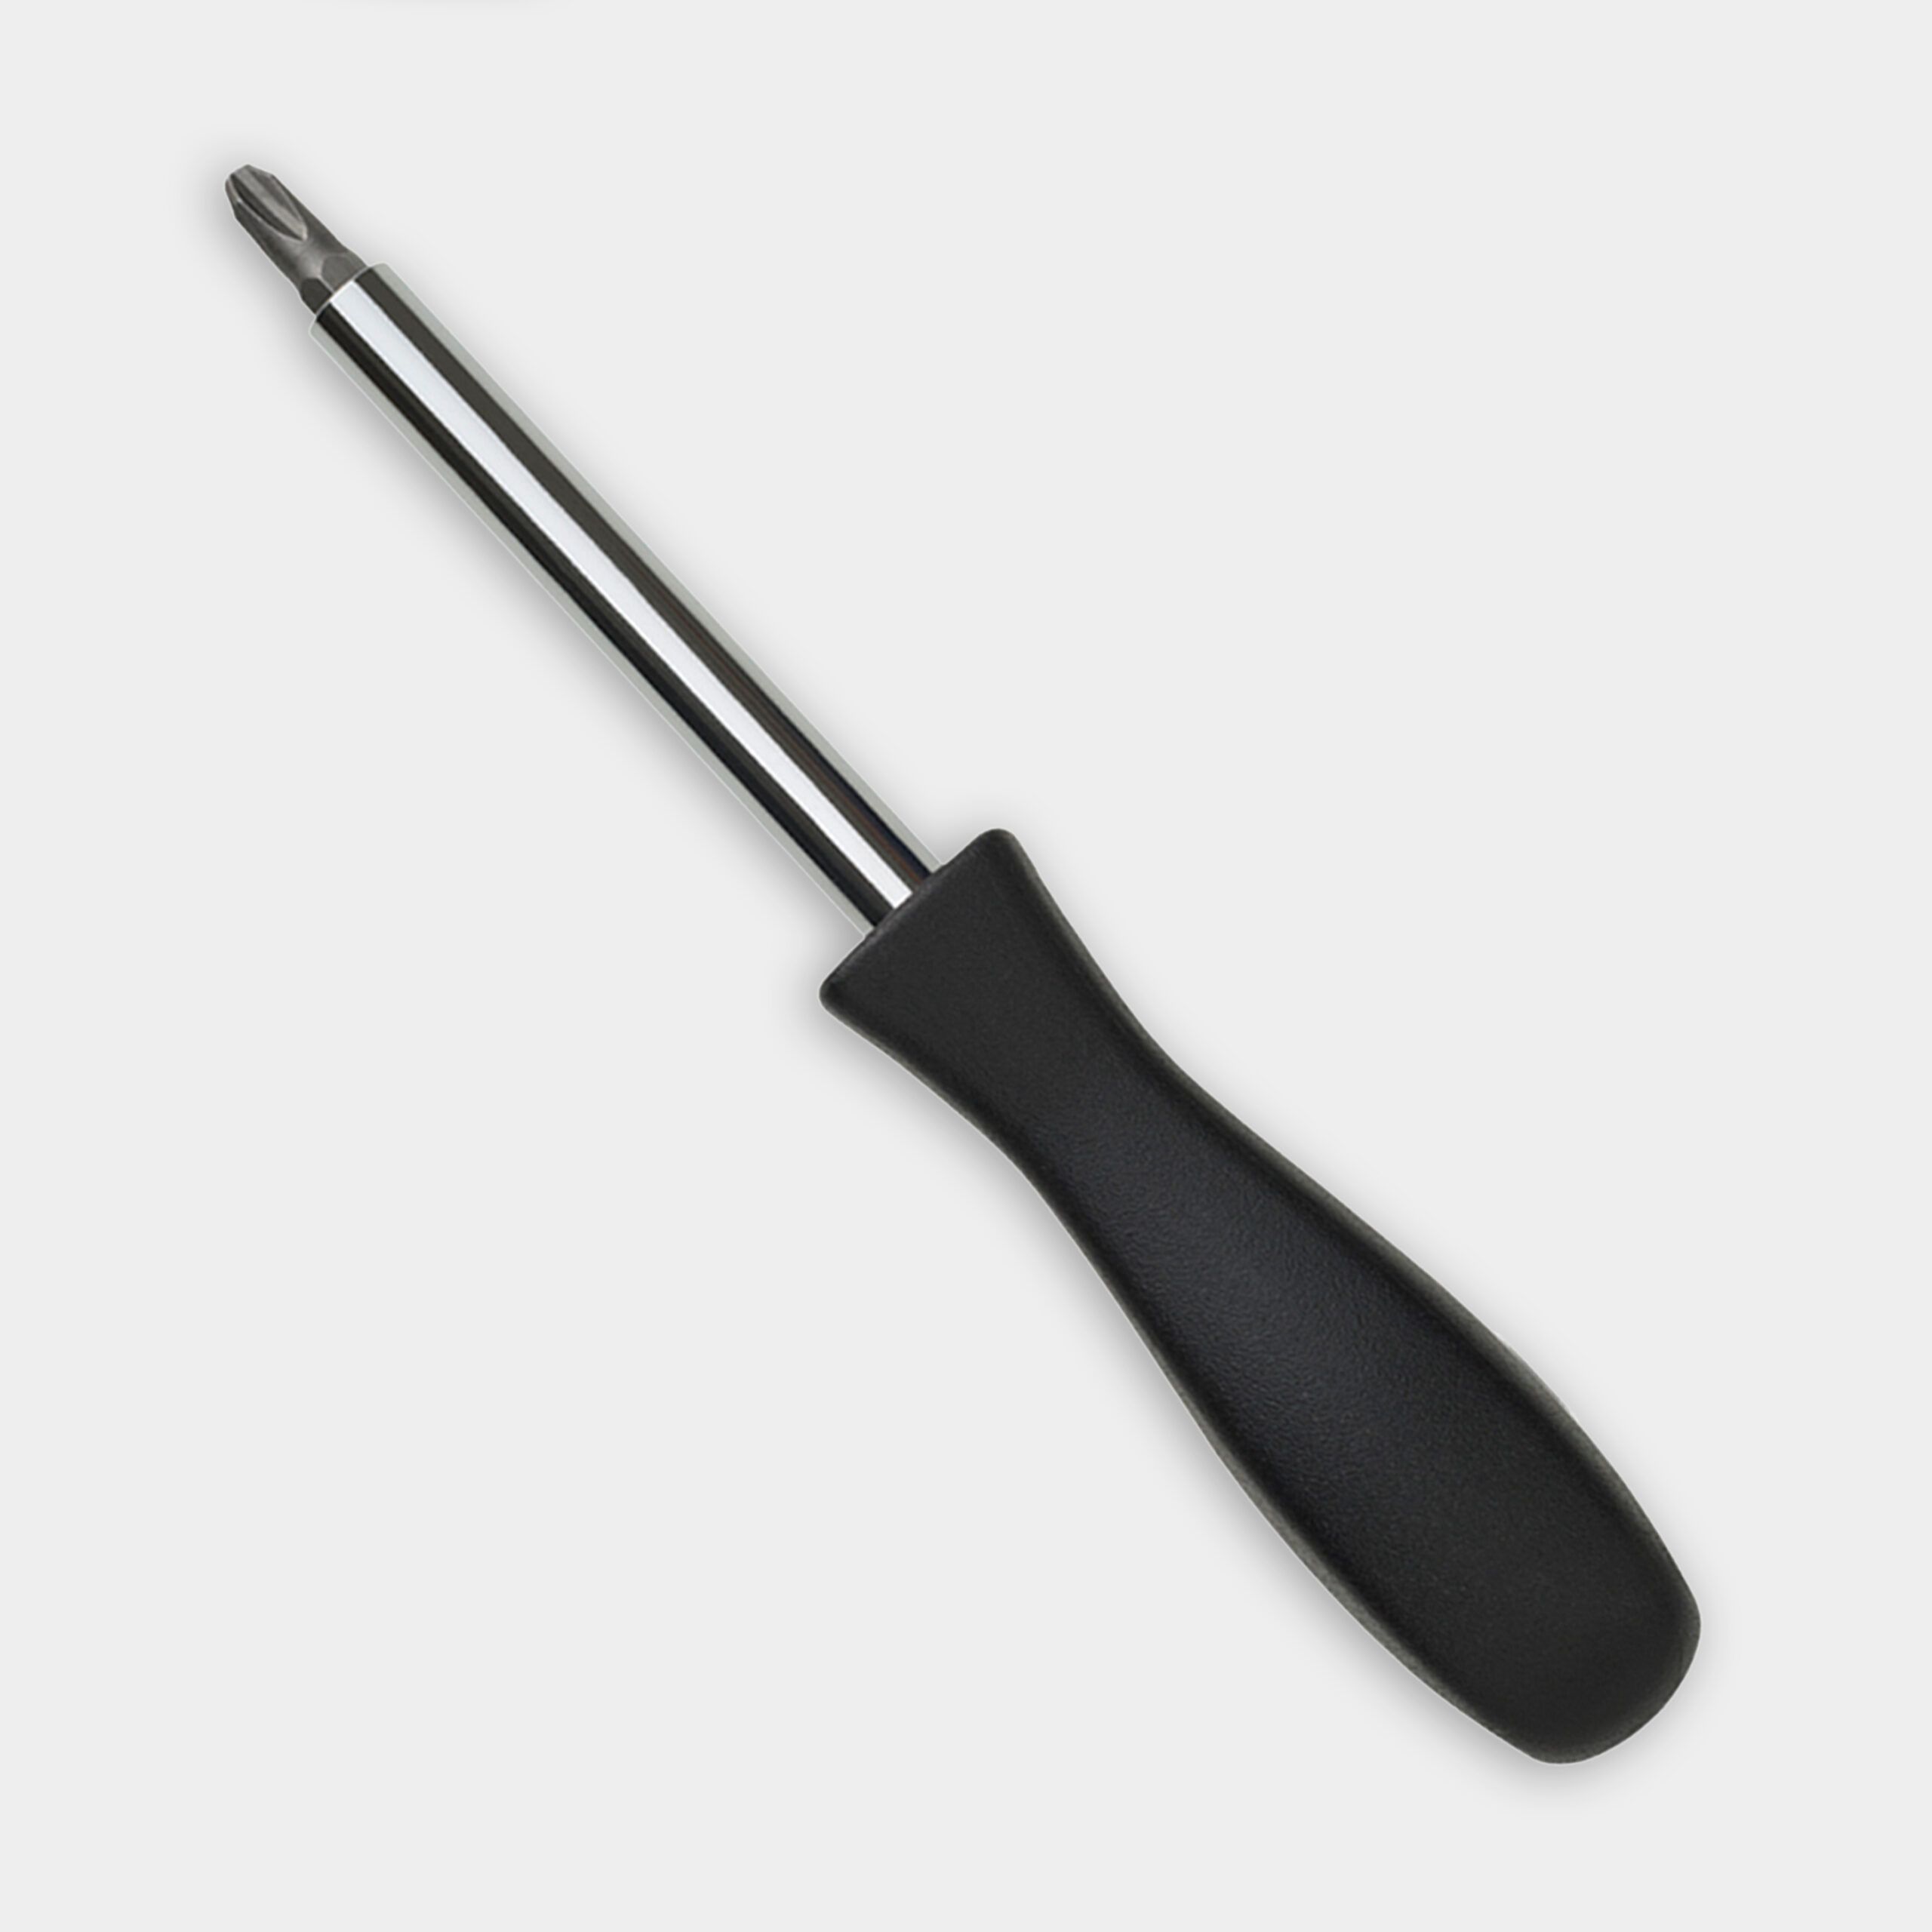
• Removing a few screws around the unit
• Disconnecting a few quick-connect plugs
• Remove the turning vane by releasing some spring clips
• Disconnecting the vane motor from the unit
• Removing the diffusion vane, which includes a few screws and a bit of a forceful hand - Carefully vacuum the coils with the bristle attachment. Make sure to move up and down to prevent bending the fins.
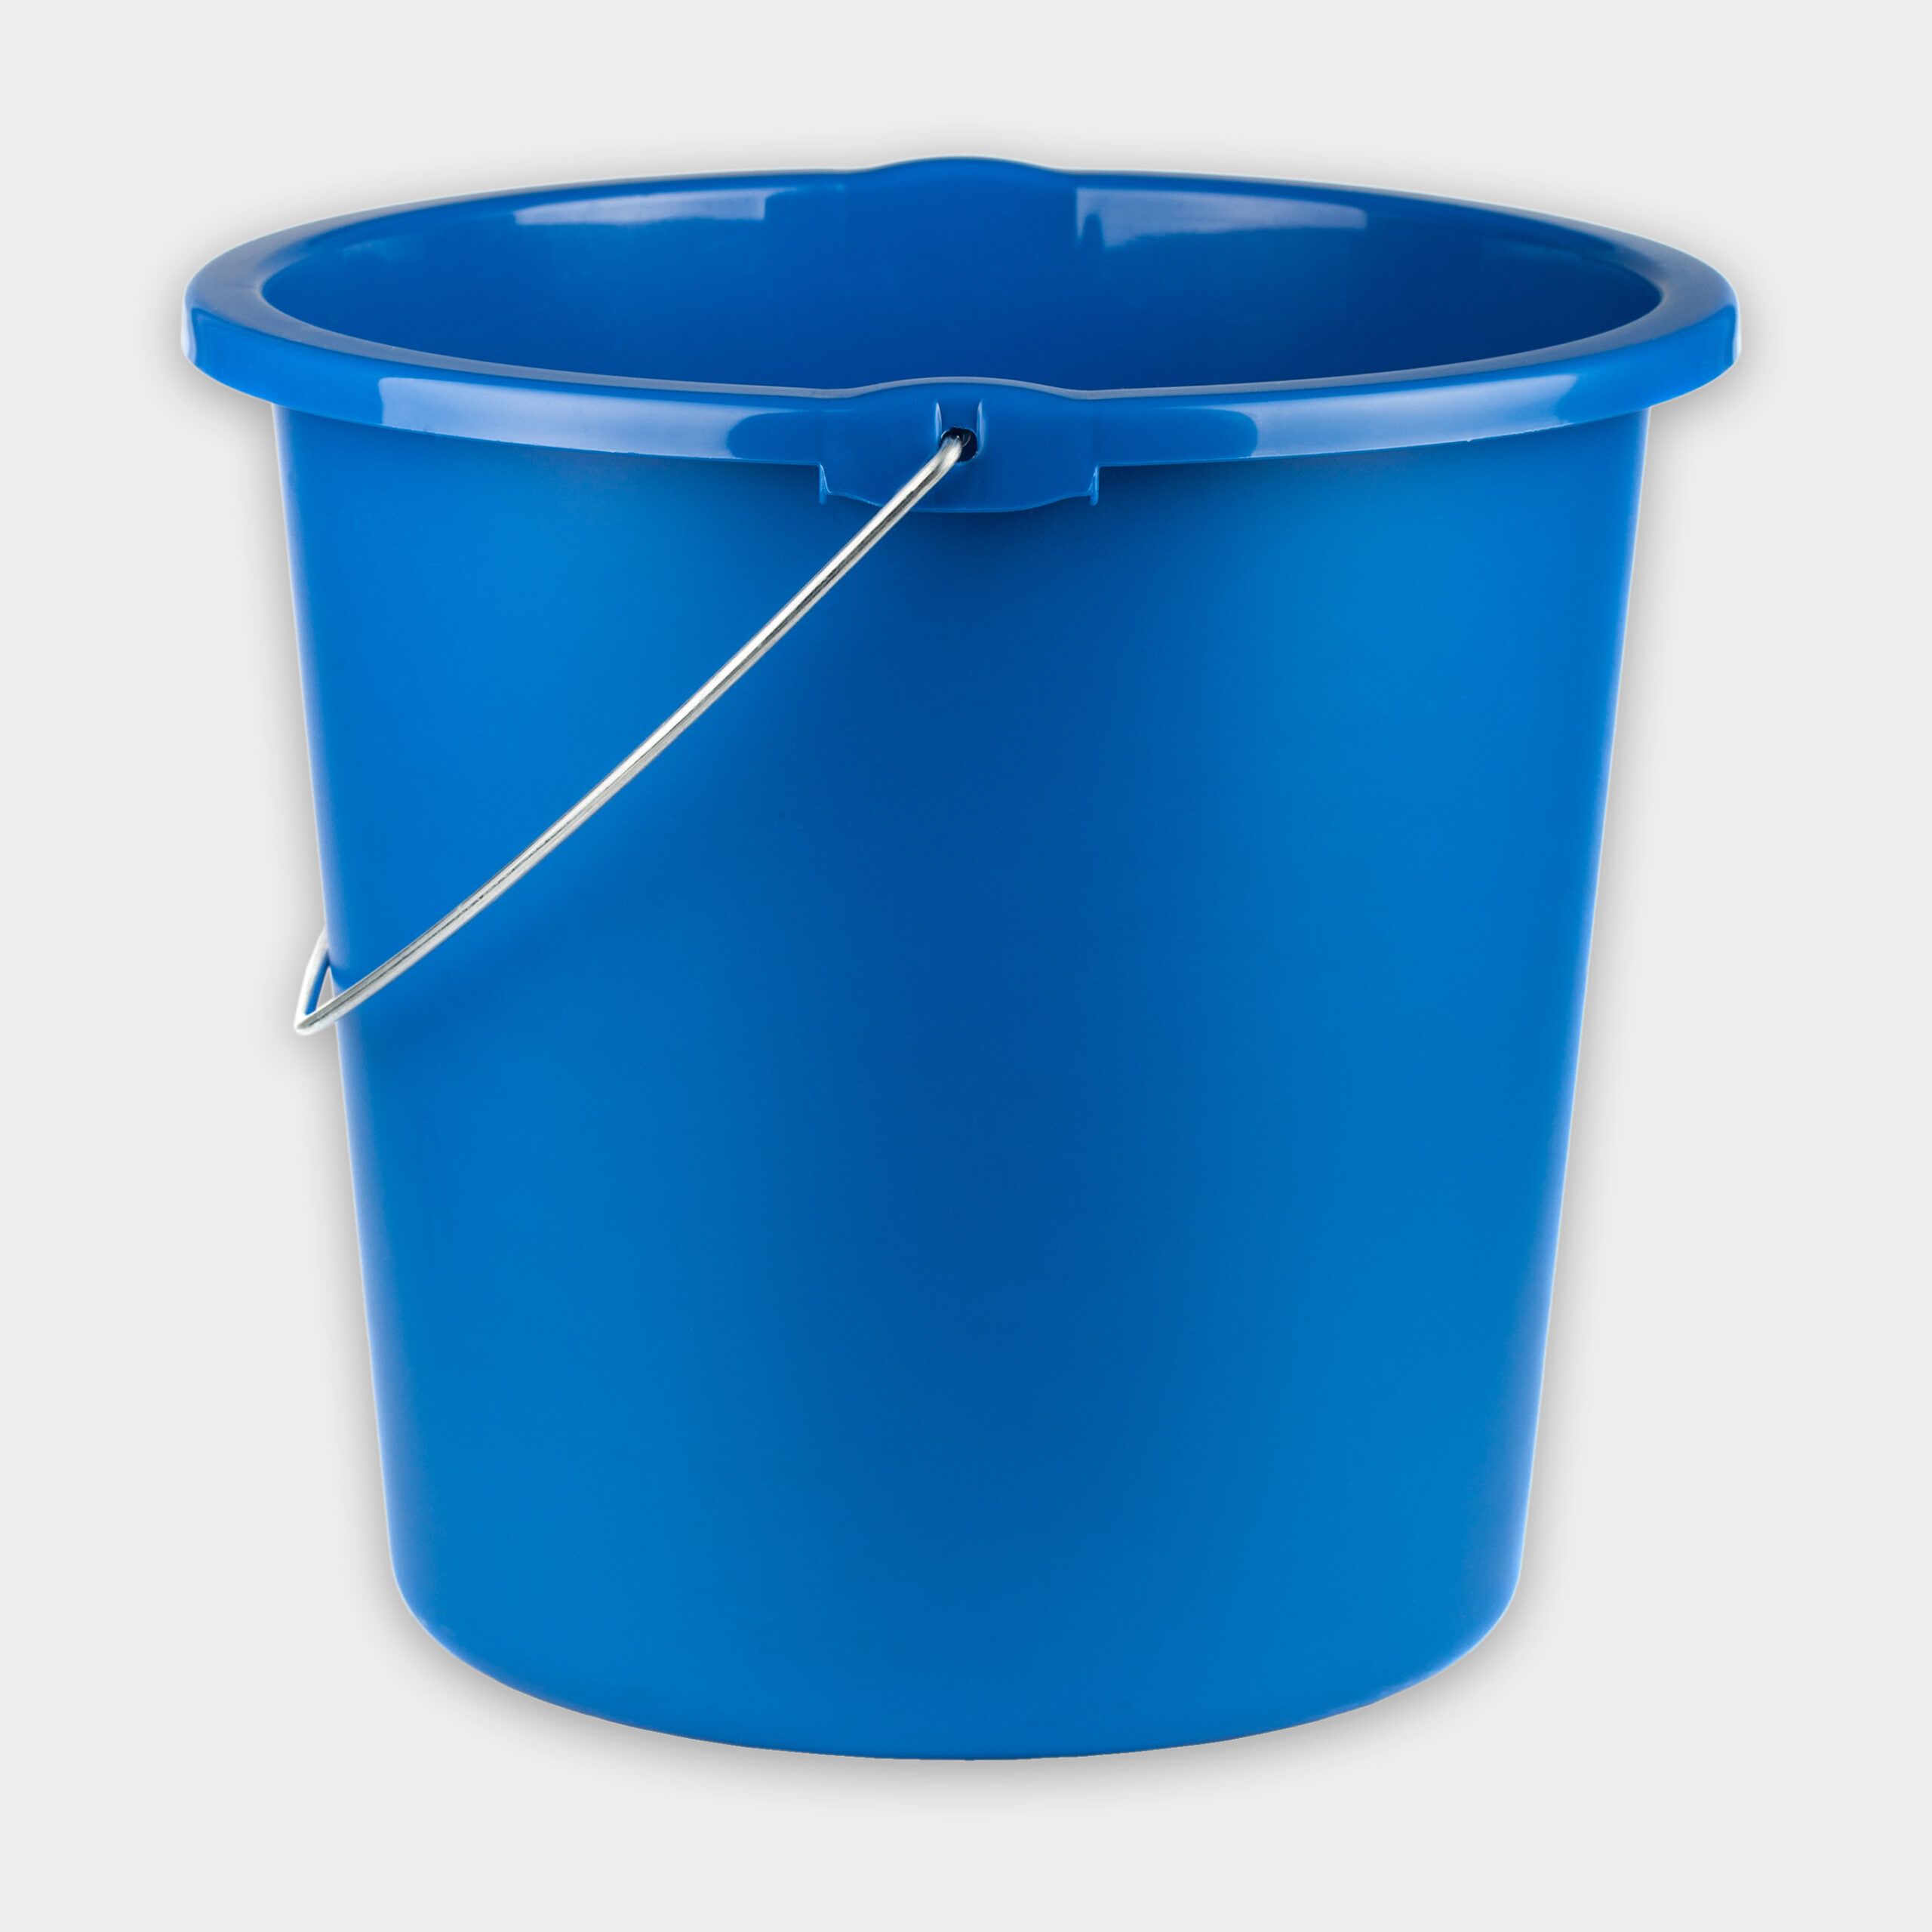
- Slide the plastic bag over the end of the mini split where all of the electrical components are and tape the bag in place. This will prevent the electrical components from getting wet, but it’s important to still be careful. Also, protect the walls by installing the mini-split cleaning kit around the unit and directing it to a bucket.
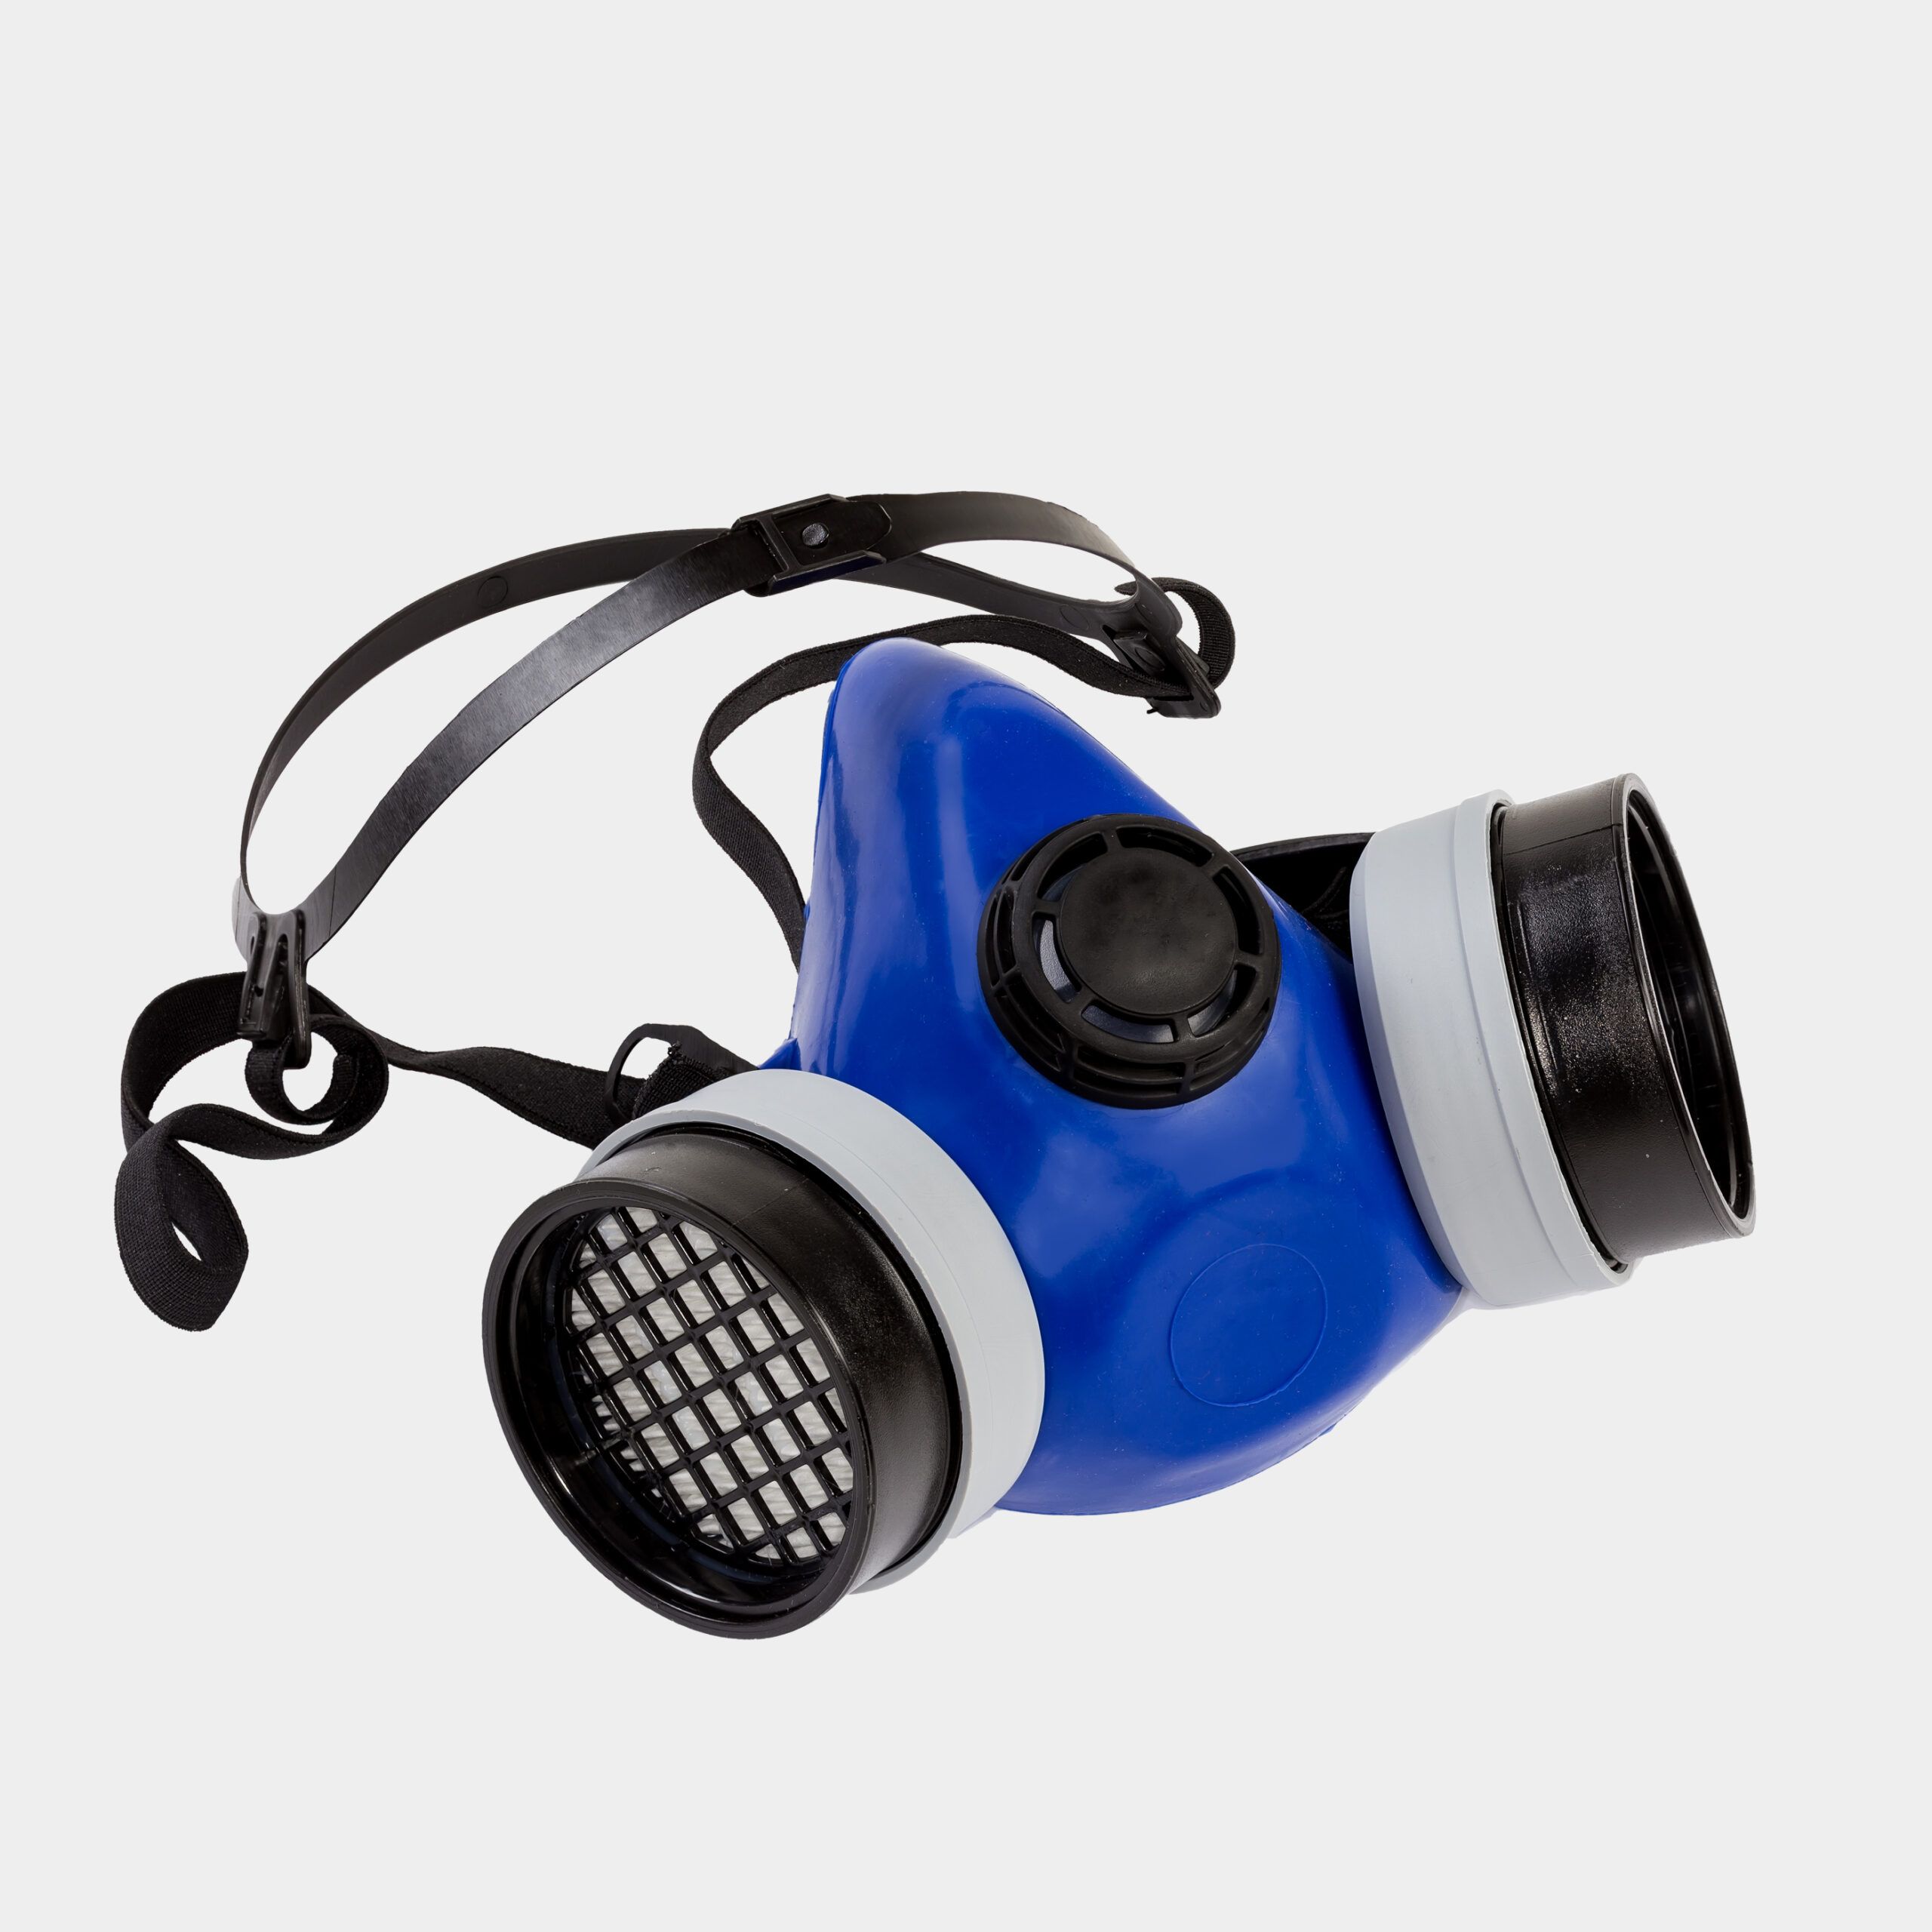
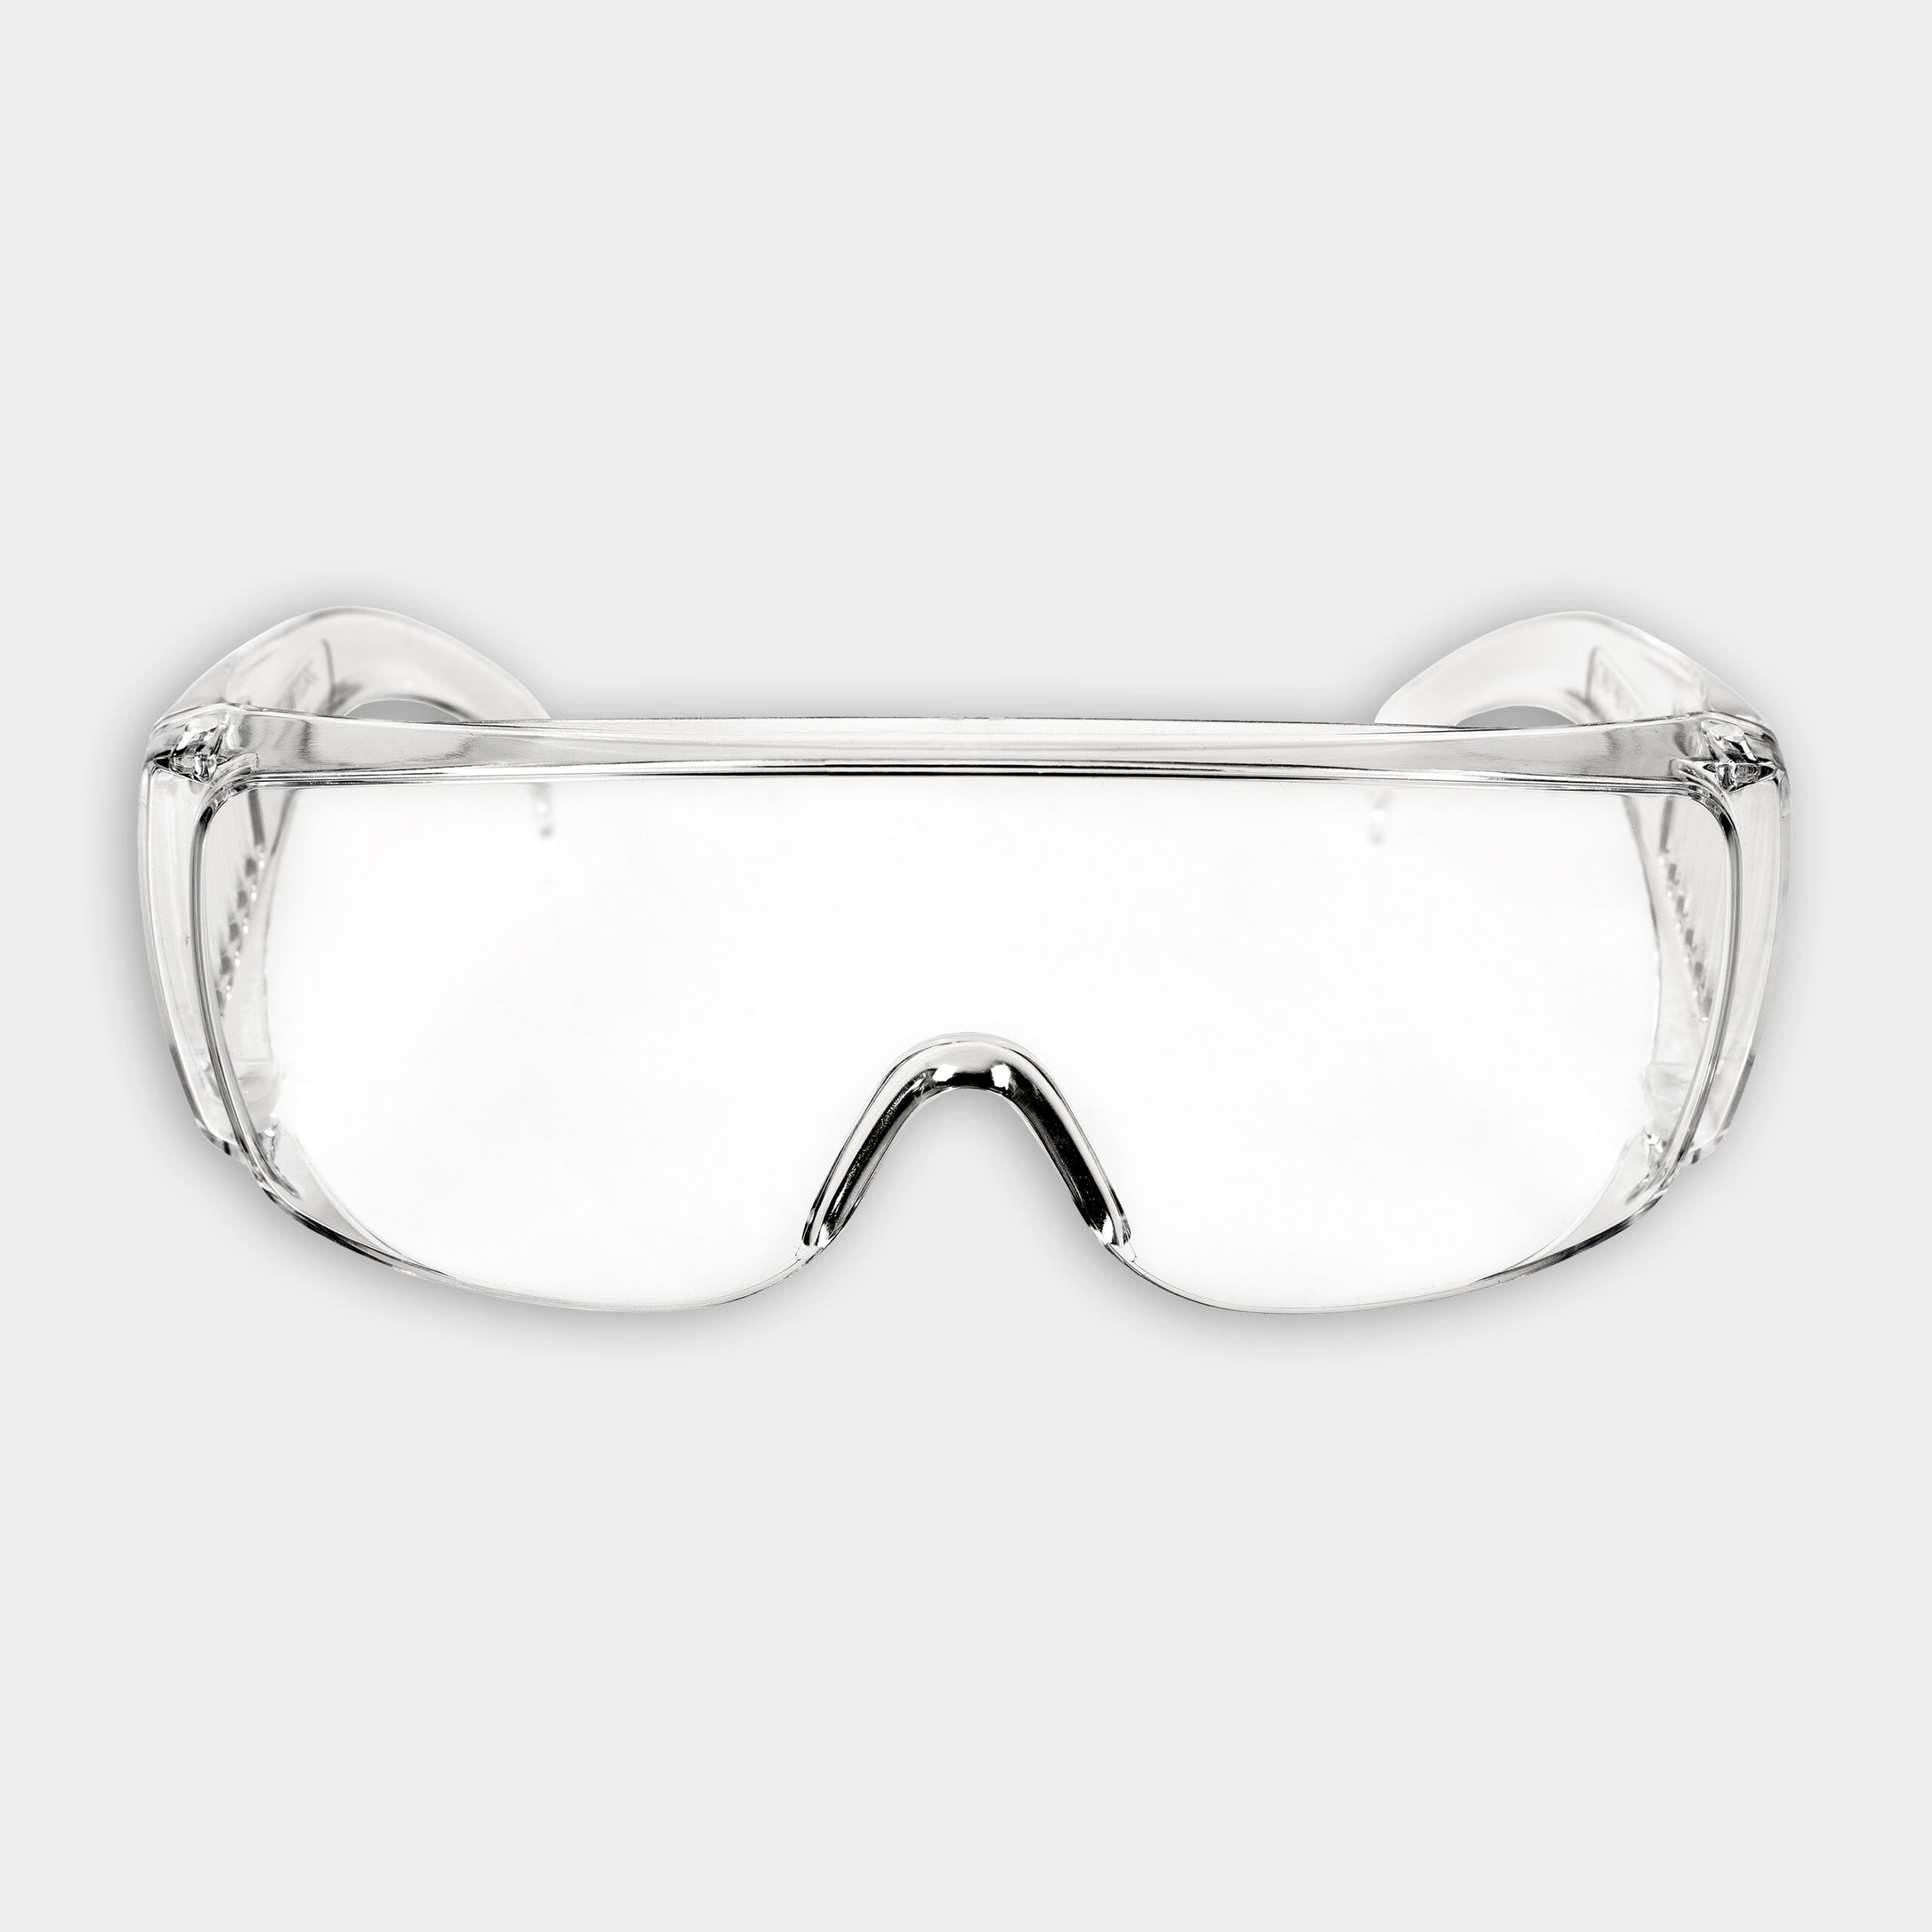
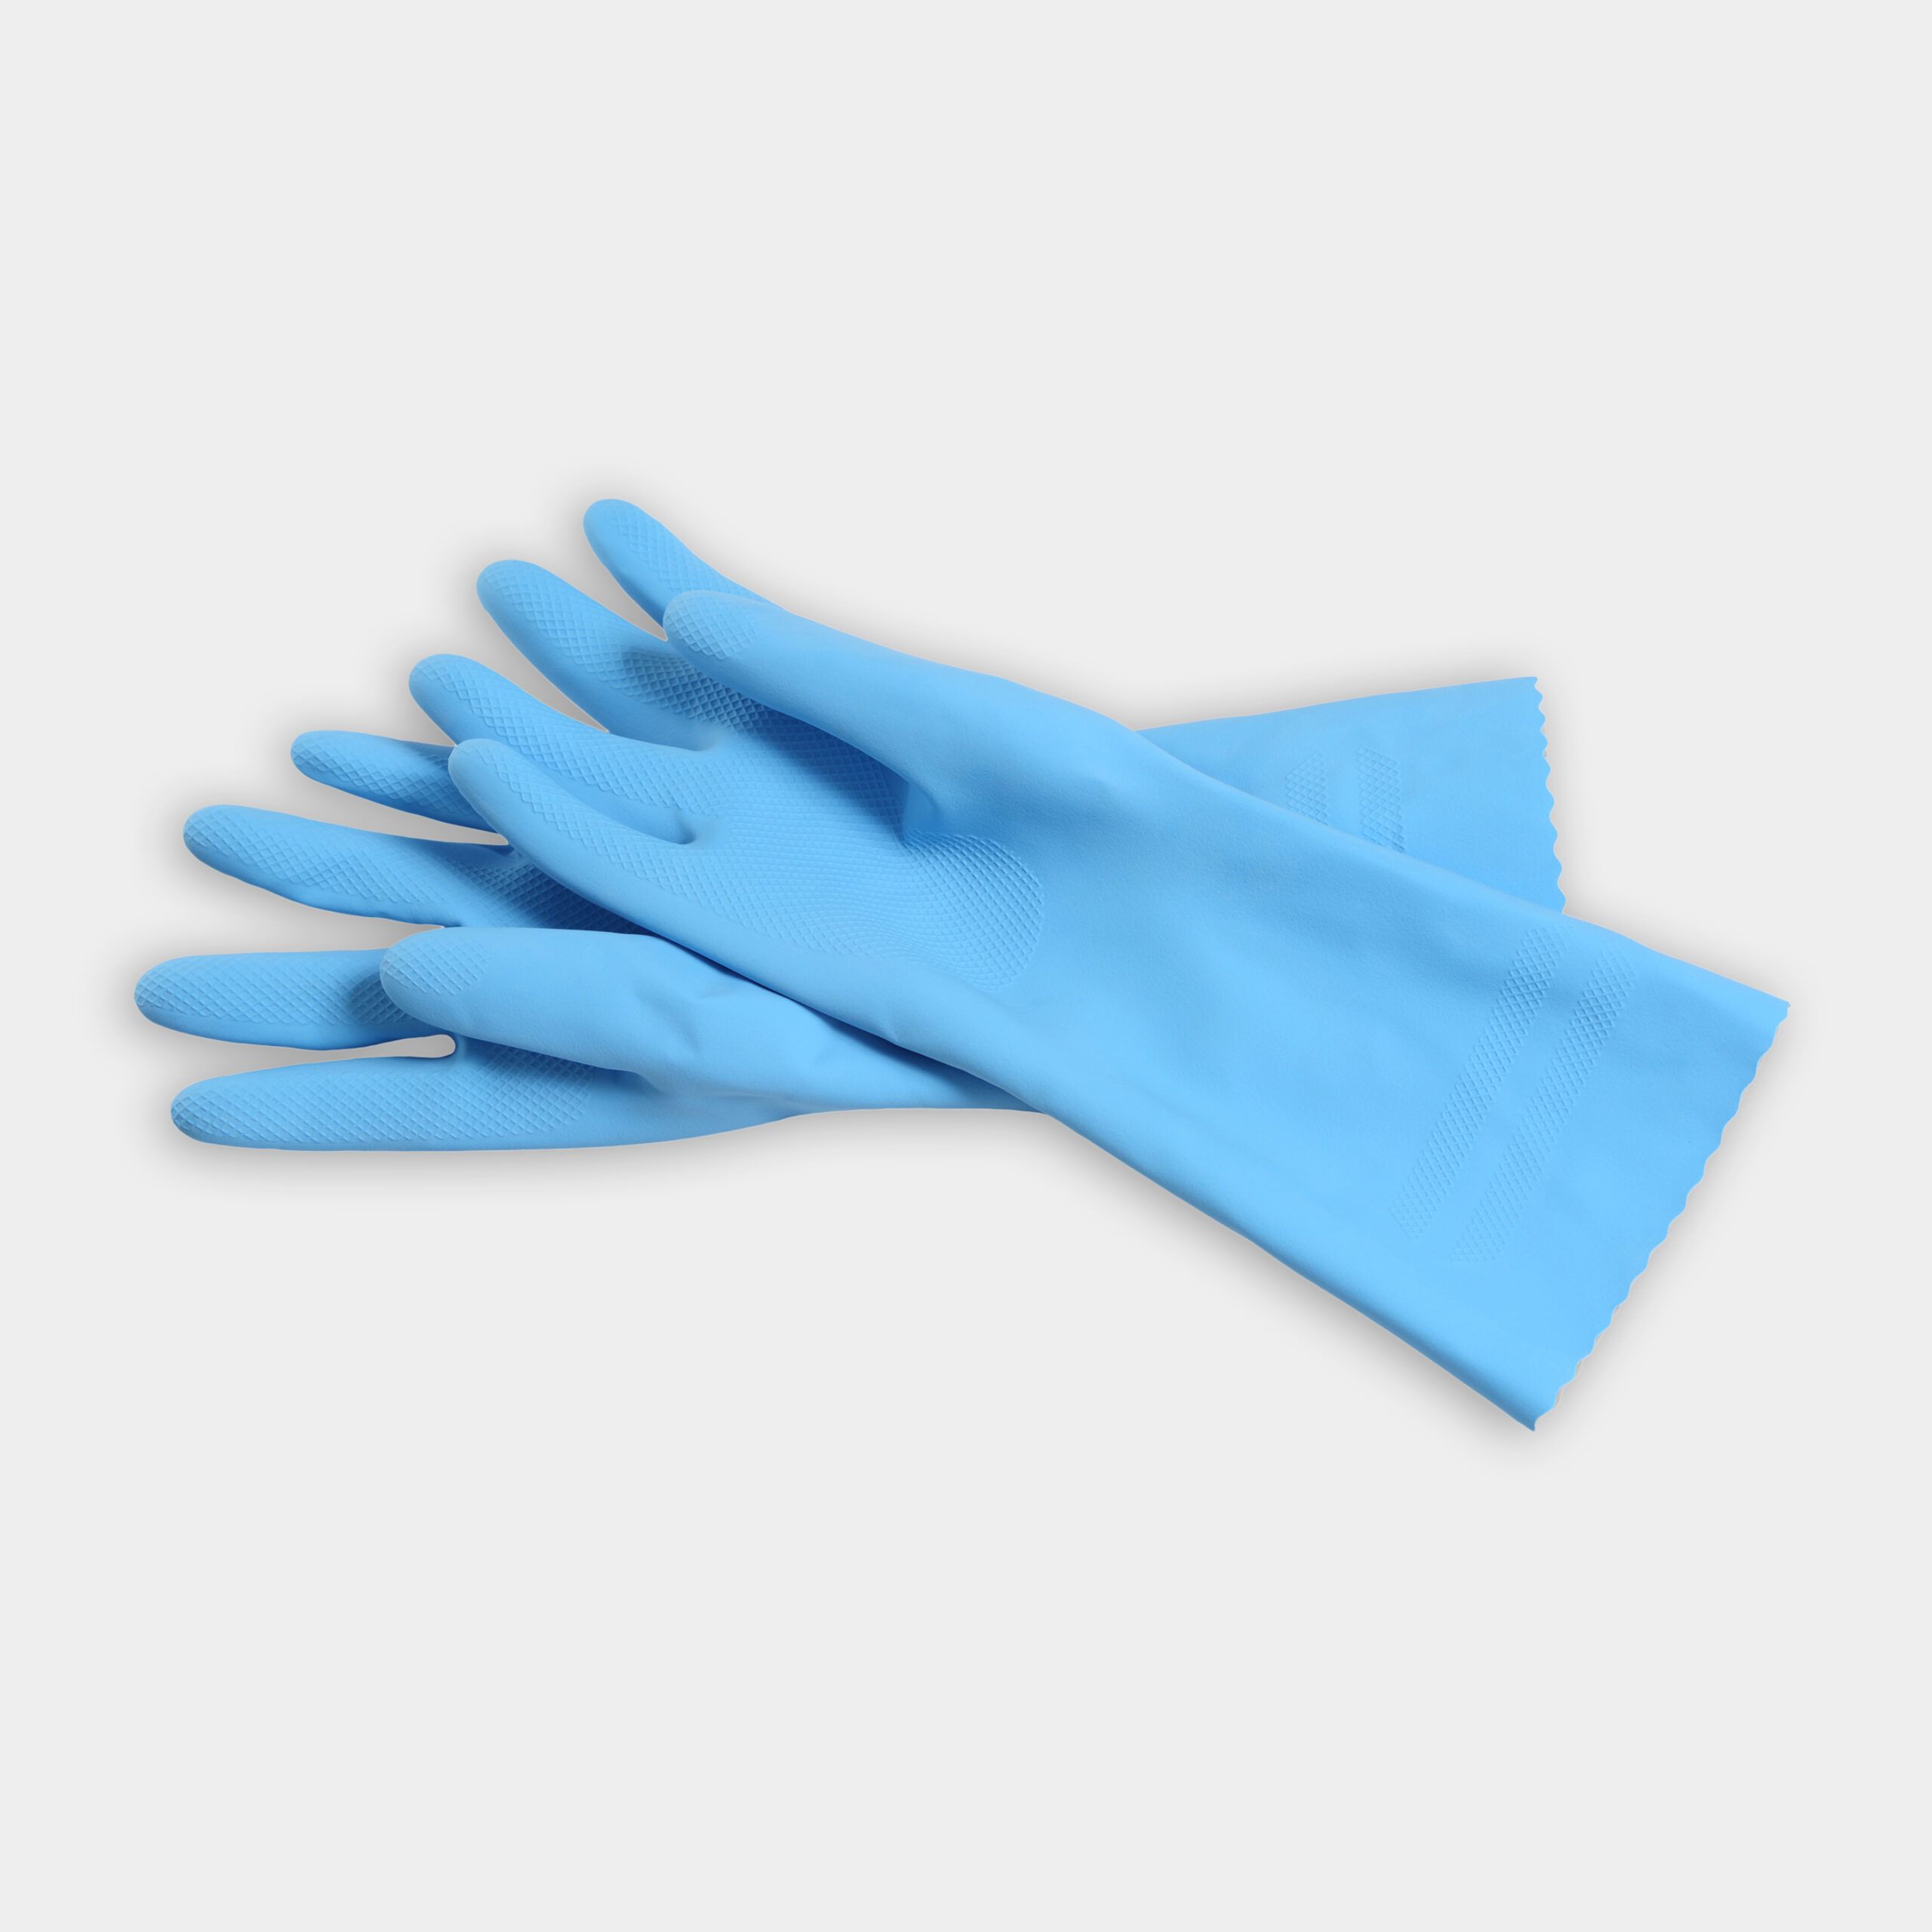
- Wearing a respirator mask, glasses, and protective gloves, fill the spray bottle with the coil cleaning solution. Spray the entire coil and blower wheel with the coil cleaning solution. Rinse it clean with the pump sprayer, using only water. Allow the unit to sit and dry.
- Head to the outdoor unit. Vacuum the coils with the bristle brush attachment and then spray the coils with a coil cleaner. Let the cleaner sit on the coil for a few minutes and then rinse clean with the pump sprayer.
- Once the indoor unit is sufficiently dry (about an hour), remove the cleaning kit and reassemble the unit.
Resources
To clean the indoor unit:
Start by removing the cover. Most models can be disassembled with a screwdriver. Use a bowl or plastic container to collect screws. This will help keep track of all the pieces as you work. With the outer shell off, remove the air filters
To clean the air filters:
Wash in the sink or spray the air filters using a water hose. If the air filters have built up dirt, use a mild liquid soap and soft brush to gently break up the dirt. Rinse thoroughly.
Use a mini-split clean kit to protect the wall from getting wet. Tape plastic sheeting around the electrical components to prevent any damage. With the protect cleaning kit in place, spray on the non-corrosive coil cleaner to the coils of the indoor unit. Remove the coil cleaner with water. You can fill a pump sprayer with water to keep the rinsing contained.
To clean the outdoor unit:
Start by using a vacuum to remove leaves and dirt from the coils. Then spray on the condenser coil cleaning spray. A face mask, eye protection and gloves are recommended when handling coil cleaner. Use a pump sprayer to remove the coil cleaner from the outdoor unit.
Materials
- Spray bottle
- Pump sprayer
- Liquid dish soap
- Plastic sheeting
- Tape
- Mini-split cleaning kit
- Non-corrosive coil cleaning solution
- Coil cleaning solution