We may be compensated if you purchase through links on our website. Our team is committed to delivering honest, objective, and independent reviews on home products and services.
Project details
Skill
Cost
Estimated Time
Are you short on closet space? A DIY wood clothes rack could be the perfect solution for your storage woes. This simple project requires only basic tools and materials and provides a versatile storage option that’s both functional and attractive.
In this video and guide, This Old House DIY expert Jenn Largesse demonstrates the construction process step by step, showcasing how to create this practical piece of furniture.
Materials and Tools Needed
Before diving into the construction process, gather the following materials and tools.
Materials
- (5) 1x2x6 boards (for legs and shelf slats)
- (2) 2x2x6 boards (for shelf sides)
- (2) ¾x¾x36″ square dowels (for cleats)
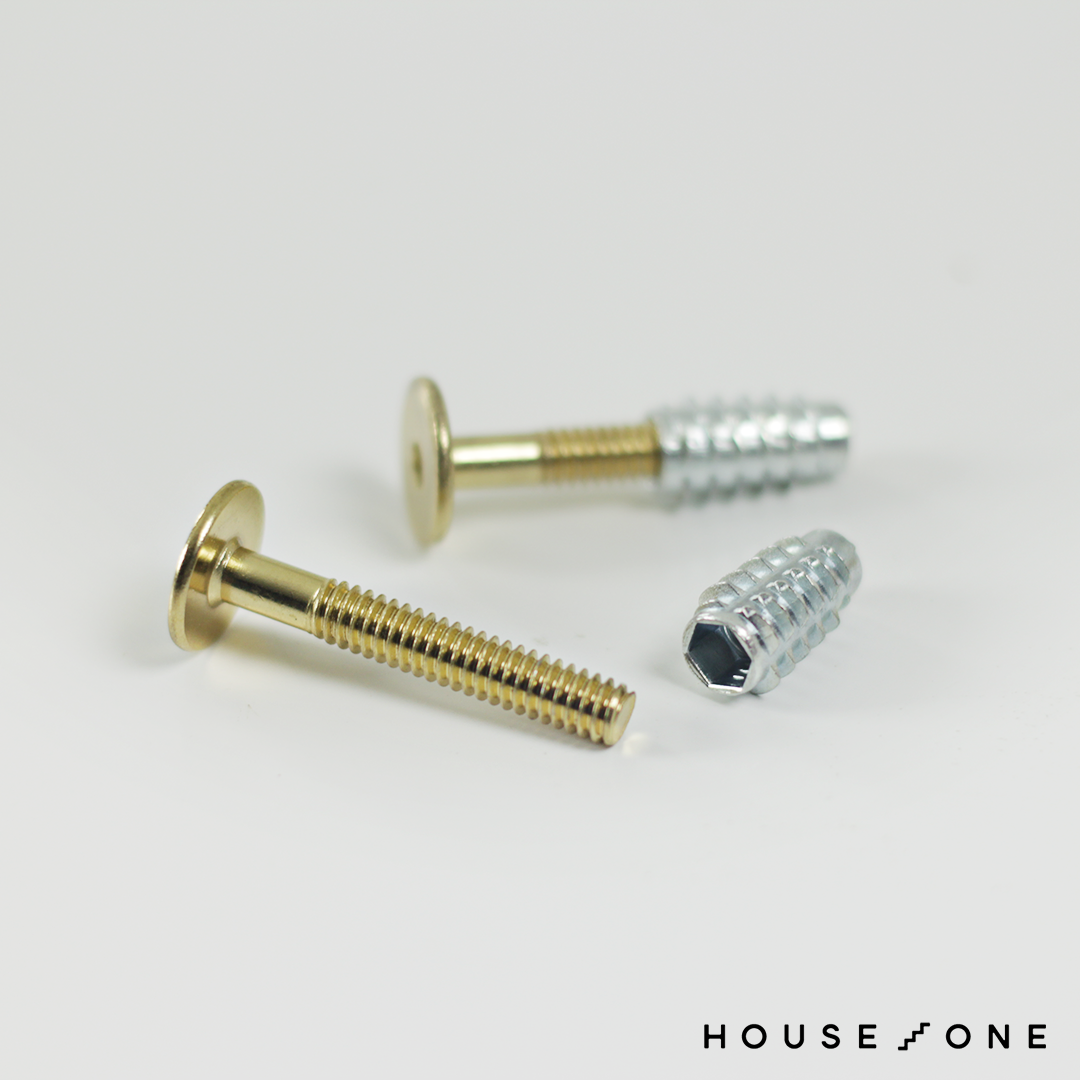
- (6) ¼-inch insert nuts
- (4) 1½-inch connecting bolts
- (2) 2¼-inch connecting bolts
- Original Gorilla Glue
- Latex gloves
- Cloth or rag
- Sandpaper or sanding sponge
- Paint, stain, or polyurethane (for finishing)
Tools


Preparing the Legs and Shelf Components for the Clothes Rack
The first step in building your DIY wood clothes rack is to prepare the legs and shelf components. This process involves marking, cutting, and drilling the various pieces that will form the rack’s structure.
Marking and Cutting the Legs
Mark the height of the shelf and the location of the hanging rod on each of the four 1×2 legs. Make a mark 8 inches from each end of the boards and mark the center point on each line.
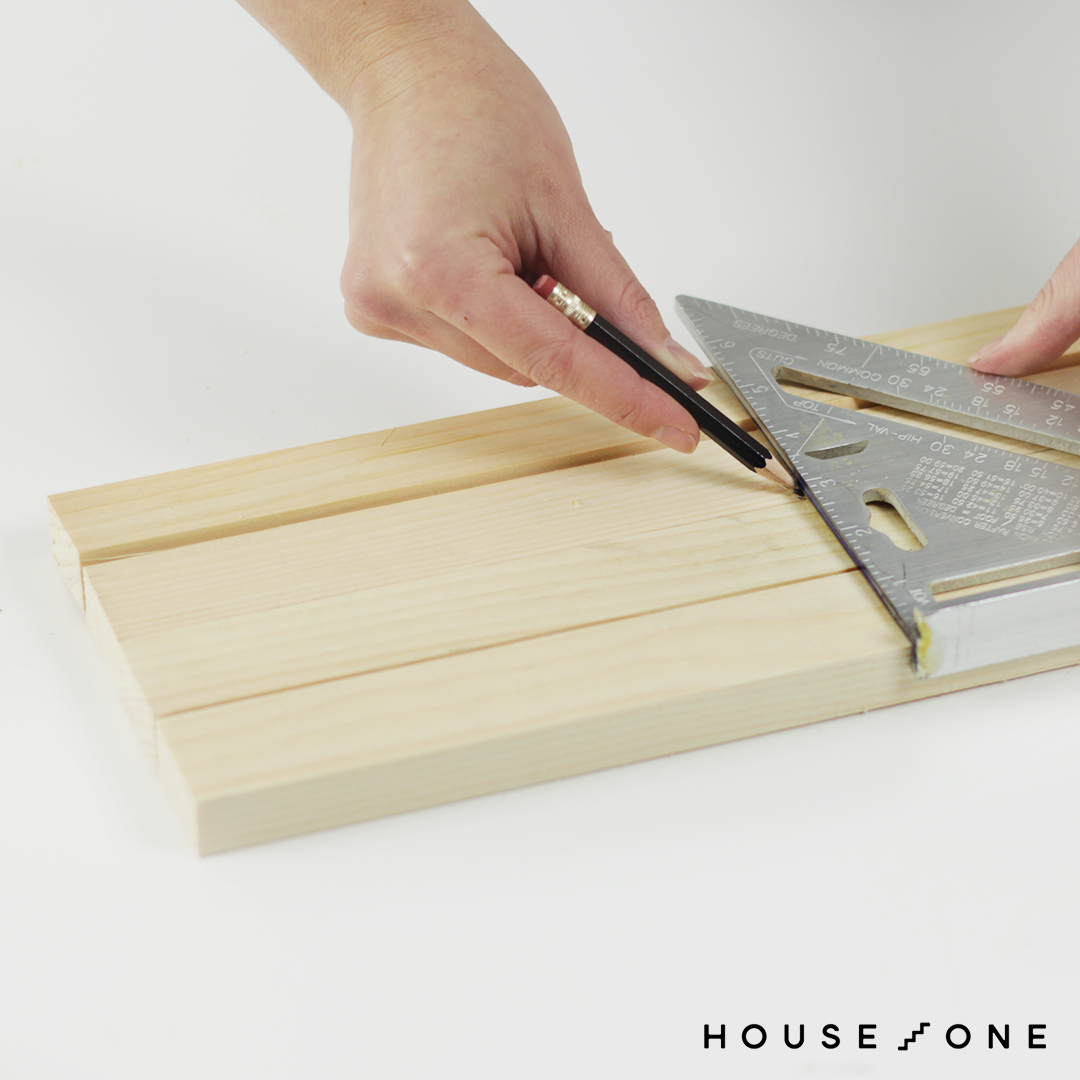
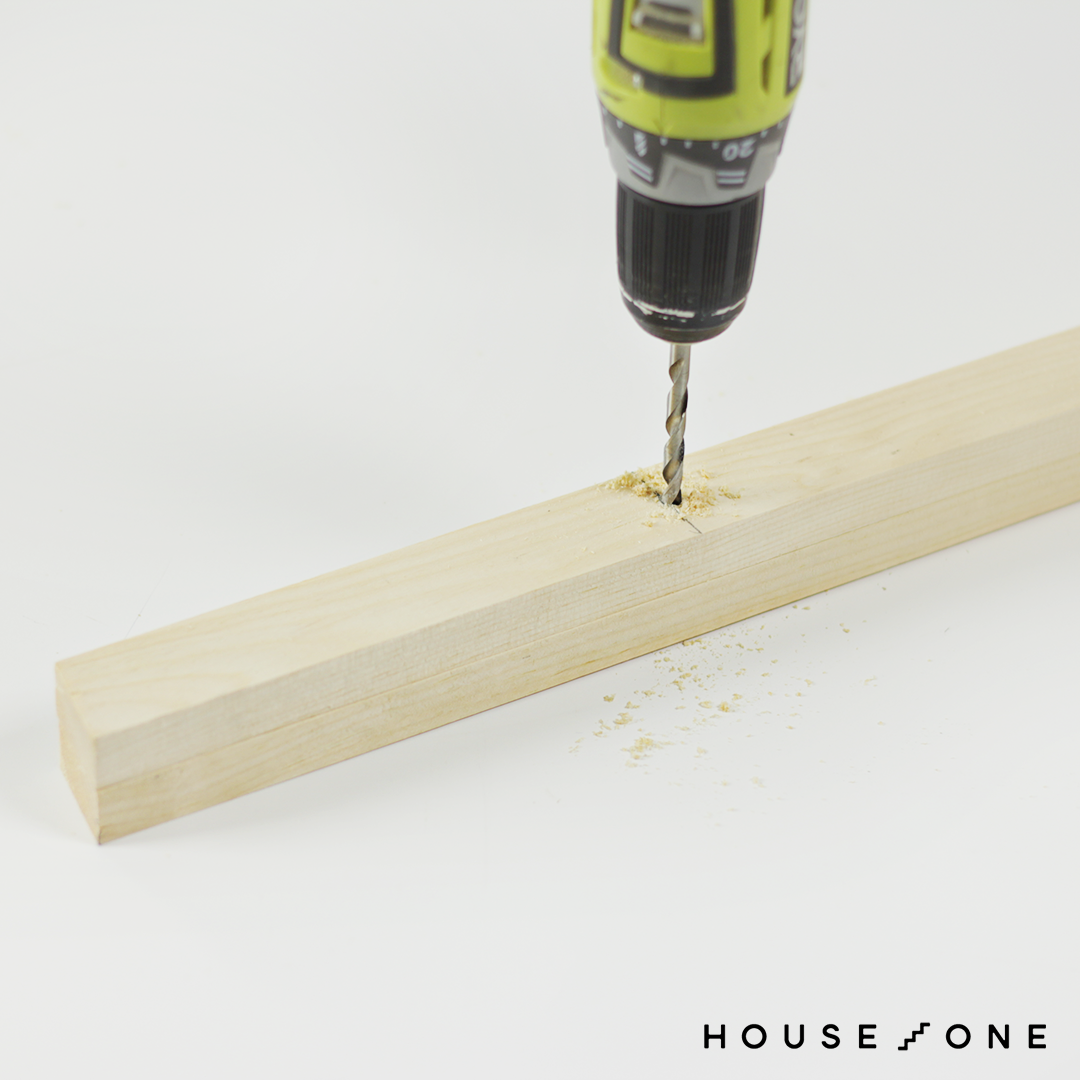
Using a drill/driver, create a ¼-inch pilot hole through the crosshair marked on each board.
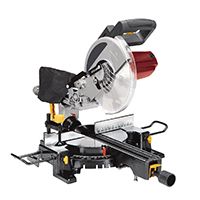
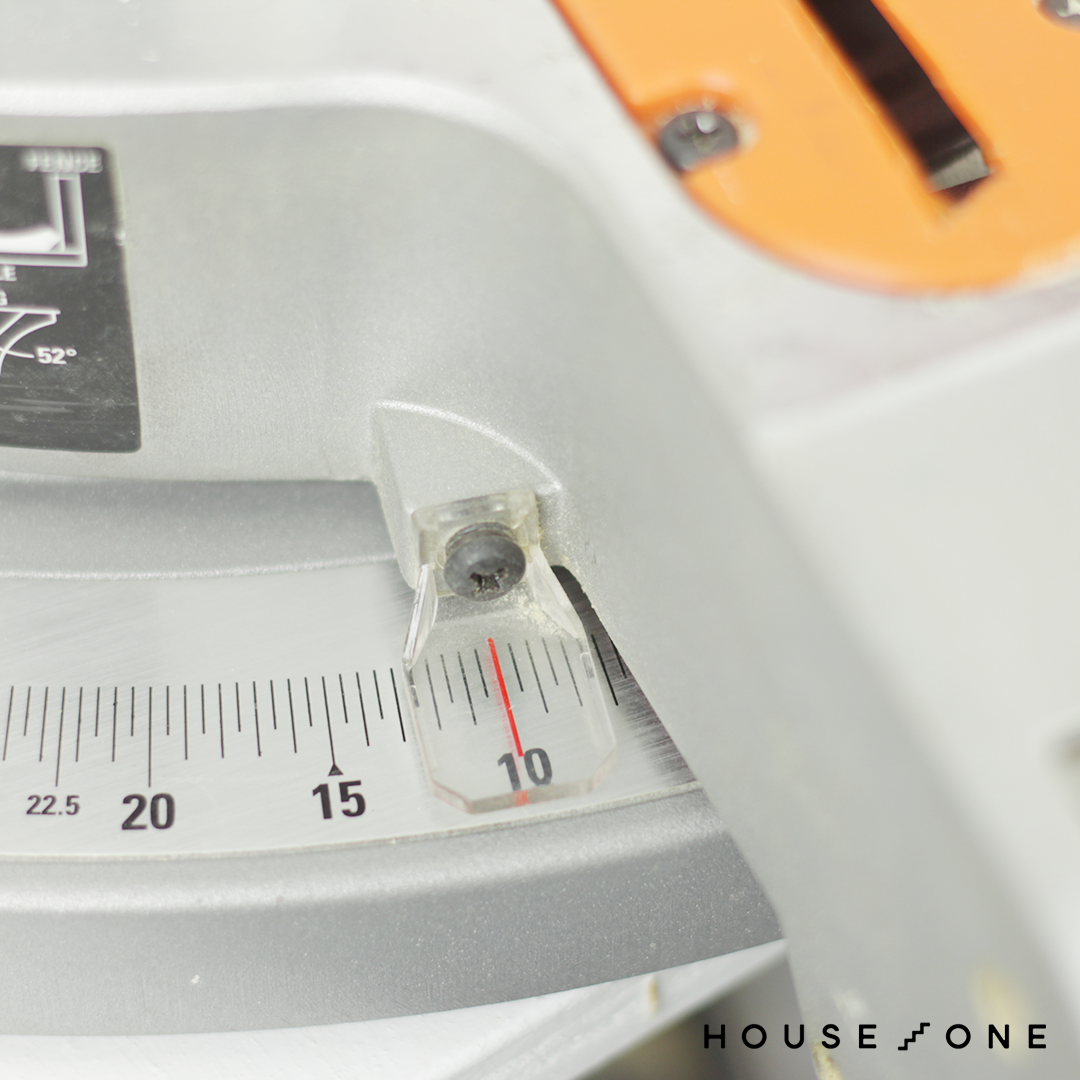
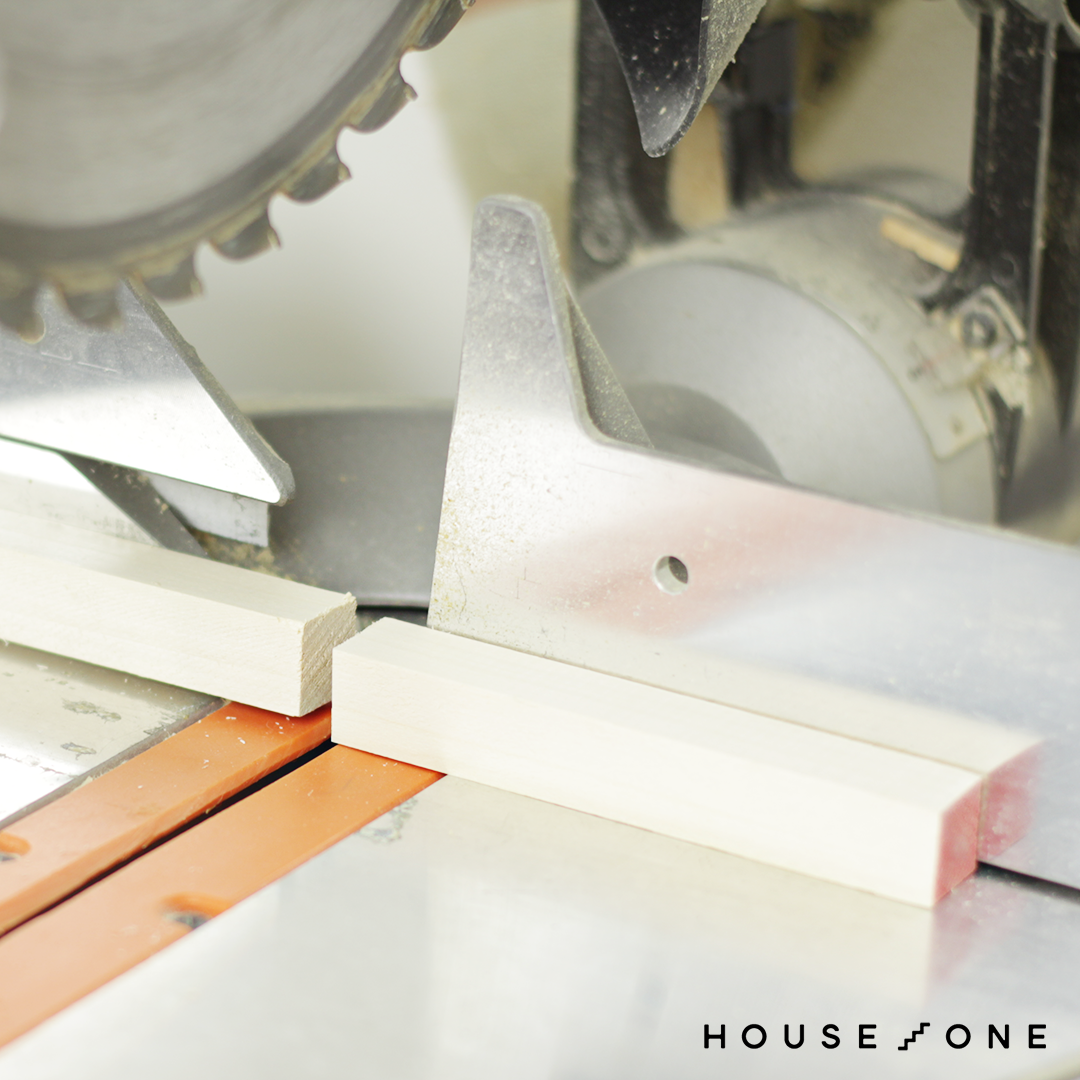
To allow the legs to tilt and create an A-frame on each side of the rack, miter the bottom of each leg at a 10-degree angle using a miter saw.
Cutting Remaining Parts
Using the miter saw, cut the 1×2, 2×2, and the square and round dowels to length according to the cut list.
- 1×2 leg pieces: 4 @ 72”
- 1×2 shelf slats: 12 @ 18”
- 2×2 shelf front: 1 @ 35½”
- 2×2 shelf back: 1 @ 34”
- 2×2 shelf sides: 1 @ 18”
- ¾ x ¾ cleat: 2 @ 31“
- 1” hanging rod: 1 @ 34”
Preparing for Assembly
To create a stronger connection when assembling the pieces, you’ll need to use insert nuts where the shelf and hanging rod meet the legs. Insert nuts are threaded metal tubes that allow for a secure bolt connection and prevent tear-out in the end grain.
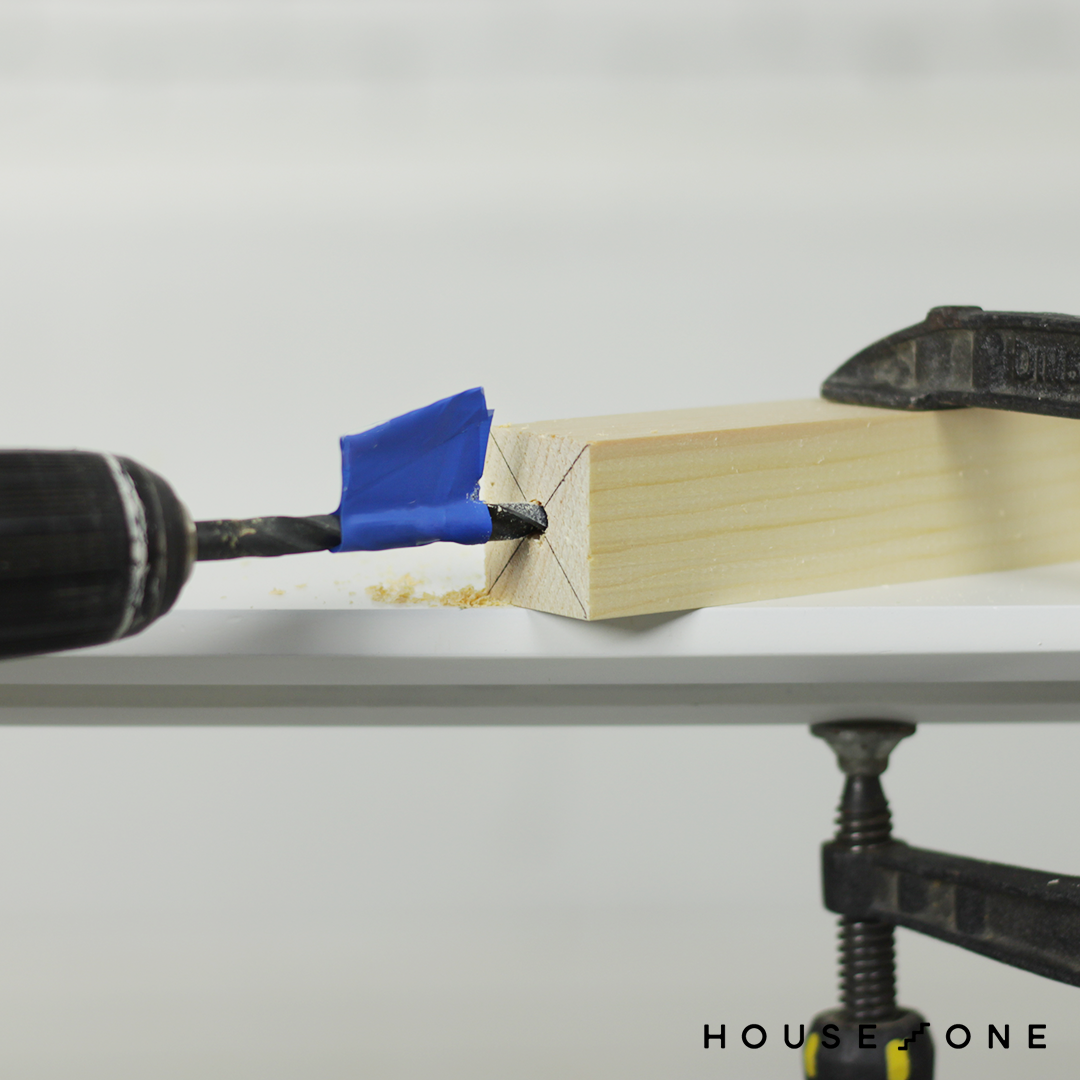
Drive an 11/16-inch hole into the ends of each shelf front and back board using a drill/driver.
Place the insert nut into the hole, and then tap in into place with a hammer.
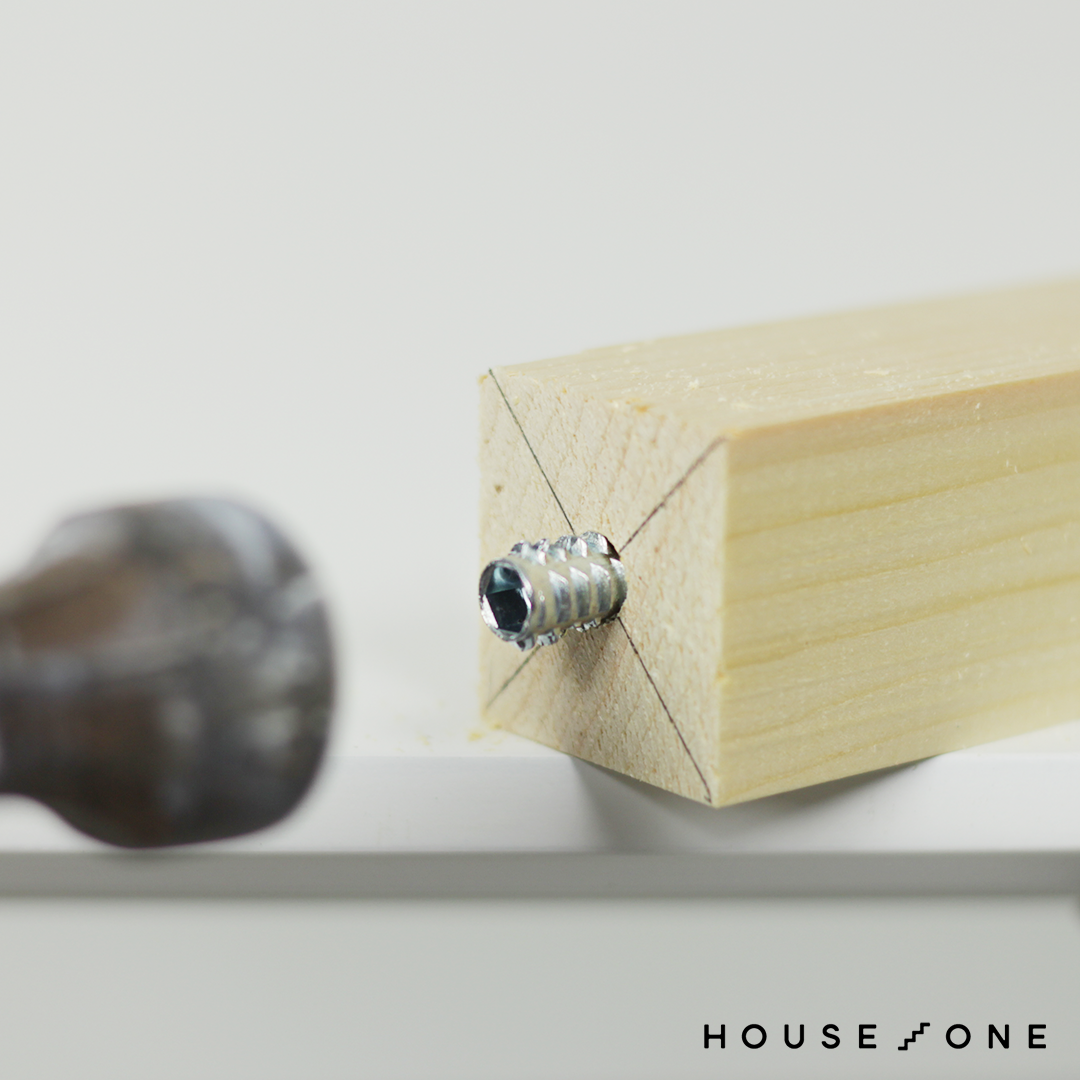
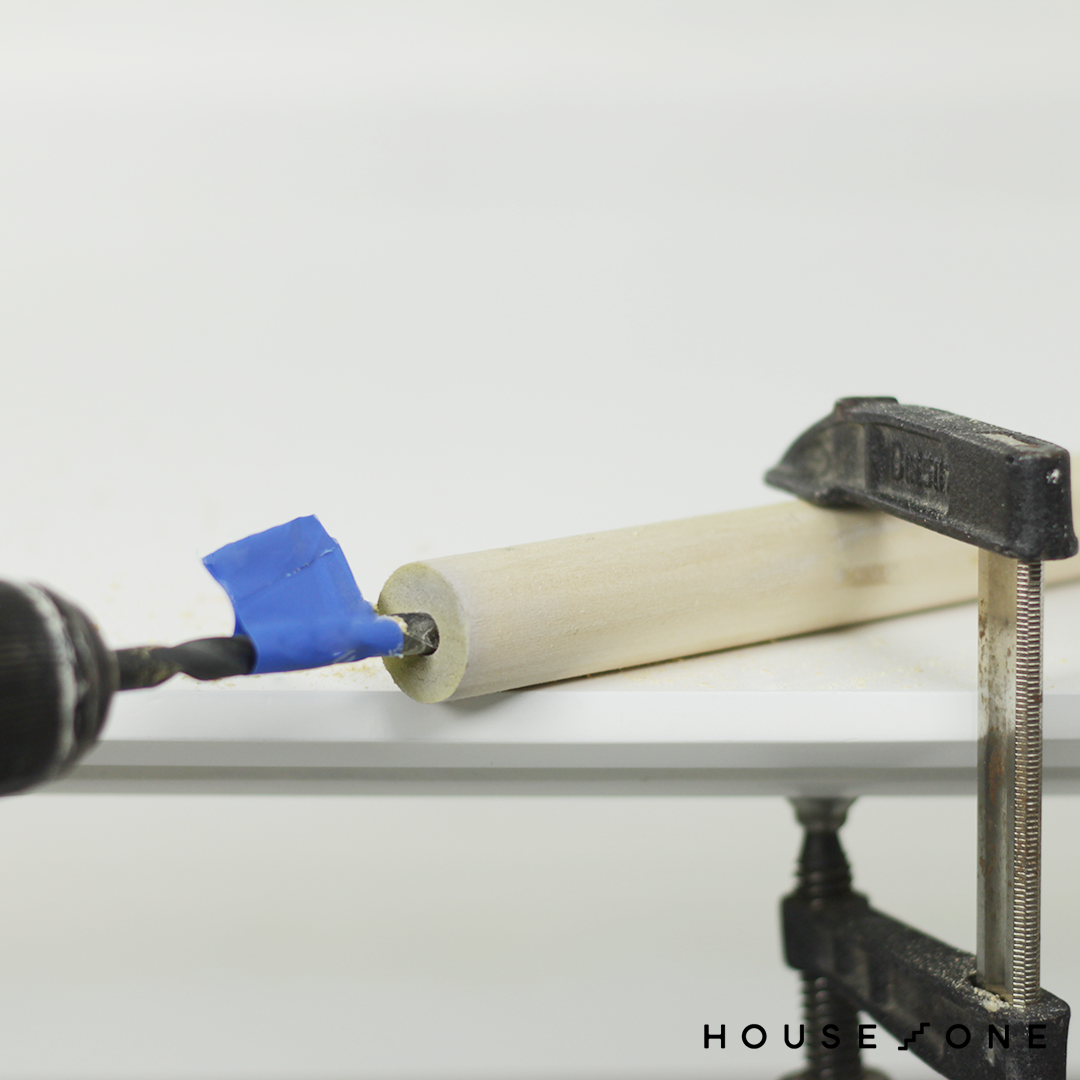
Repeat this process for the hanging rod, drilling centered 11/16-inch holes into each end and installing the insert nuts, tapping them in place with a hammer.
Assembling the Shelf Frame
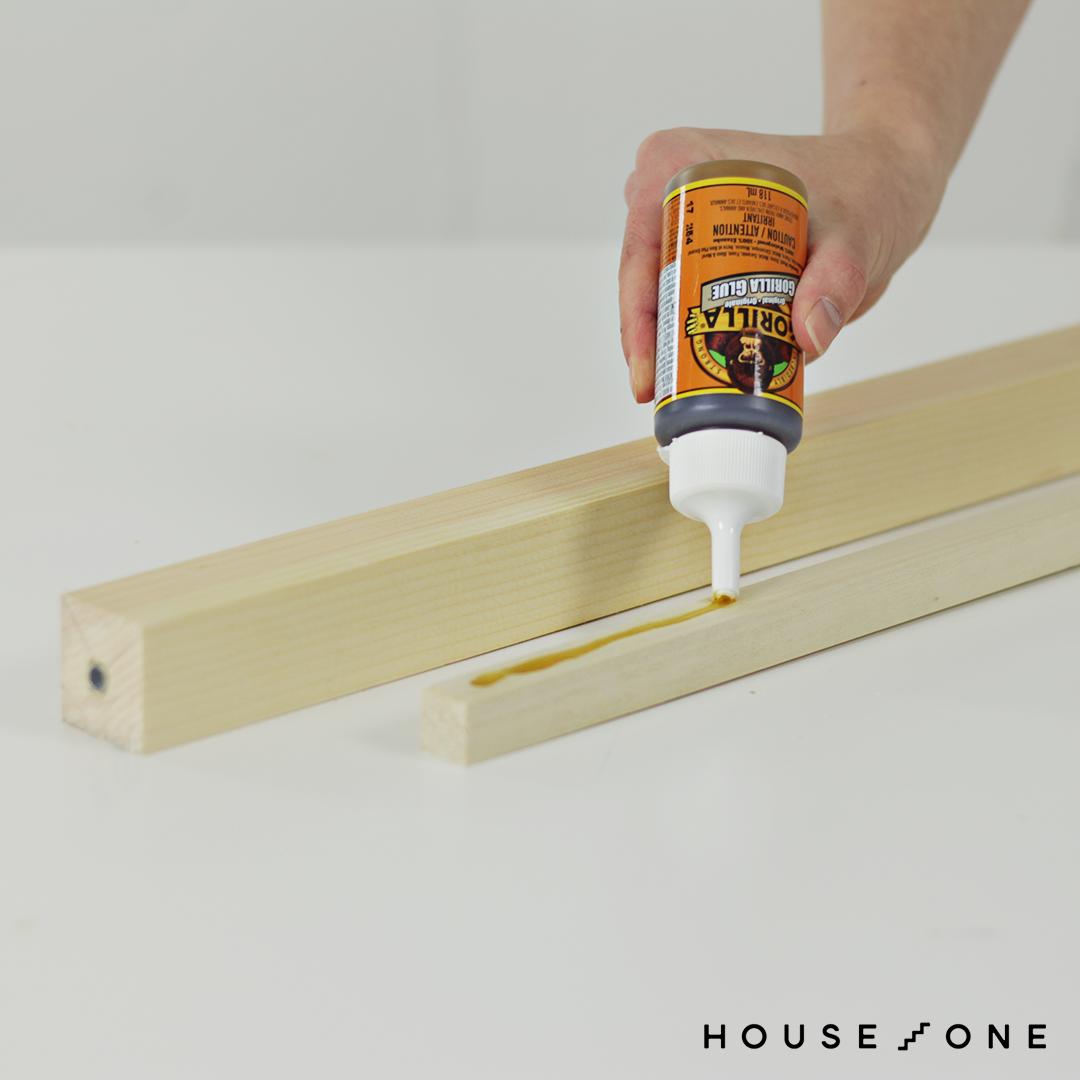
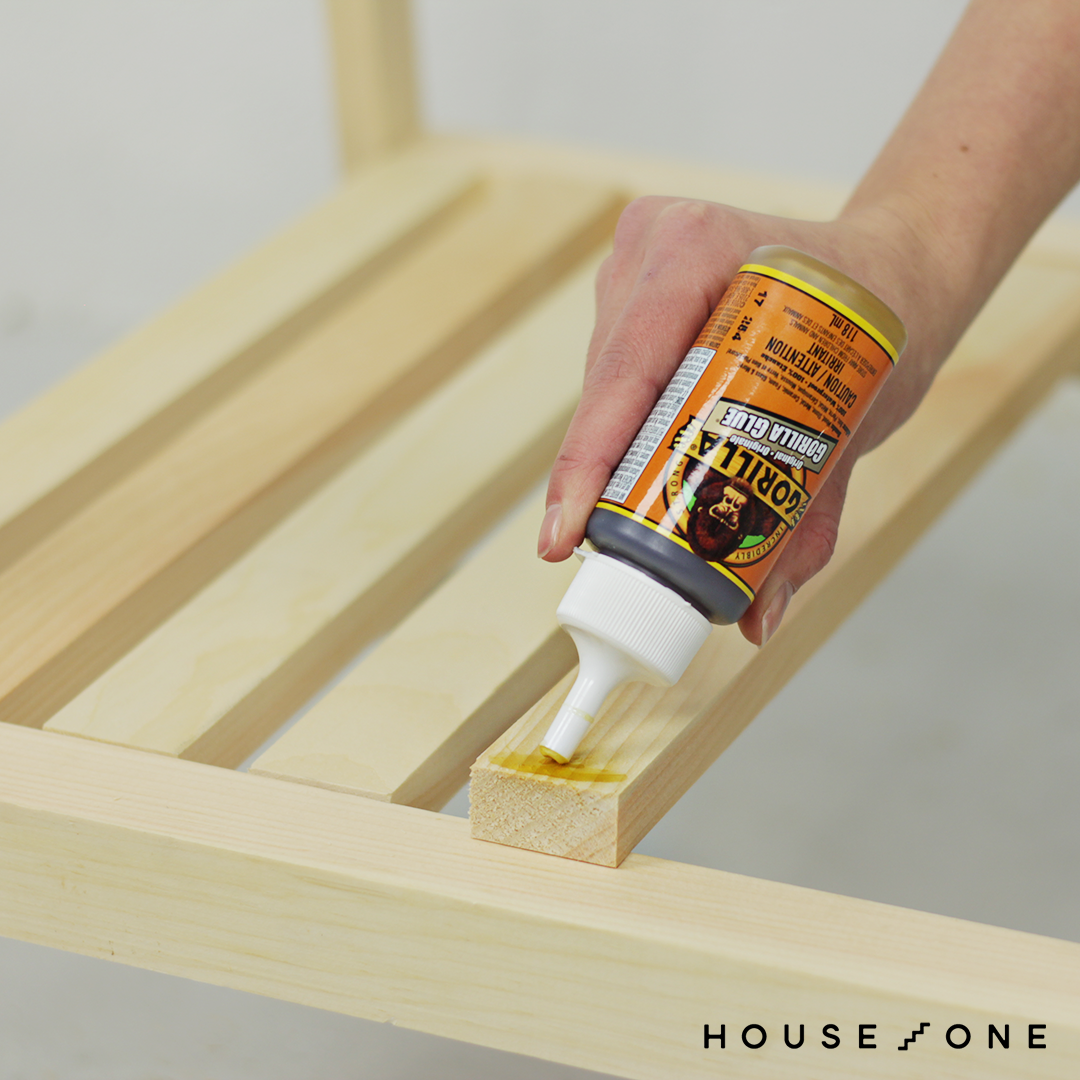
With your pieces prepared, you’re ready to assemble the shelf frame. We recommend using a strong polyurethane glue for a clean, fastener-free look. Note that the glue is activated by moisture, so you’ll need to dampen one of the pieces you’re connecting and apply glue to the other. This also means you should take care not to get the glue on your skin.
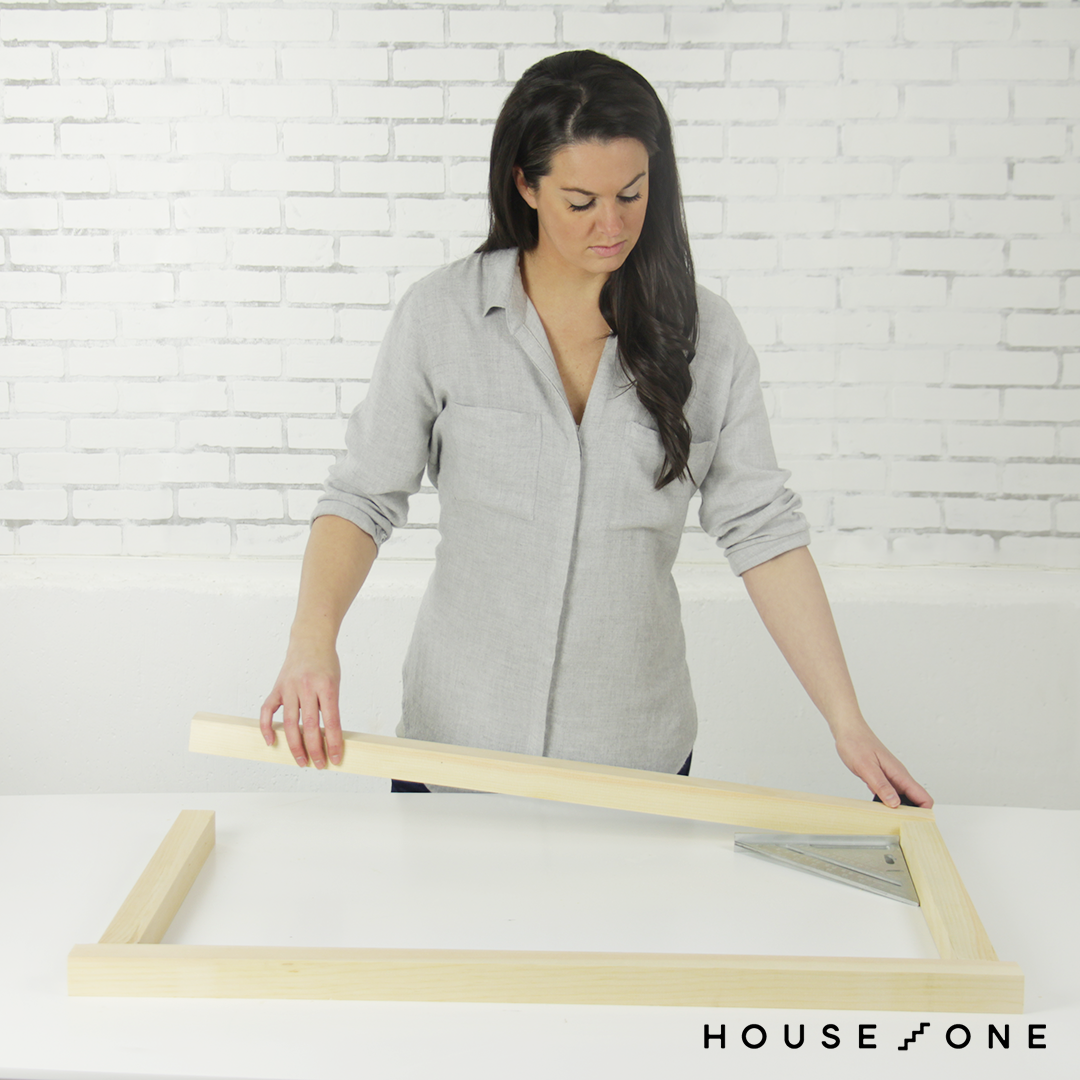
Laying Out the Frame Pieces
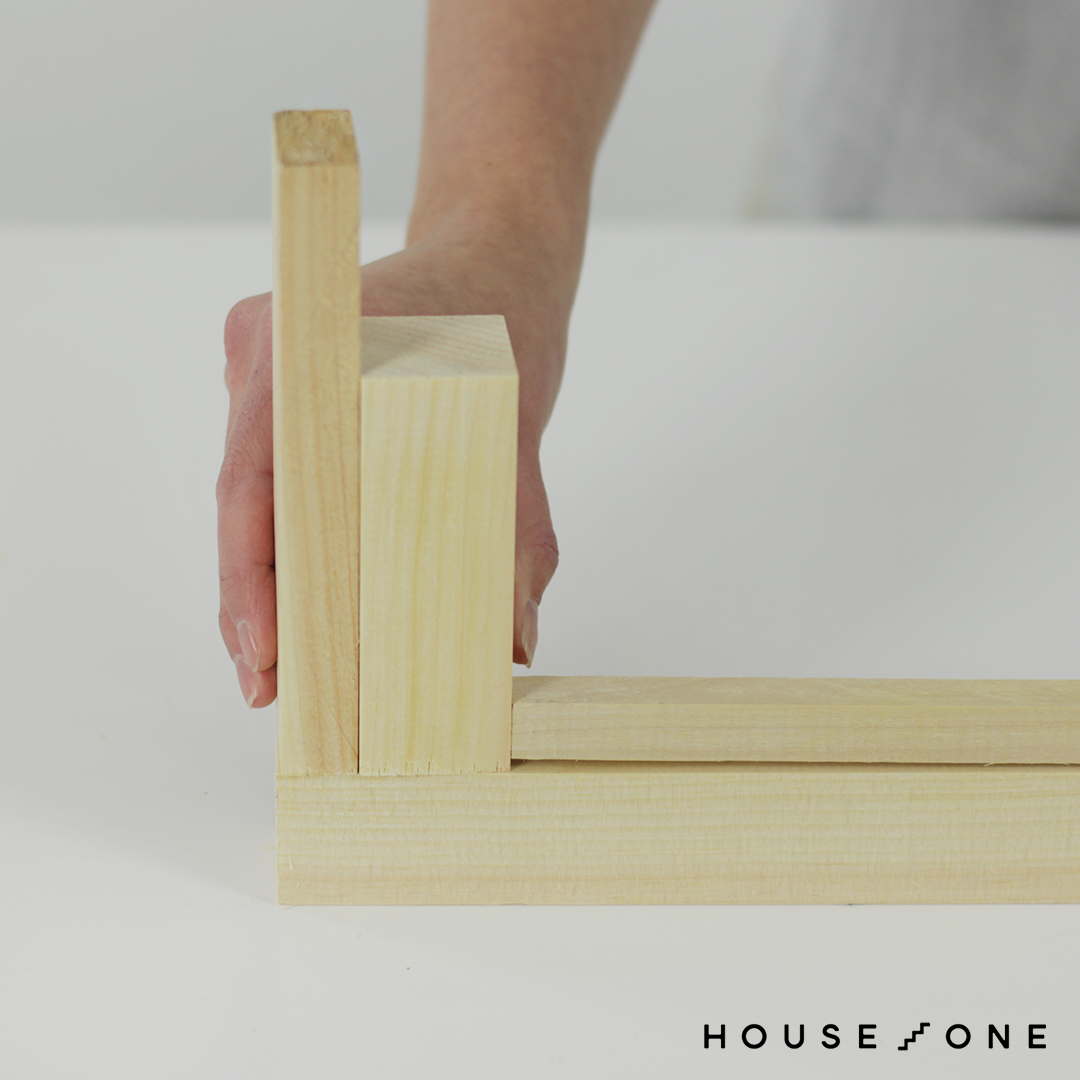
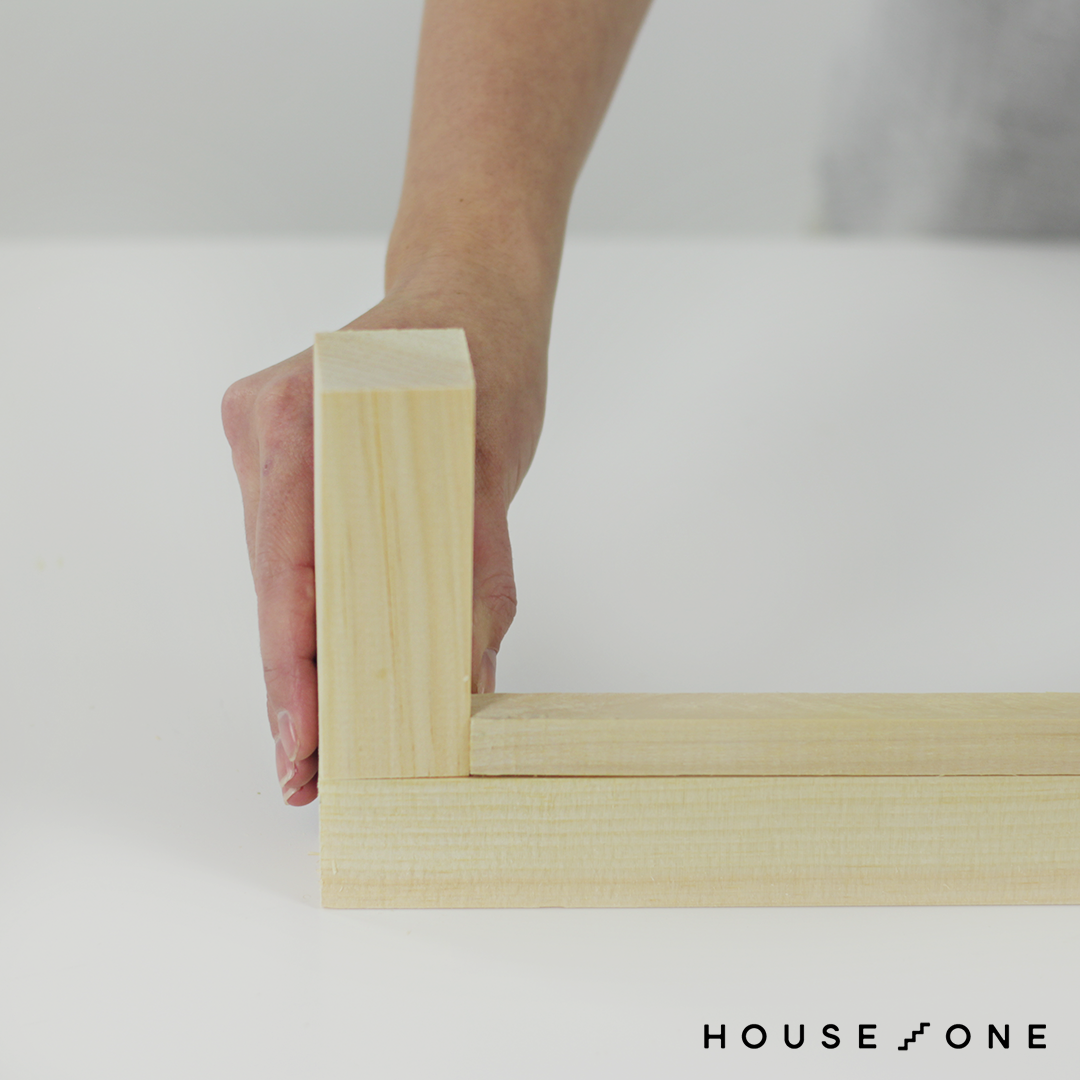
Place the 2×2 shelf frame pieces on your work surface. Position the sides between the front and back pieces.
Note that the front piece should overhang the sides by ¾-inch on each side to reach the outer legs once assembled. Place a square dowel along the front and back frame pieces to act as a cleat.
Attaching the Cleats
Dampen one side of the 2×2 shelf front piece with a wet cloth.
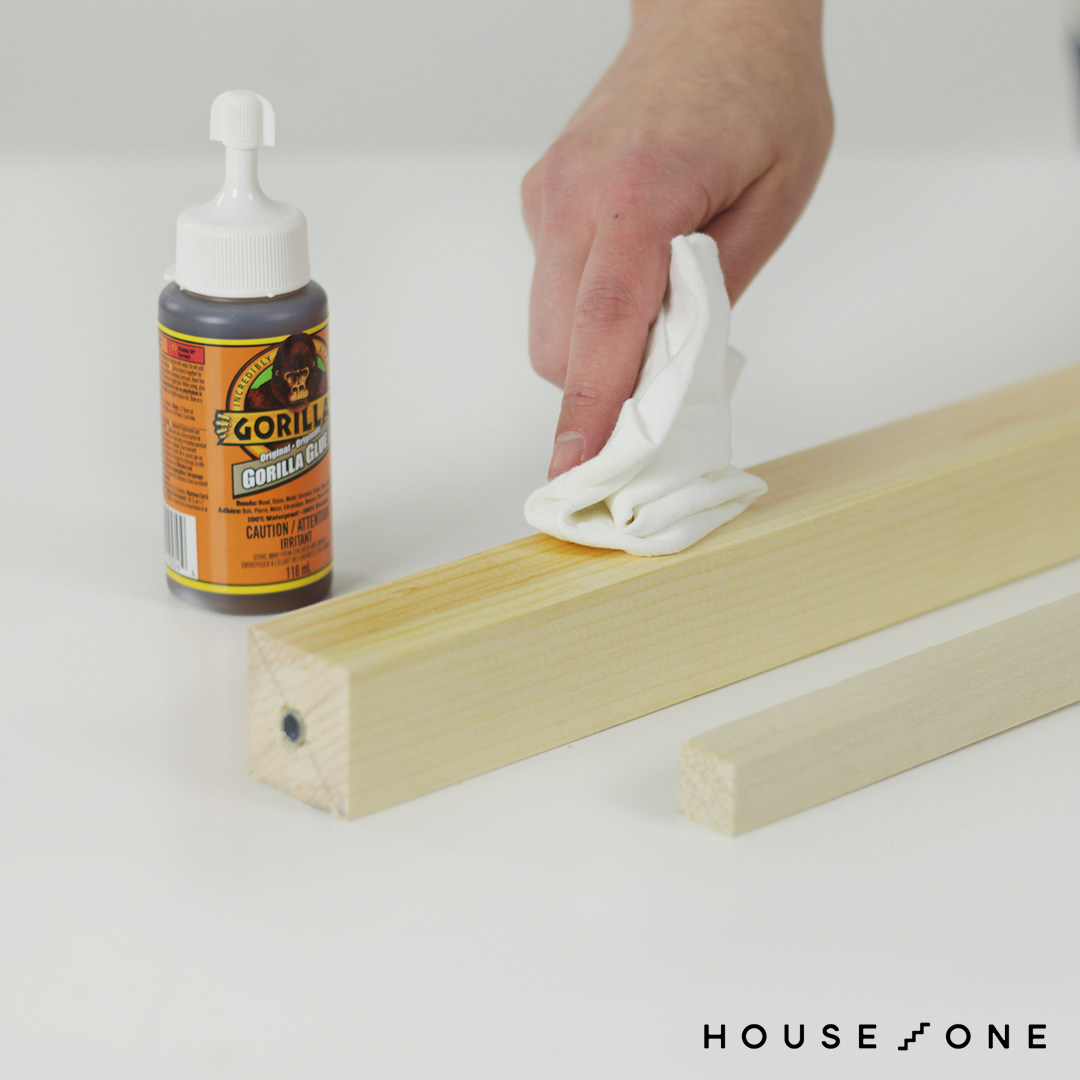
Put on your latex gloves and apply a thin bead of polyurethane glue to the dry surface of the cleat. Spread the glue with a rag or cloth (but not your finger).
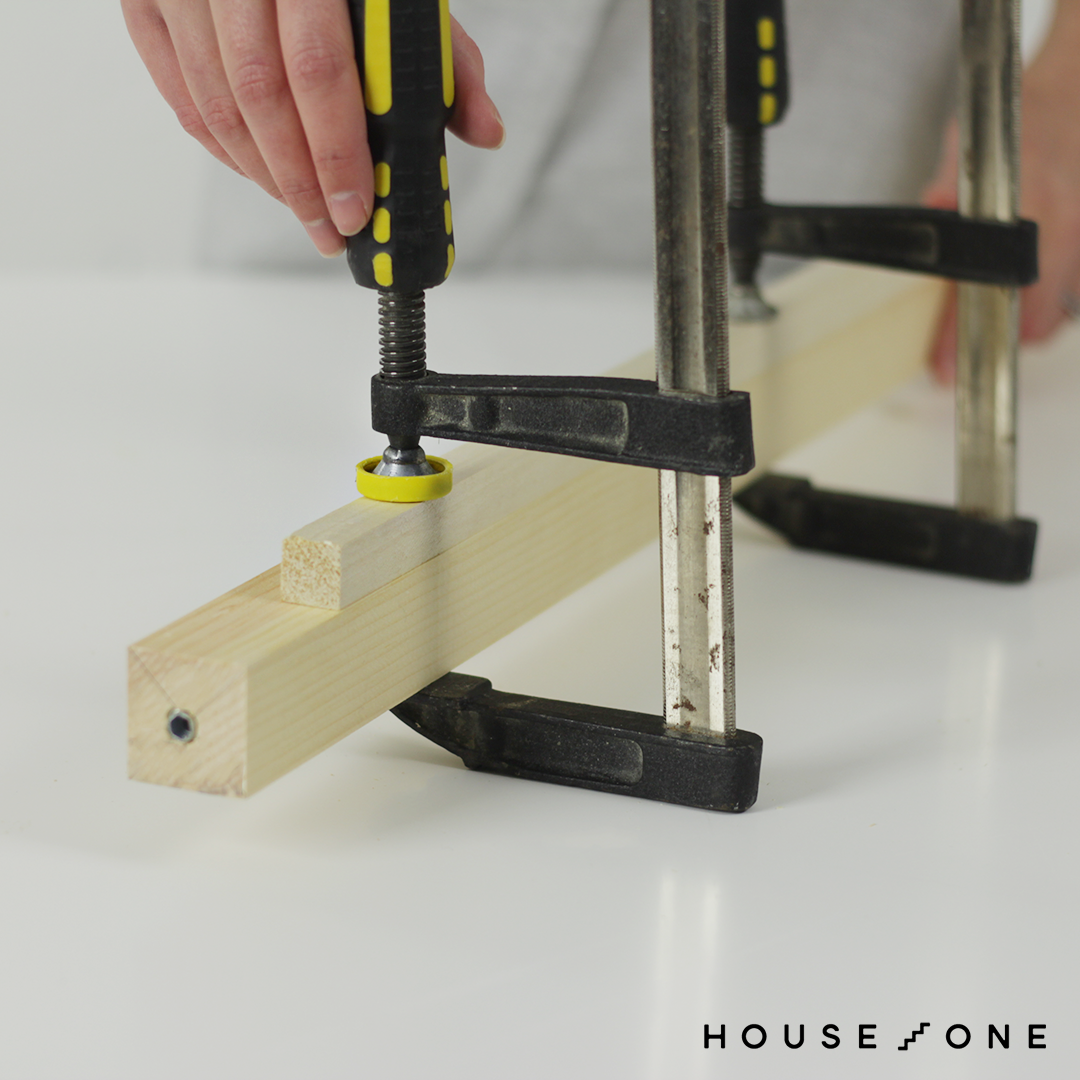
Center the cleat on the front 2×2, flush with its bottom edge. Use the end of another 2×2 plus a 1×2 as a spacer at each end of the cleat to check the placement.
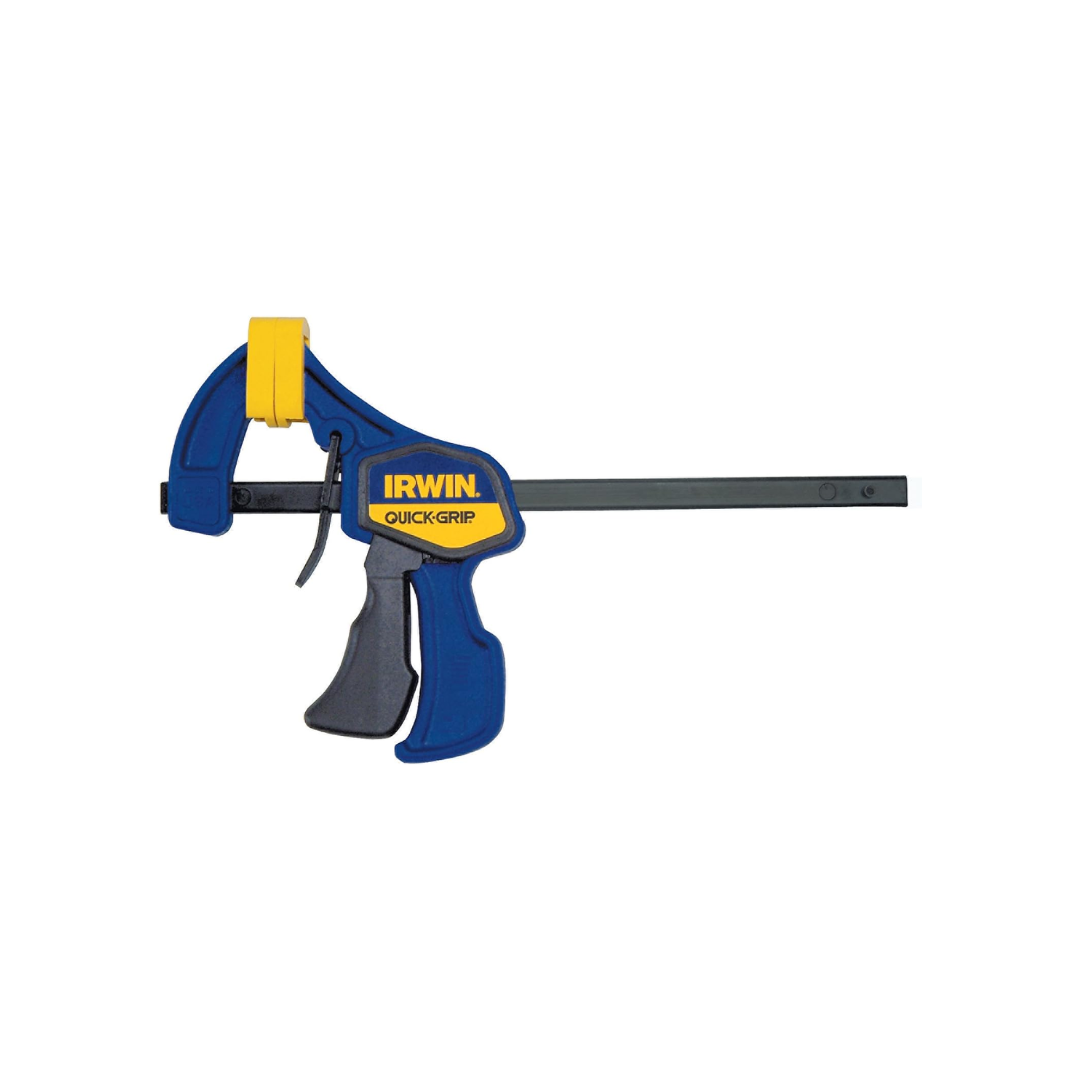
Using a hand clamp, clamp the cleat in place and wipe away any excess glue with a rag or cloth.
Repeat this process for the back 2×2 and cleat, but use only the 2×2 as a spacer at each end of the cleat.
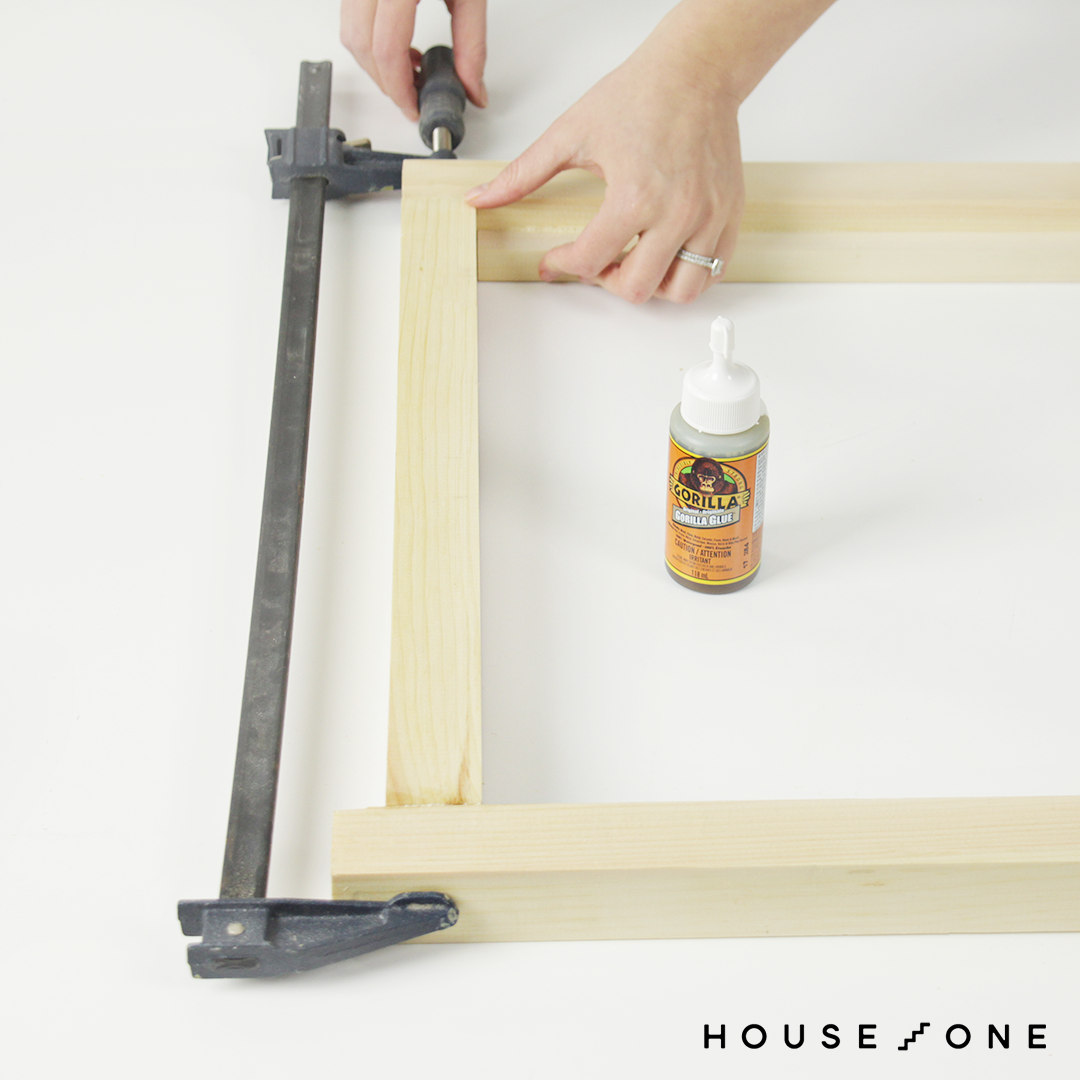
Completing the Frame
Apply glue to the ends of the side pieces and clamp them between the front and back of the shelf. Allow the assembled shelf frame to dry for 1-2 hours. The glue will continue to cure to its maximum strength over 24 hours.
Attaching Legs and Hanging Rod for the Rack
With the shelf frame assembled, it’s time to connect the legs and hanging rod to complete the structure of your DIY wood clothes rack.
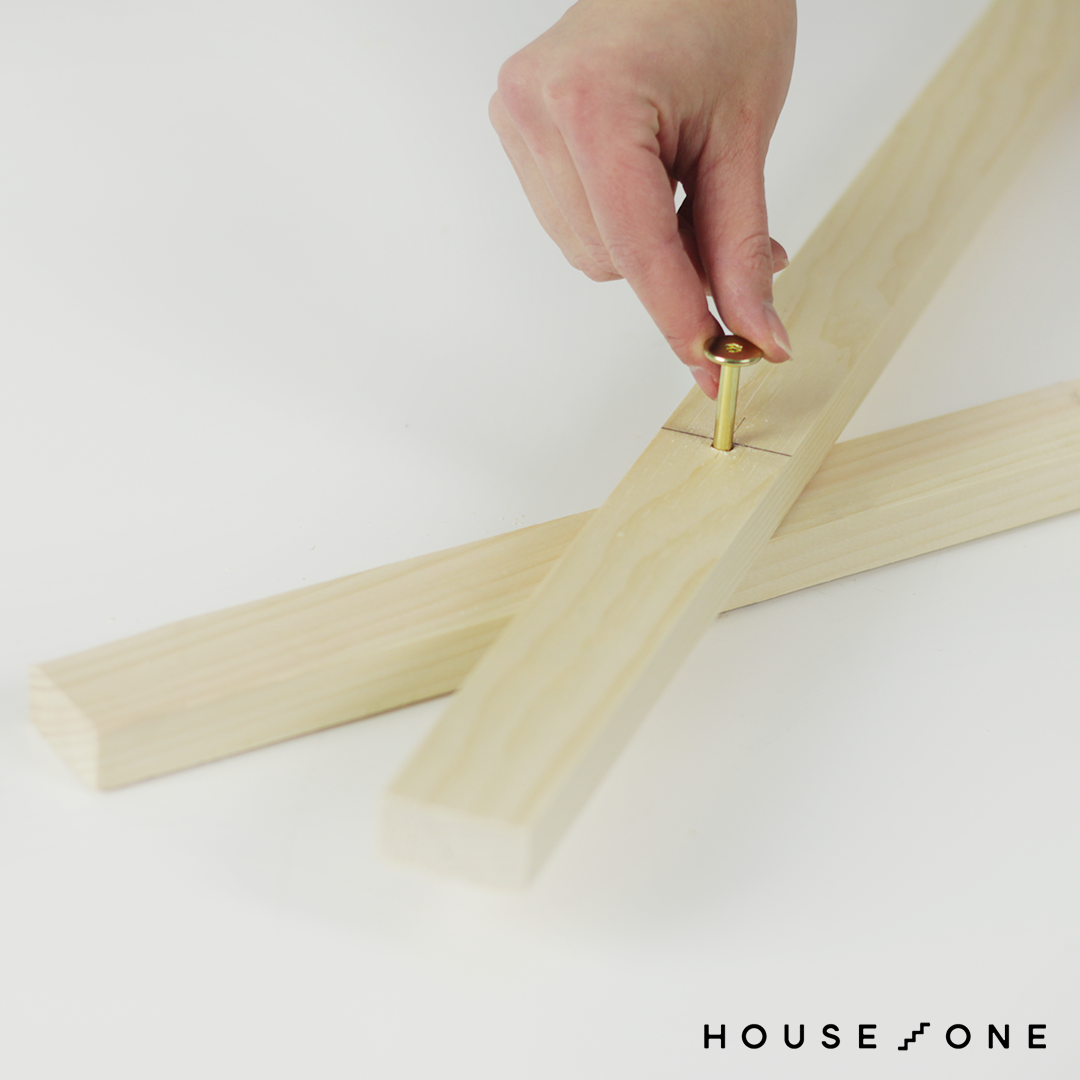
Positioning the Legs
Overlap the legs so their mitered ends face opposite directions, with the back leg set under the front leg. Place individual 1½-inch connection bolts through the two lower holes where the legs will connect to the shelf.
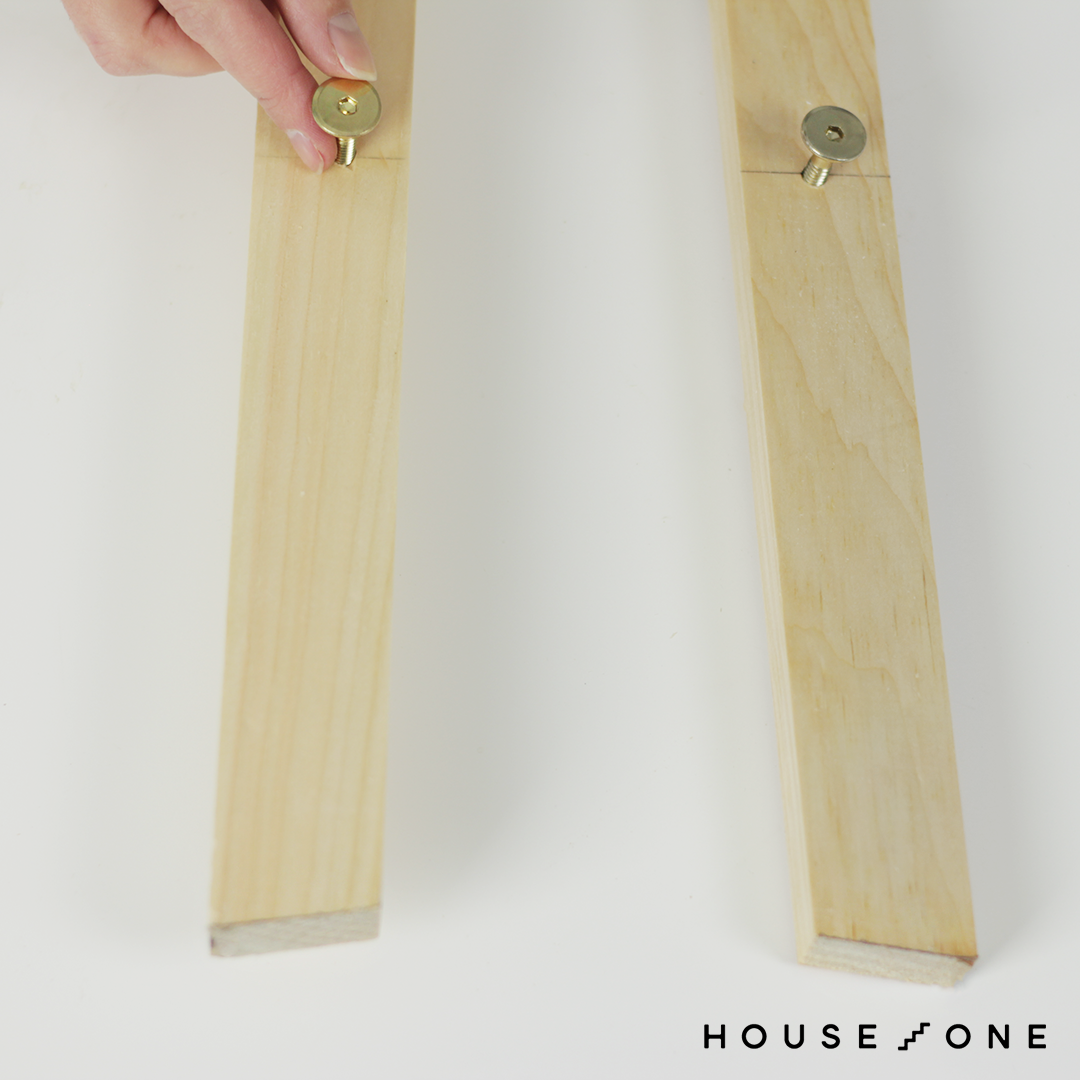
Insert a 2¼-inch connection bolt through the upper hole, extending through both boards.
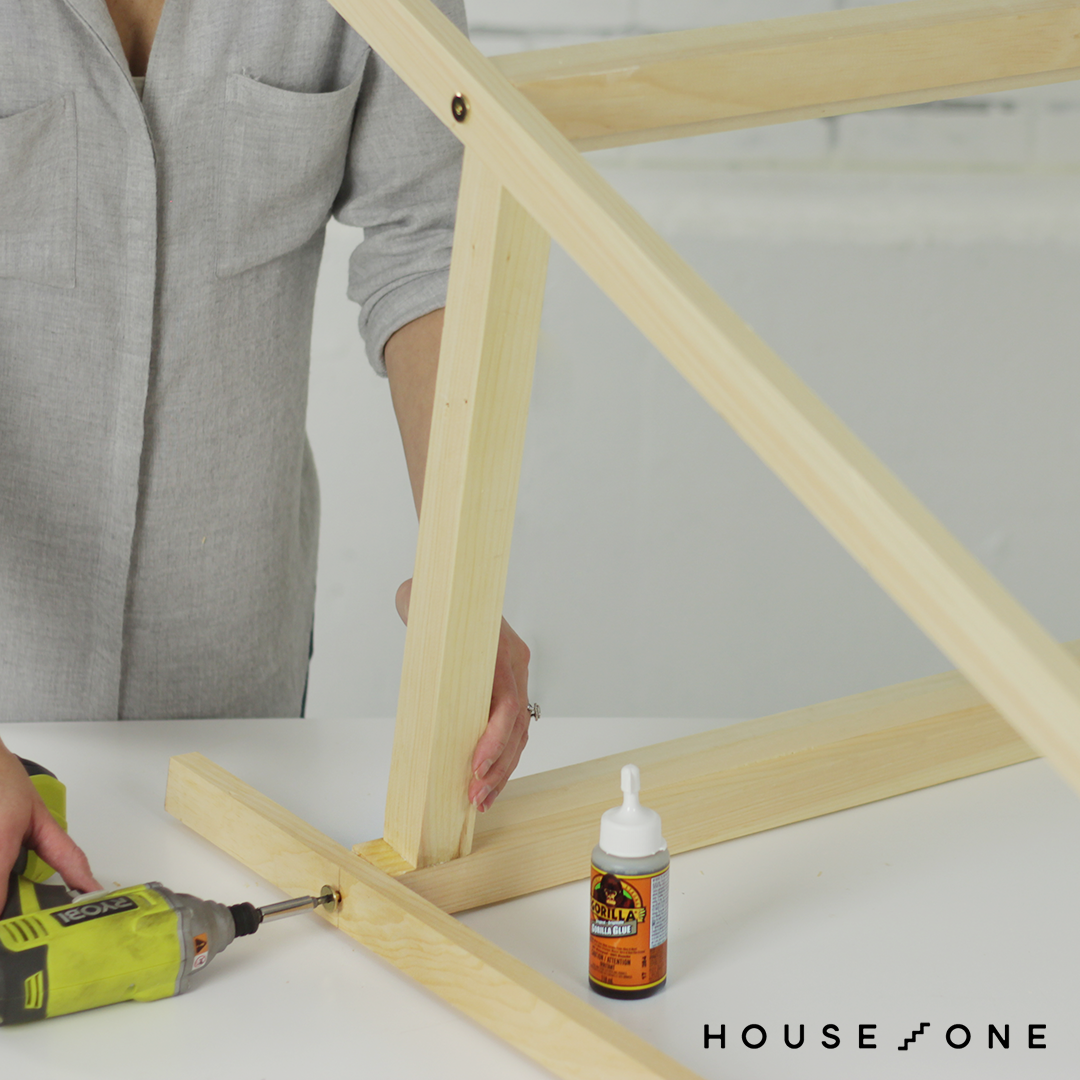
Securing the Shelf
Position the shelf between the legs. Dampen the inside face of each leg and apply polyurethane glue to the connection point on the shelf. Insert and tighten connection bolts through each leg and into the shelf.
Adding the Hanging Rod
Wet the inside face of each leg and apply a small amount of glue to the end of the hanging rod and the outside face of the sandwiched leg.
Insert a connection bolt through the hole in each leg and into the hanging rod.
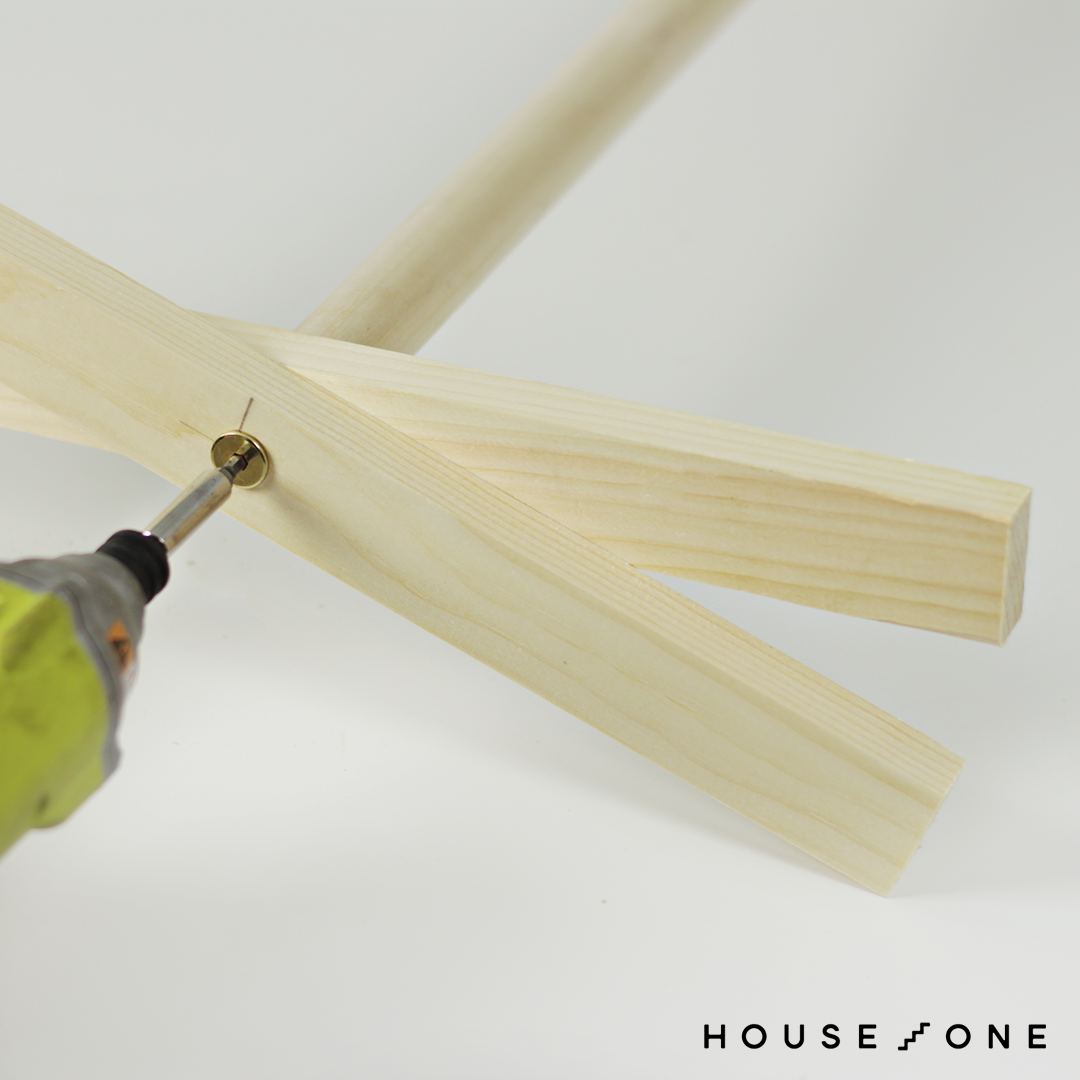
Thread the bolt into the insert nut, ensuring the base of the legs aligns with the holes in the shelf before tightening. Repeat with the remaining legs
Installing Shelf Slats and Finishing Touches
The final steps in creating your DIY wood clothes rack involve installing the shelf slats and applying the finishing touches.
Adding the Shelf Slats
Dampen the top edge of each cleat with a wet cloth. Apply a small amount of polyurethane glue to the ends and underside of each slat near its ends where it will rest on the cleat.
Place the slats one-by-one onto the cleats, using a scrap block to create ¾-inch spacing between them.

To “clamp” the slats in place, place heavy books or a box on the shelf for 1–2 hours. Allow the glue to cure for 24 hours before finishing assembly.
Finishing the Rack
Once the glue has fully cured, you can apply the finishing touches:
- Sand all surfaces of the clothes rack to ensure a smooth finish.
- Clean the rack thoroughly to remove any dust or debris.
- Apply your chosen finish — paint, stain, or polyurethane — following the manufacturer’s instructions.
- Allow the finish to dry completely before using the clothes rack.
Enhancing with Additional Features
To take your DIY wood clothes rack to the next level, consider incorporating a few additional features for added functionality and aesthetic appeal.
- Hooks and pegs: Add hooks or pegs on the sides of the rack for hanging accessories such as hats, scarves, or bags.
- Casters: Installing casters on the bottom of the legs can make the rack more mobile, allowing you to reposition it as needed.
- Custom shelving: Instead of a single shelf, customize your rack with multiple shelves or cubbies to accommodate different types of items.