Build your pet a stylish home from a half sheet of plywood. Download my plans for an easy cut layout, and let the sawdust fly! In just a few hours, you cat or dog will thank you for the stylish new digs.
Note: This DIY pet house is sized for a small cat or dog at under two feet wide.
Steps for Building a Dog or Cat House:
Step 1: Layout the cuts
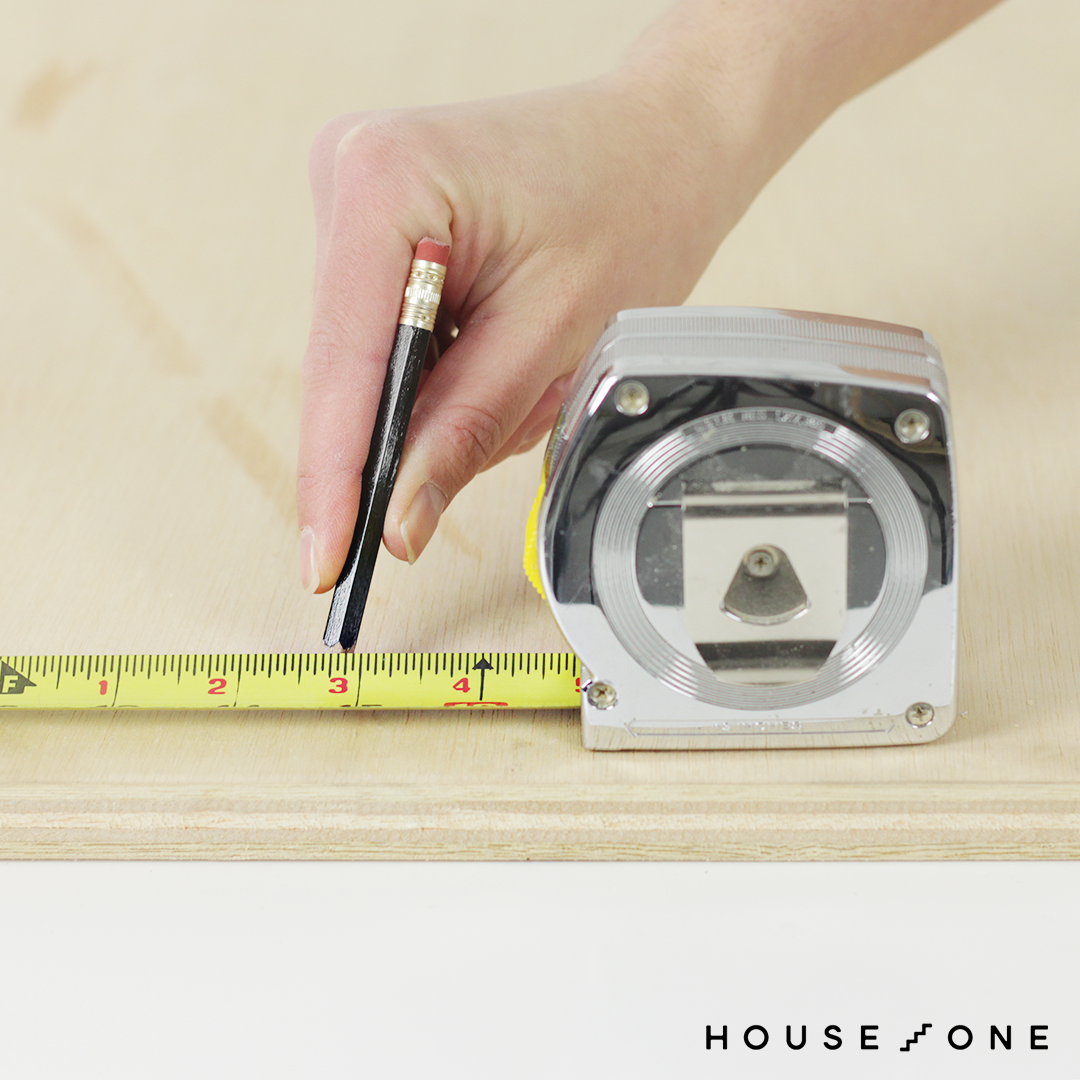
- To begin, mark the plywood using my diagram in the downloadable plans above.
- Apply painter’s tape to the plywood, and mark the cut lines with a marker.
- Covering the cut lines with painter’s tape will reduce chipping during the cuts.
Step 2: Set the saw
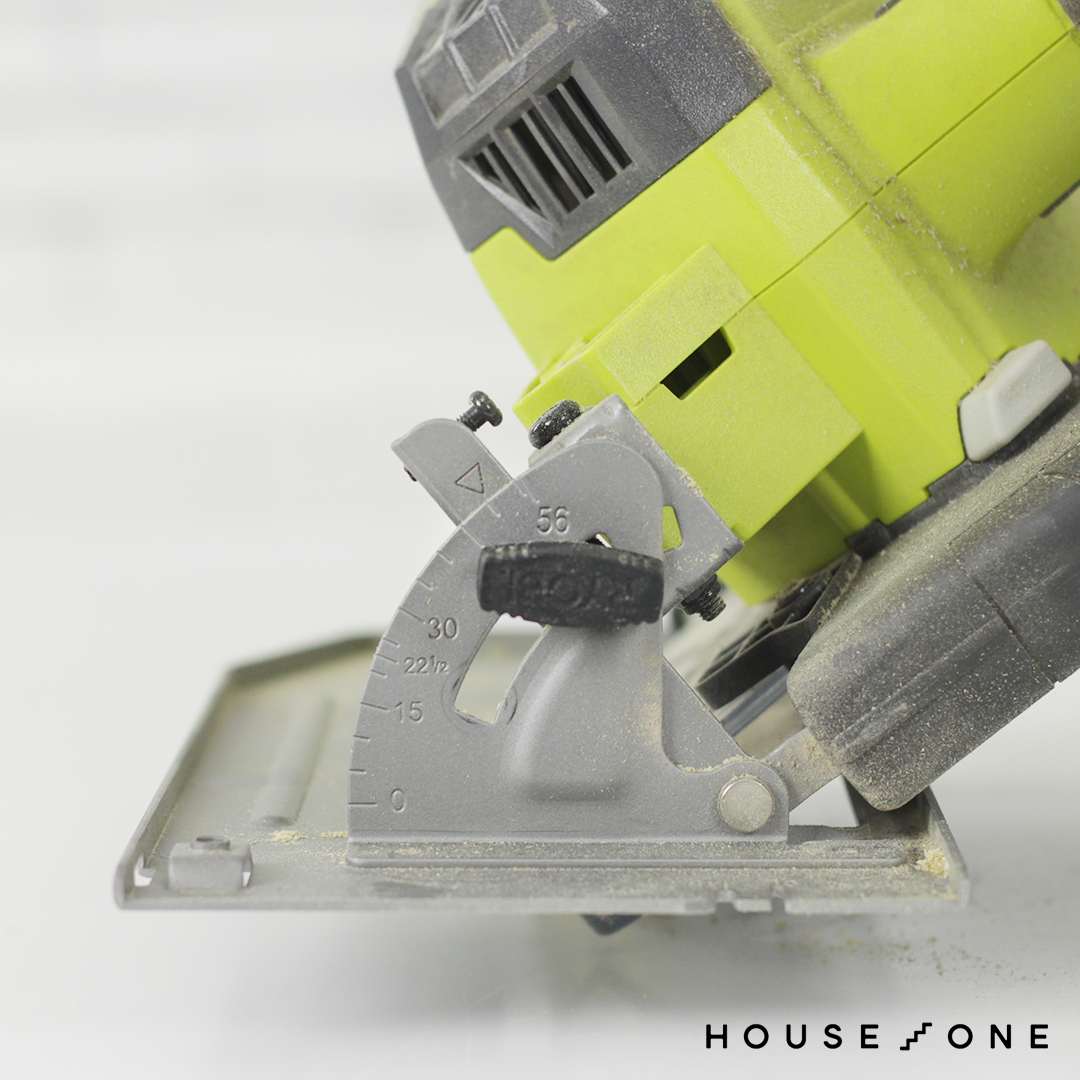
Set the bevel on the circular saw to 50-degrees for the first two cuts.
Step 3: Make the cuts
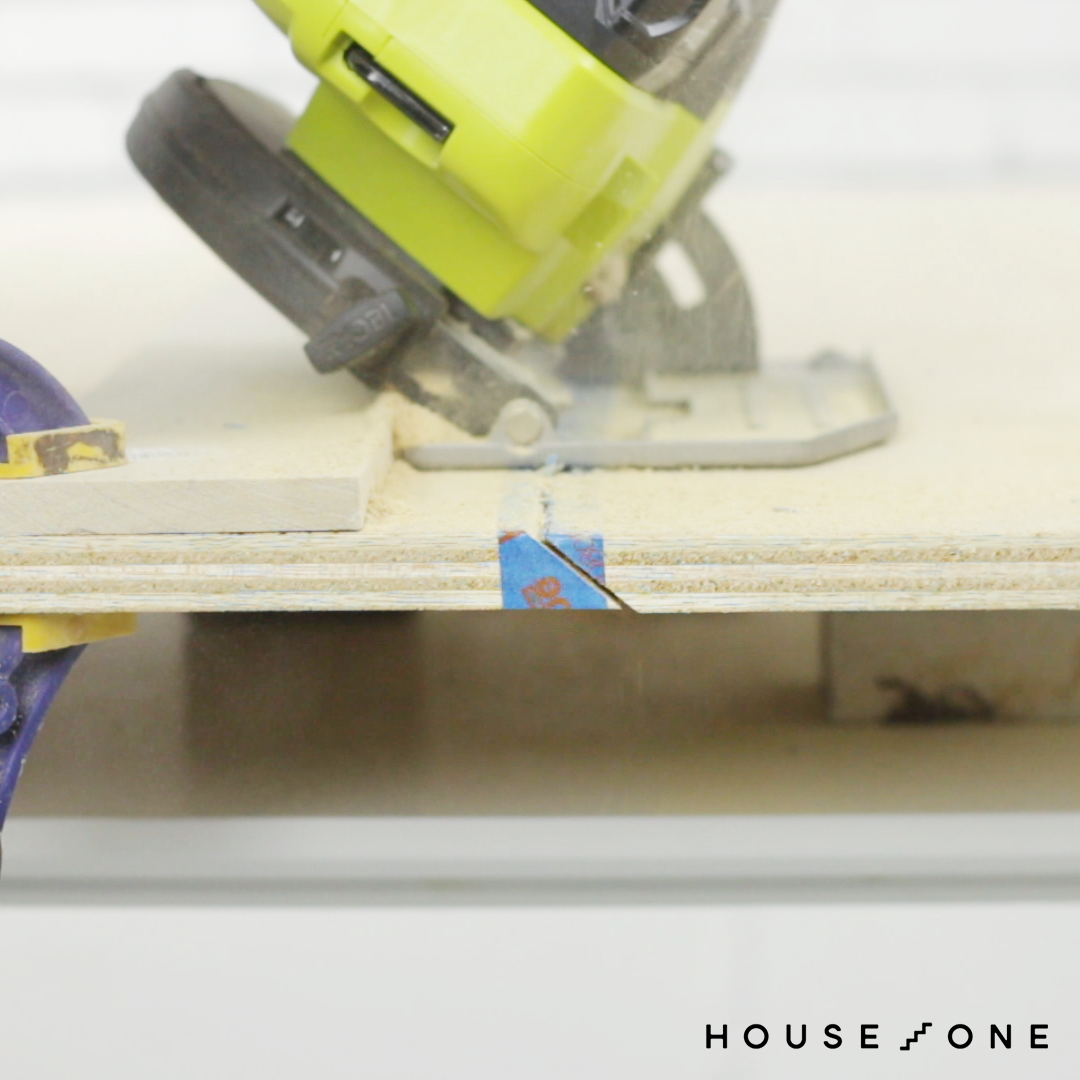
Section the plywood into four pieces using two beveled cuts and one cut at zero-degrees, as noted on the diagram in the downloadable plans above.
Step 4: Cutout the door
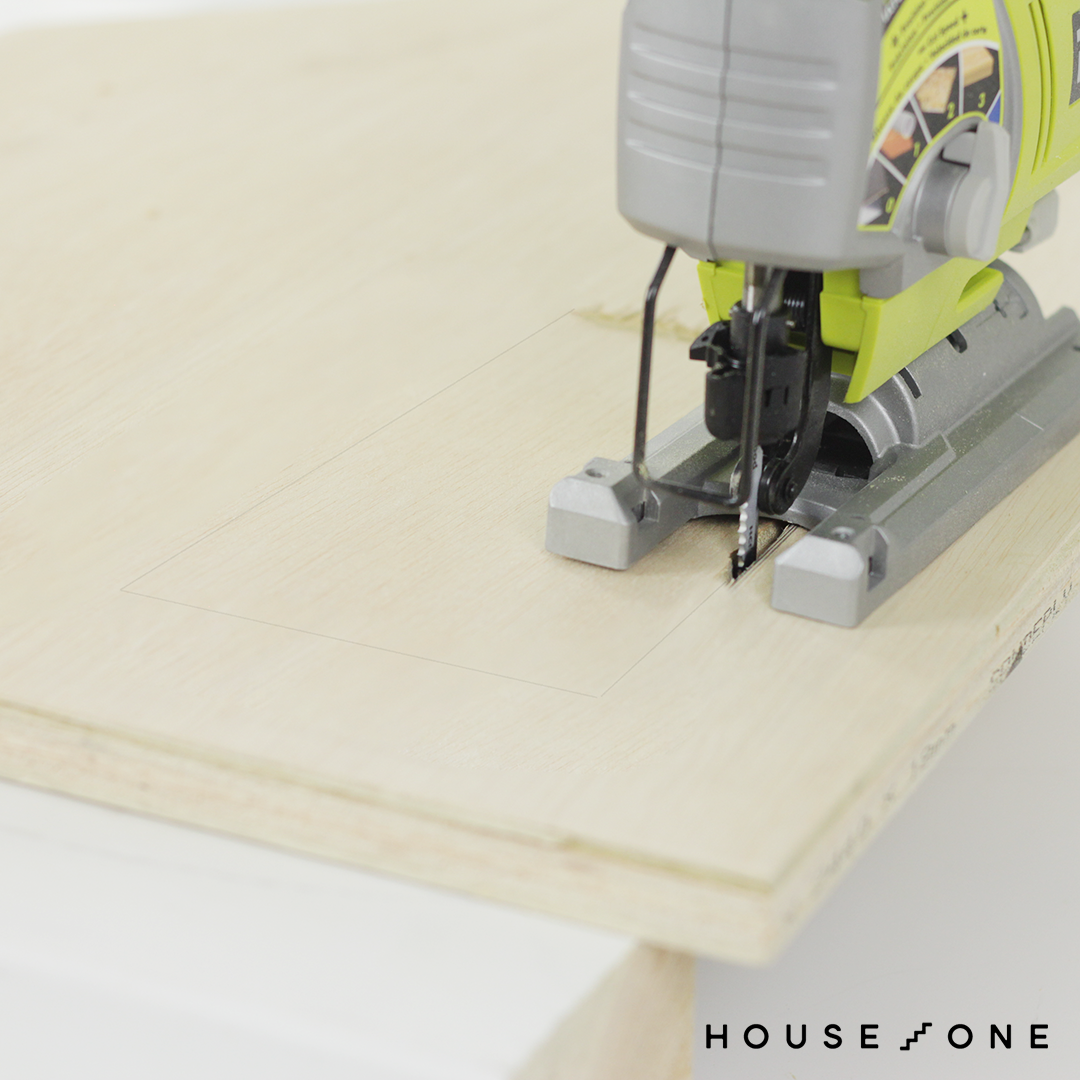
- Using a drill/driver, bore a hole inside the door outline.
- Place the blade of a jigsaw into the hole, and then cut the outline.
Step 5: Assemble the base
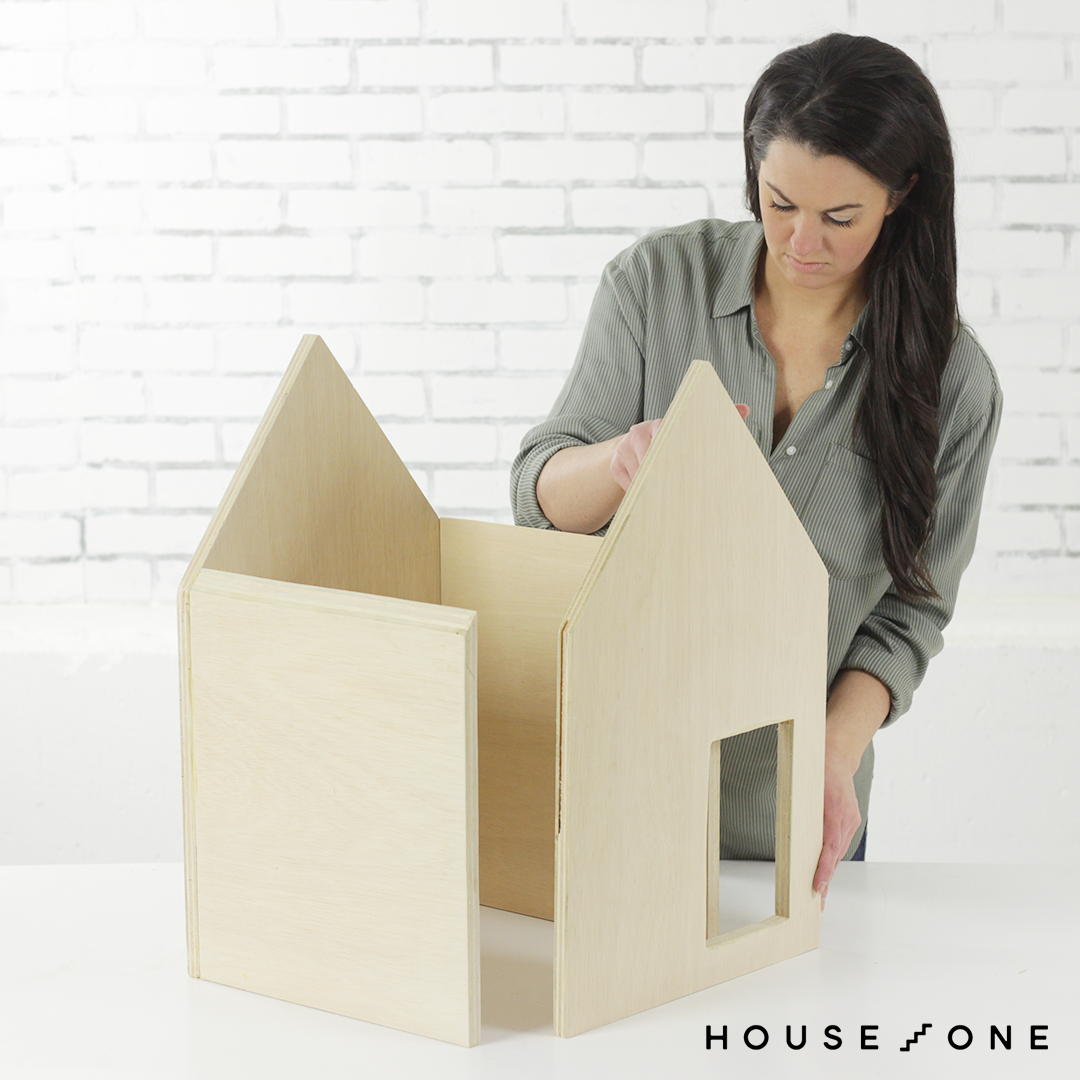
- Apply wood glue to the front and back edges of the side panels.
- Position the sides between the front and back panels.
- Using a nailer, drive 1½-inch nails through the front and back panels and into the edges of the side panels.
Step 6: Attach the roof
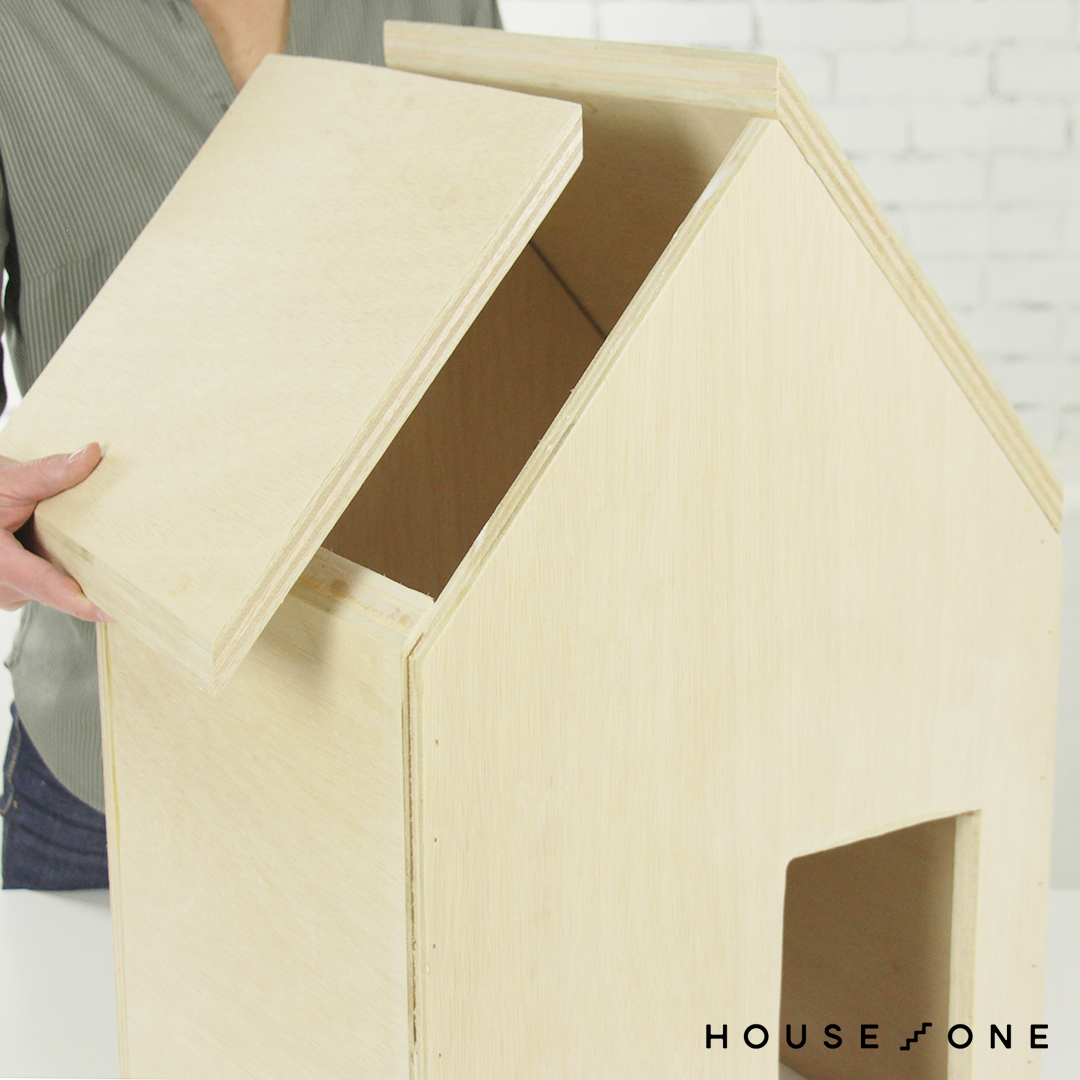
- Apply wood glue to the top edges of the assembled base.
- Position the roof panels.
- Drive 1½-inch nails through the roof panels and into the front and back panels.
Step 7: Add the chimney
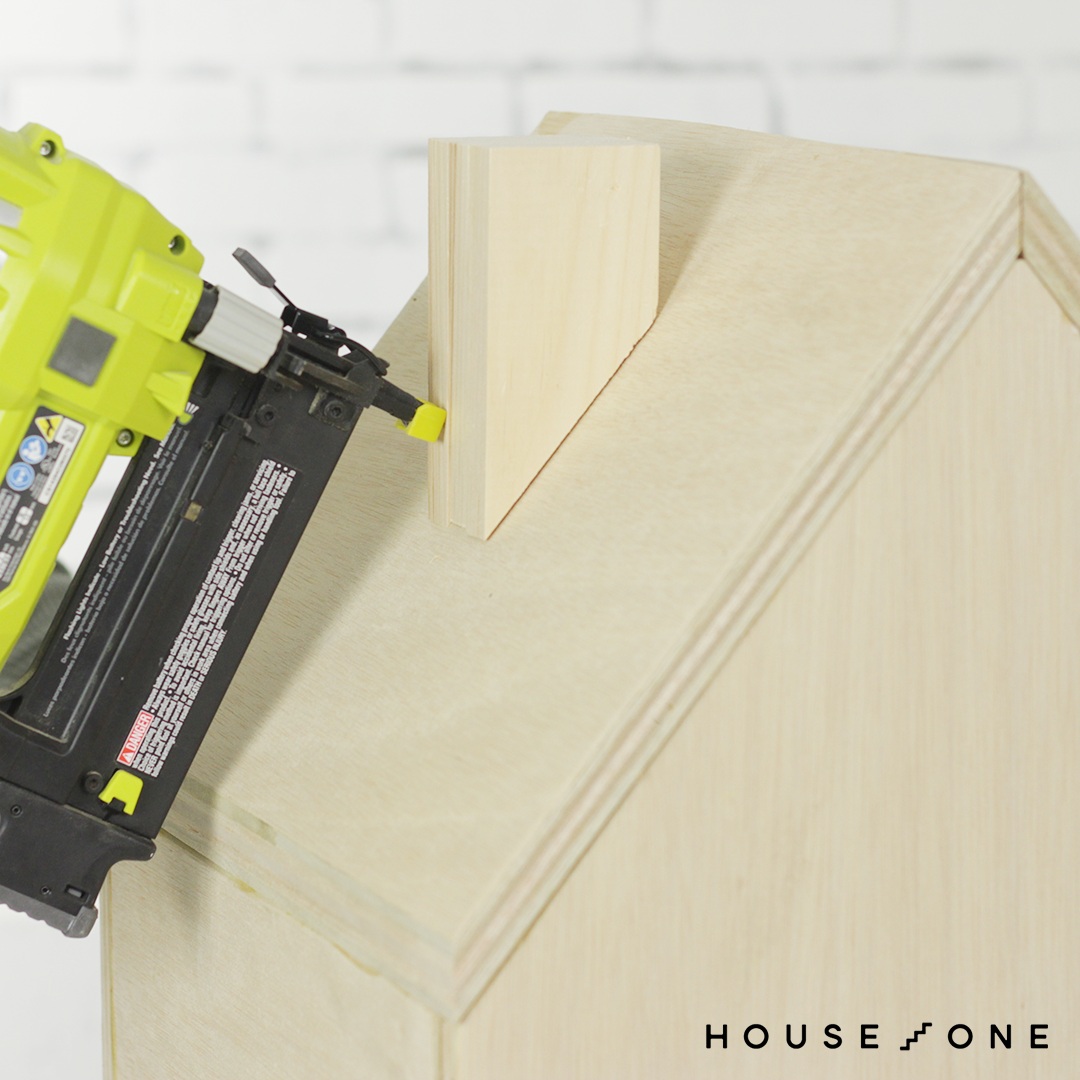
- Cut the chimney pieces to size. (Tip: this can be done by marking the lines and cutting the pieces with a circular saw, or using a miter saw set 50-degrees to match the angle of the roofline.)
- Apply wood glue between the pieces, and then nail them together with 1½-inch nails. Center the chimney on the left roof panel.
- Outline the chimney on the roof.
- Apply wood glue to the underside of the chimney.
- Position the chimney, and then nail through the base of the chimney and into the roof.
Tools:
Tools & Materials


Materials:
- 3/4″ x 4′ x 4′ Sanded Plywood
- Painter’s Tape
- 1 1/2″ Nails