Project details
Skill
Cost
Estimated TIME
We may be compensated if you purchase through links on our website. Our team is committed to delivering honest, objective, and independent reviews on home products and services.
These seamless, sturdy shelves offer a perfect solution for maximizing space in any nook, closet, or pantry. In this guide, we’ll walk you through the process of building and installing custom floating shelves, providing you with a step-by-step approach to elevate your pantry’s functionality and style. In the video above, House One‘s Jenn Largesse demonstrates the step-by-step installation process, showcasing how this project can be the finishing touch on a kitchen remodel.
Planning Your Pantry Shelves
Before diving into construction, you’ll need to make a plan for your pantry shelves. Consider the following factors when preparing for your project:
Determining Shelf Quantity and Spacing
First, decide how many shelves you want in your pantry and determine how much space you need between them. Largesse built five floating shelves for her project, but you can follow the steps below to make these decisions for your own pantry:
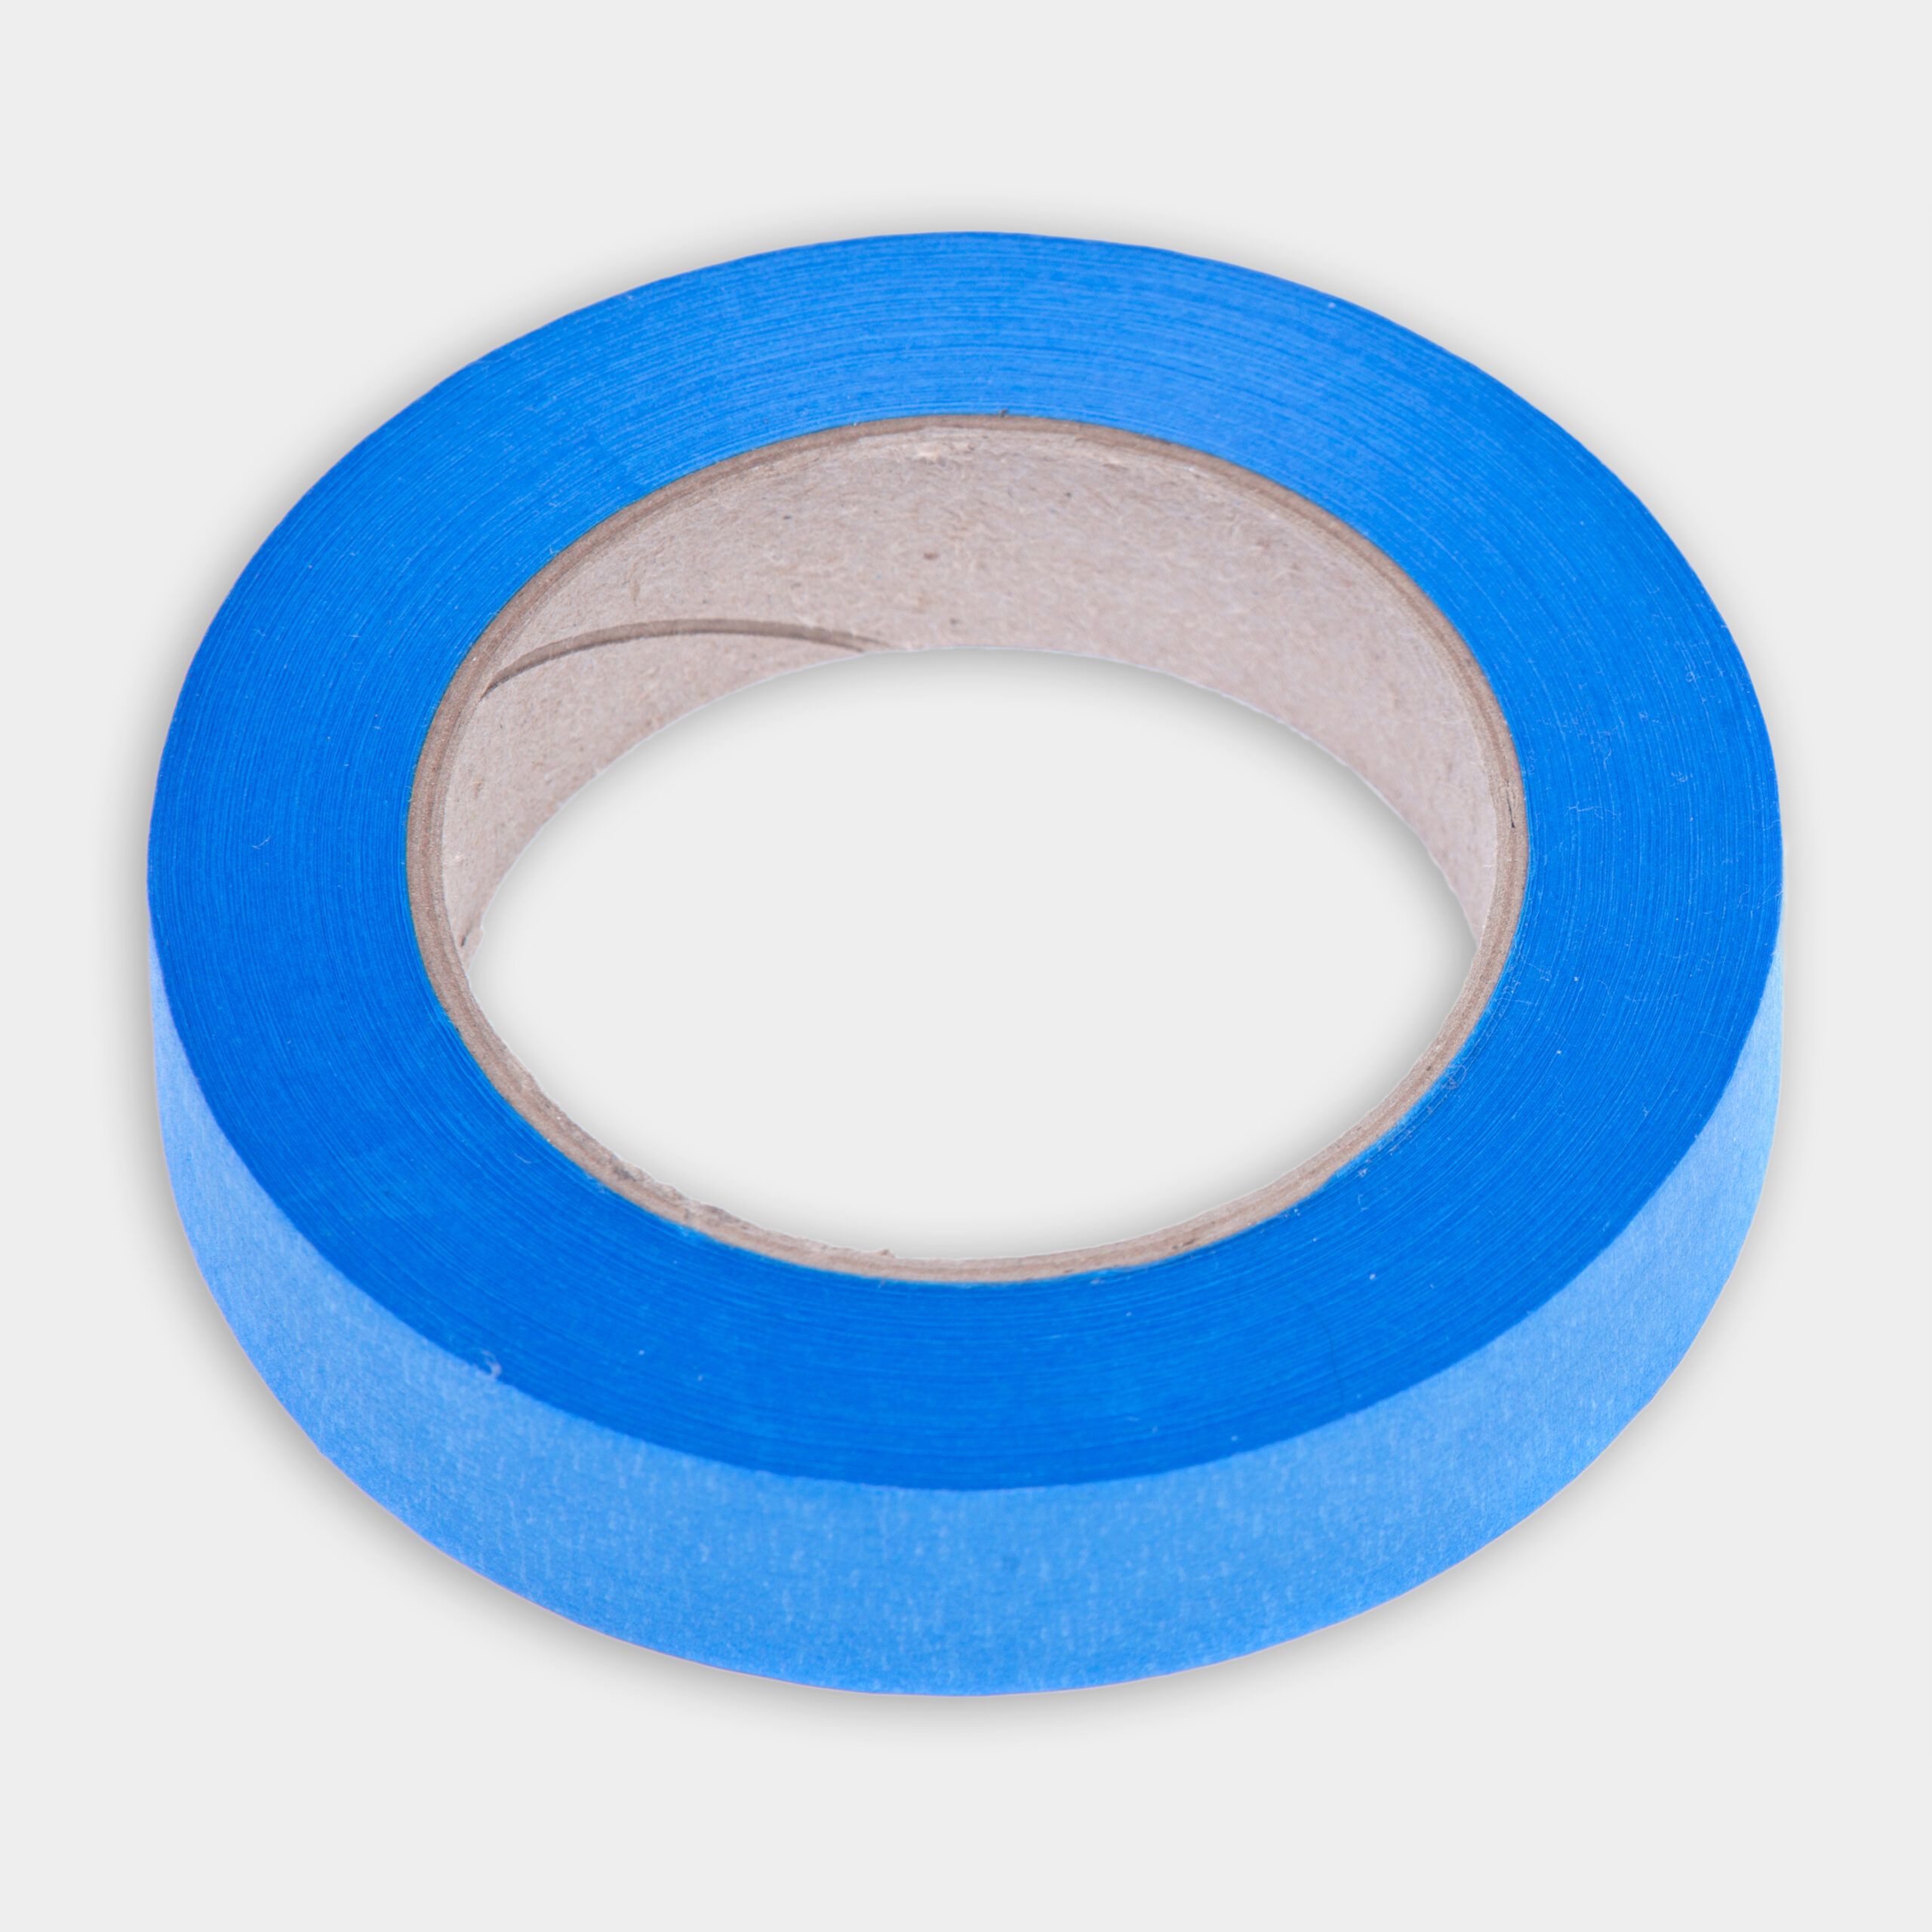
- Use painter’s tape to mark potential shelf locations on the wall, spacing them between 10 and 16 inches apart. This visual aid helps you envision the final layout and adjust as needed.
- Consider the height of items you’ll want to store to ensure adequate space between shelves.
- Consider if you want more storage space at the bottom for heavier items, like large pantry staples or small kitchen appliances that might not fit in your cabinets.
Measuring and Marking
Once you’ve determined the number of shelves you need, it’s time to mark their positions on the wall as follows:
- Use a pencil to mark the thickness of your shelf frame (typically 1 1/2 inches) on the wall.
- Draw lines above and below where you plan to place each 1-by-2 board.
- Use a stud finder to locate at least two studs along the back wall and one on each side wall.
- Use a level to draw vertical lines from these stud marks to each shelf position.
These markings will serve as your guide during installation, ensuring your shelves are level and securely anchored.
Materials and Tools Needed for Pantry Shelves


You’ll need to gather the following tools and materials before you can build your shelves:
Materials
- 1-by-2-by-8-foot boards for shelf frames
- 1-by-3-by-8-foot boards to cap front edges
- 1/4-inch-by-4-foot-by-8-foot plywood for shelf bottoms
- 1 1/4-inch coarse-thread pocket-hole screws
- 18-gauge finish nails (1 1/4-inch)
- 2-inch deck screws
- 3/4-inch-by-4-foot-by-8-foot plywood for shelf tops
- Stain and polyurethane (if desired)
- Wood filler
- Wood glue
Tools
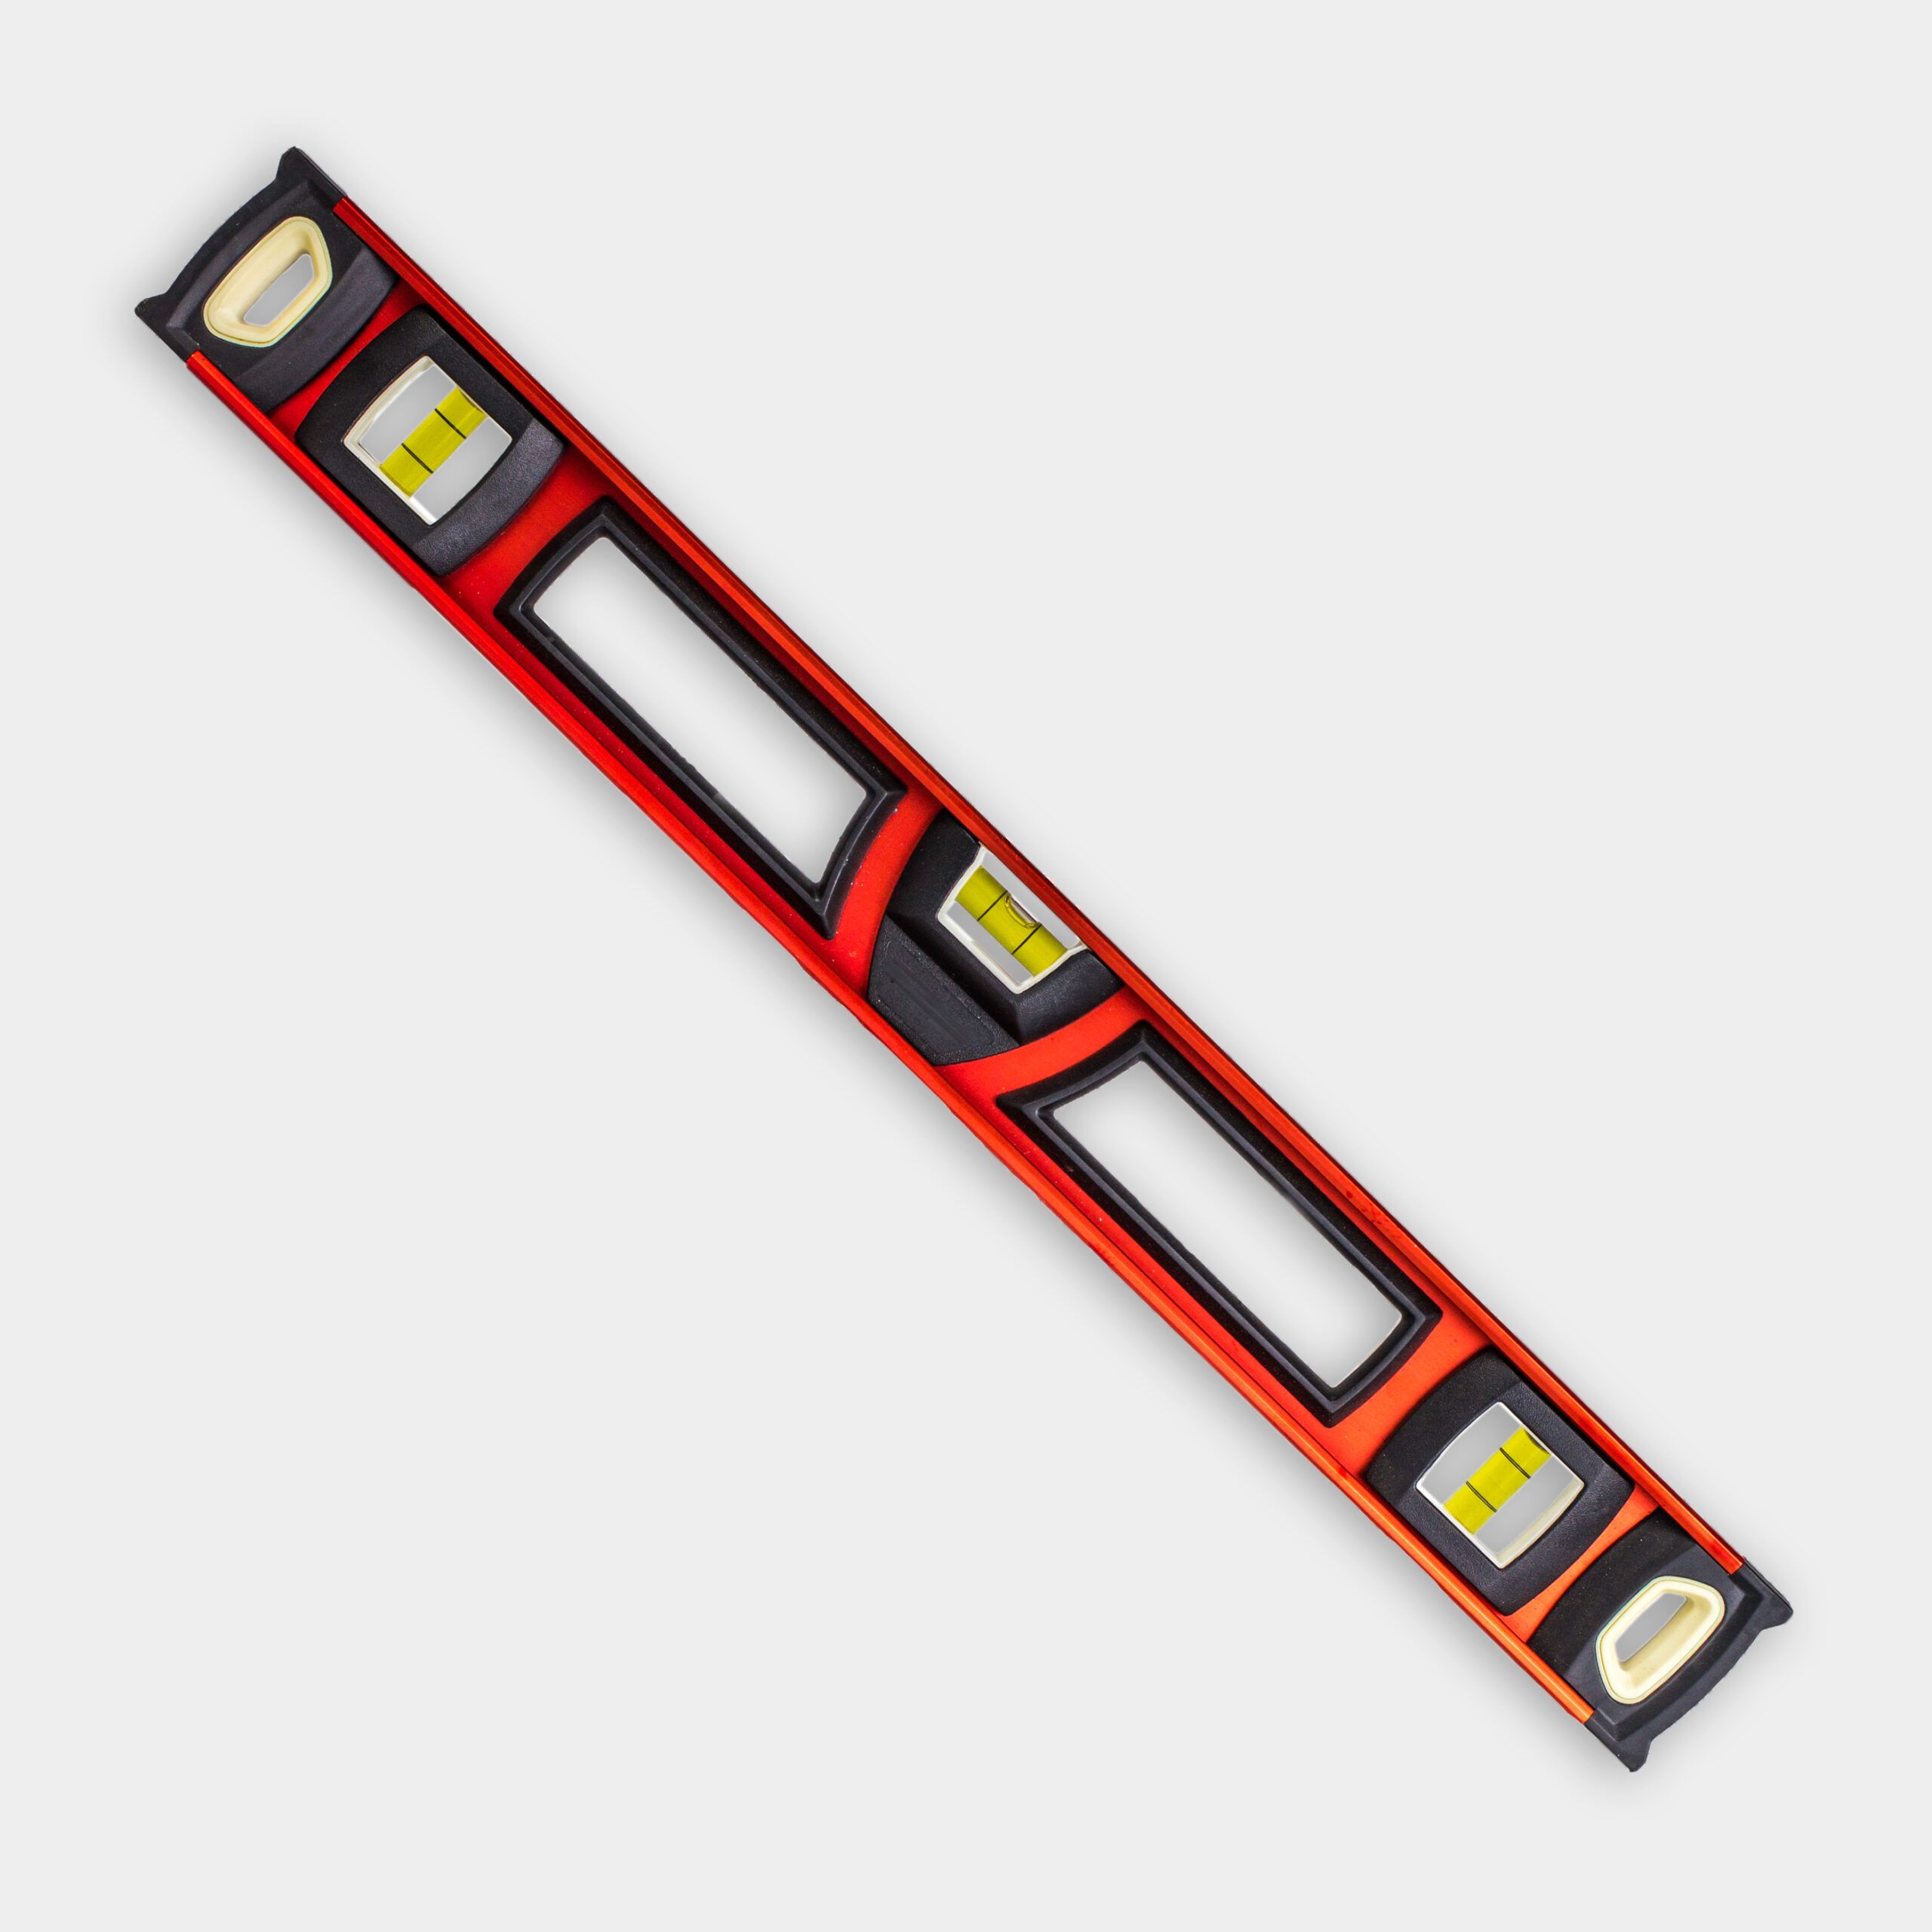
- 4-foot level
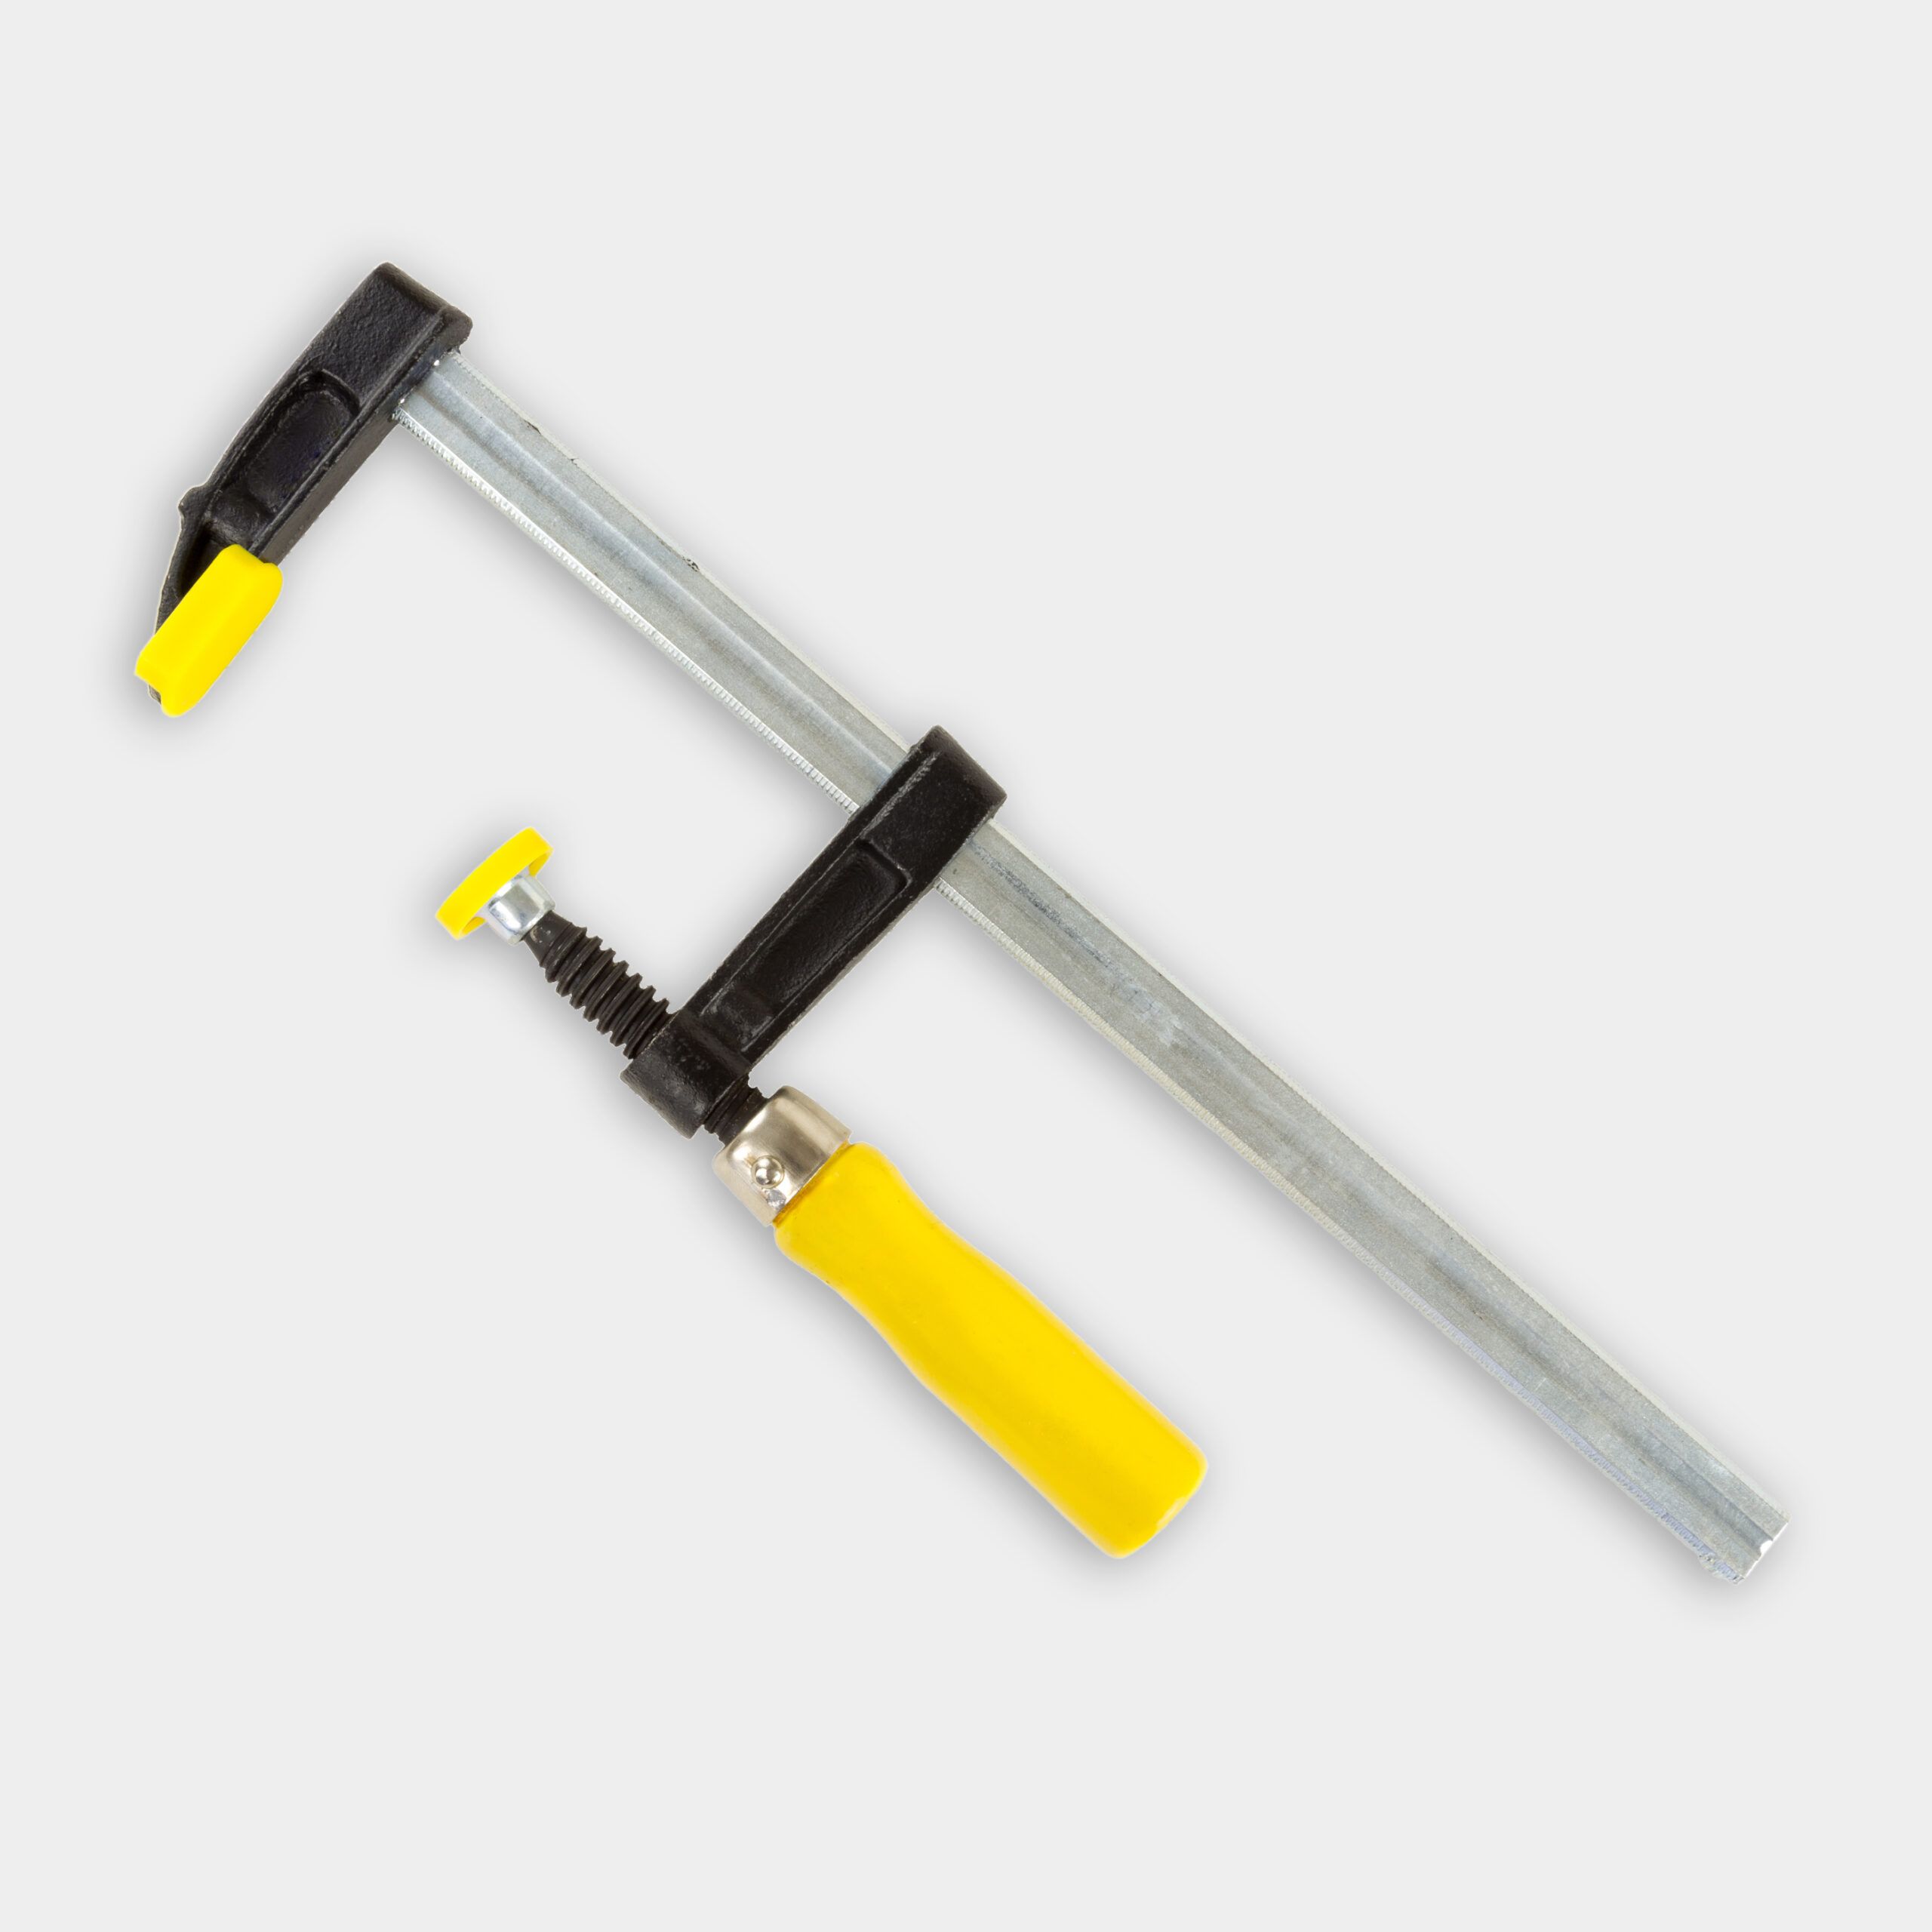
- Clamps
- Drill/driver
- Miter saw
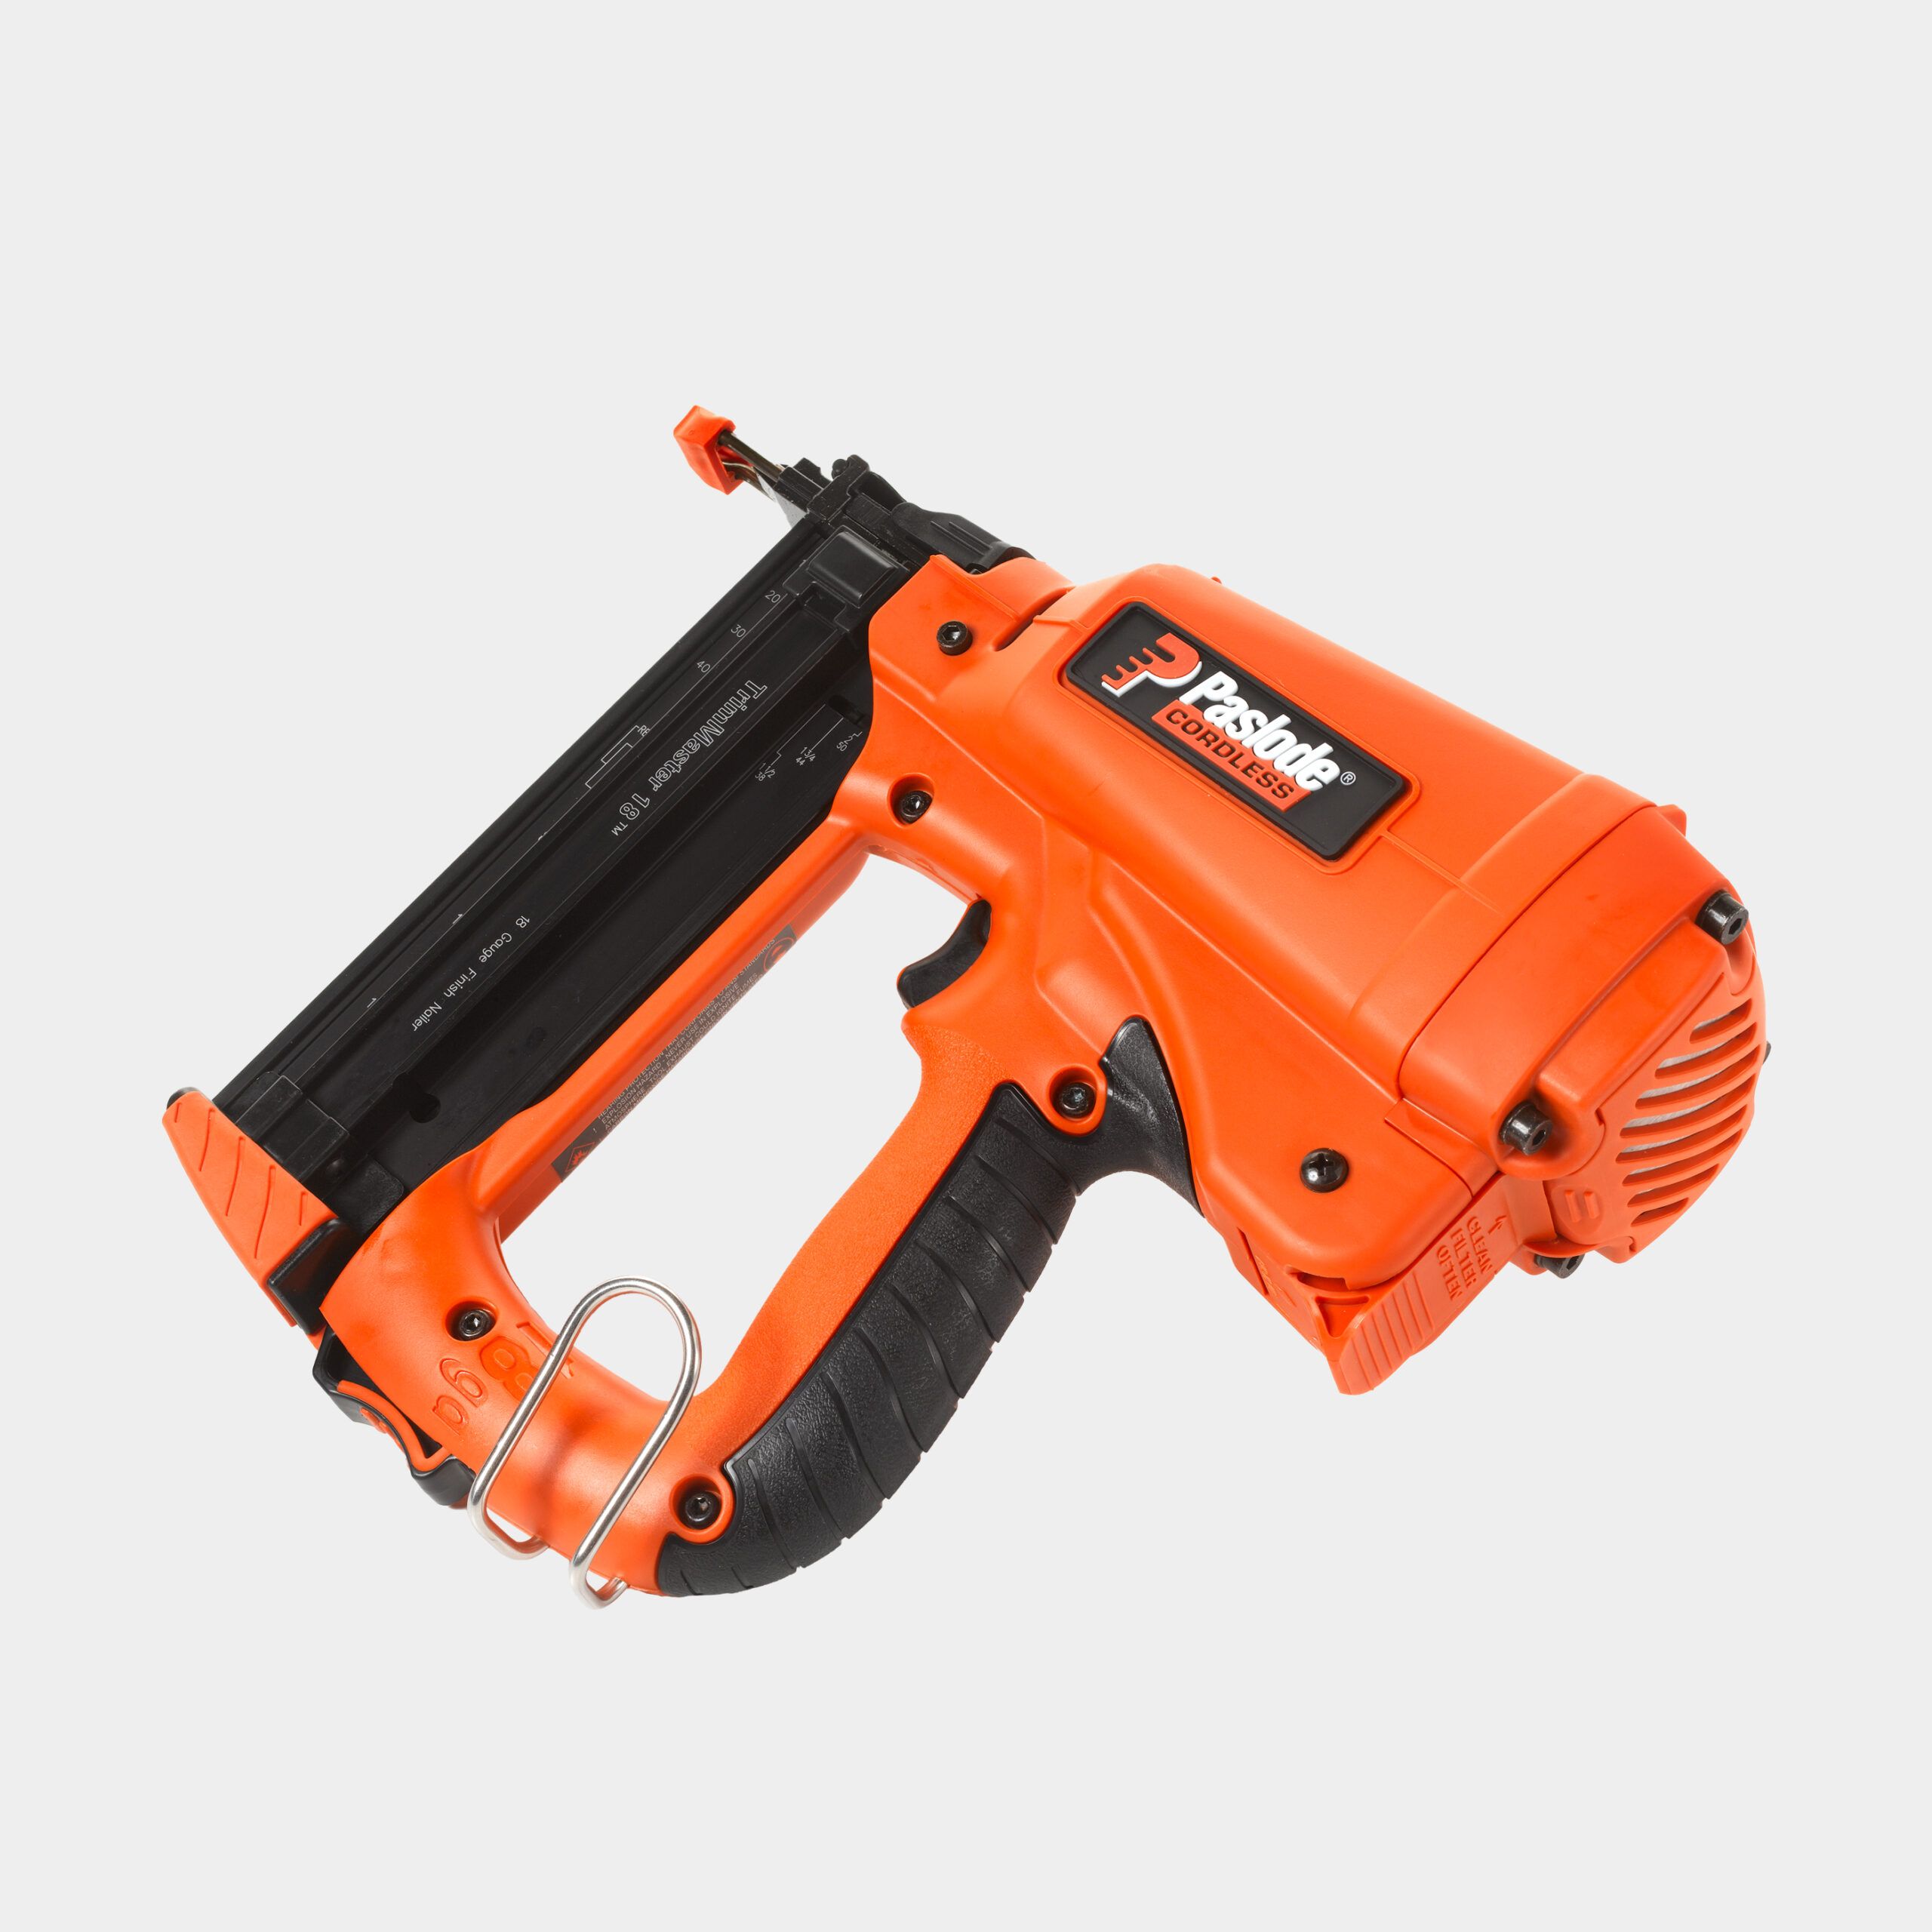
- Pneumatic nail gun
- Pocket hole jig
- Sandpaper
- Stud finder
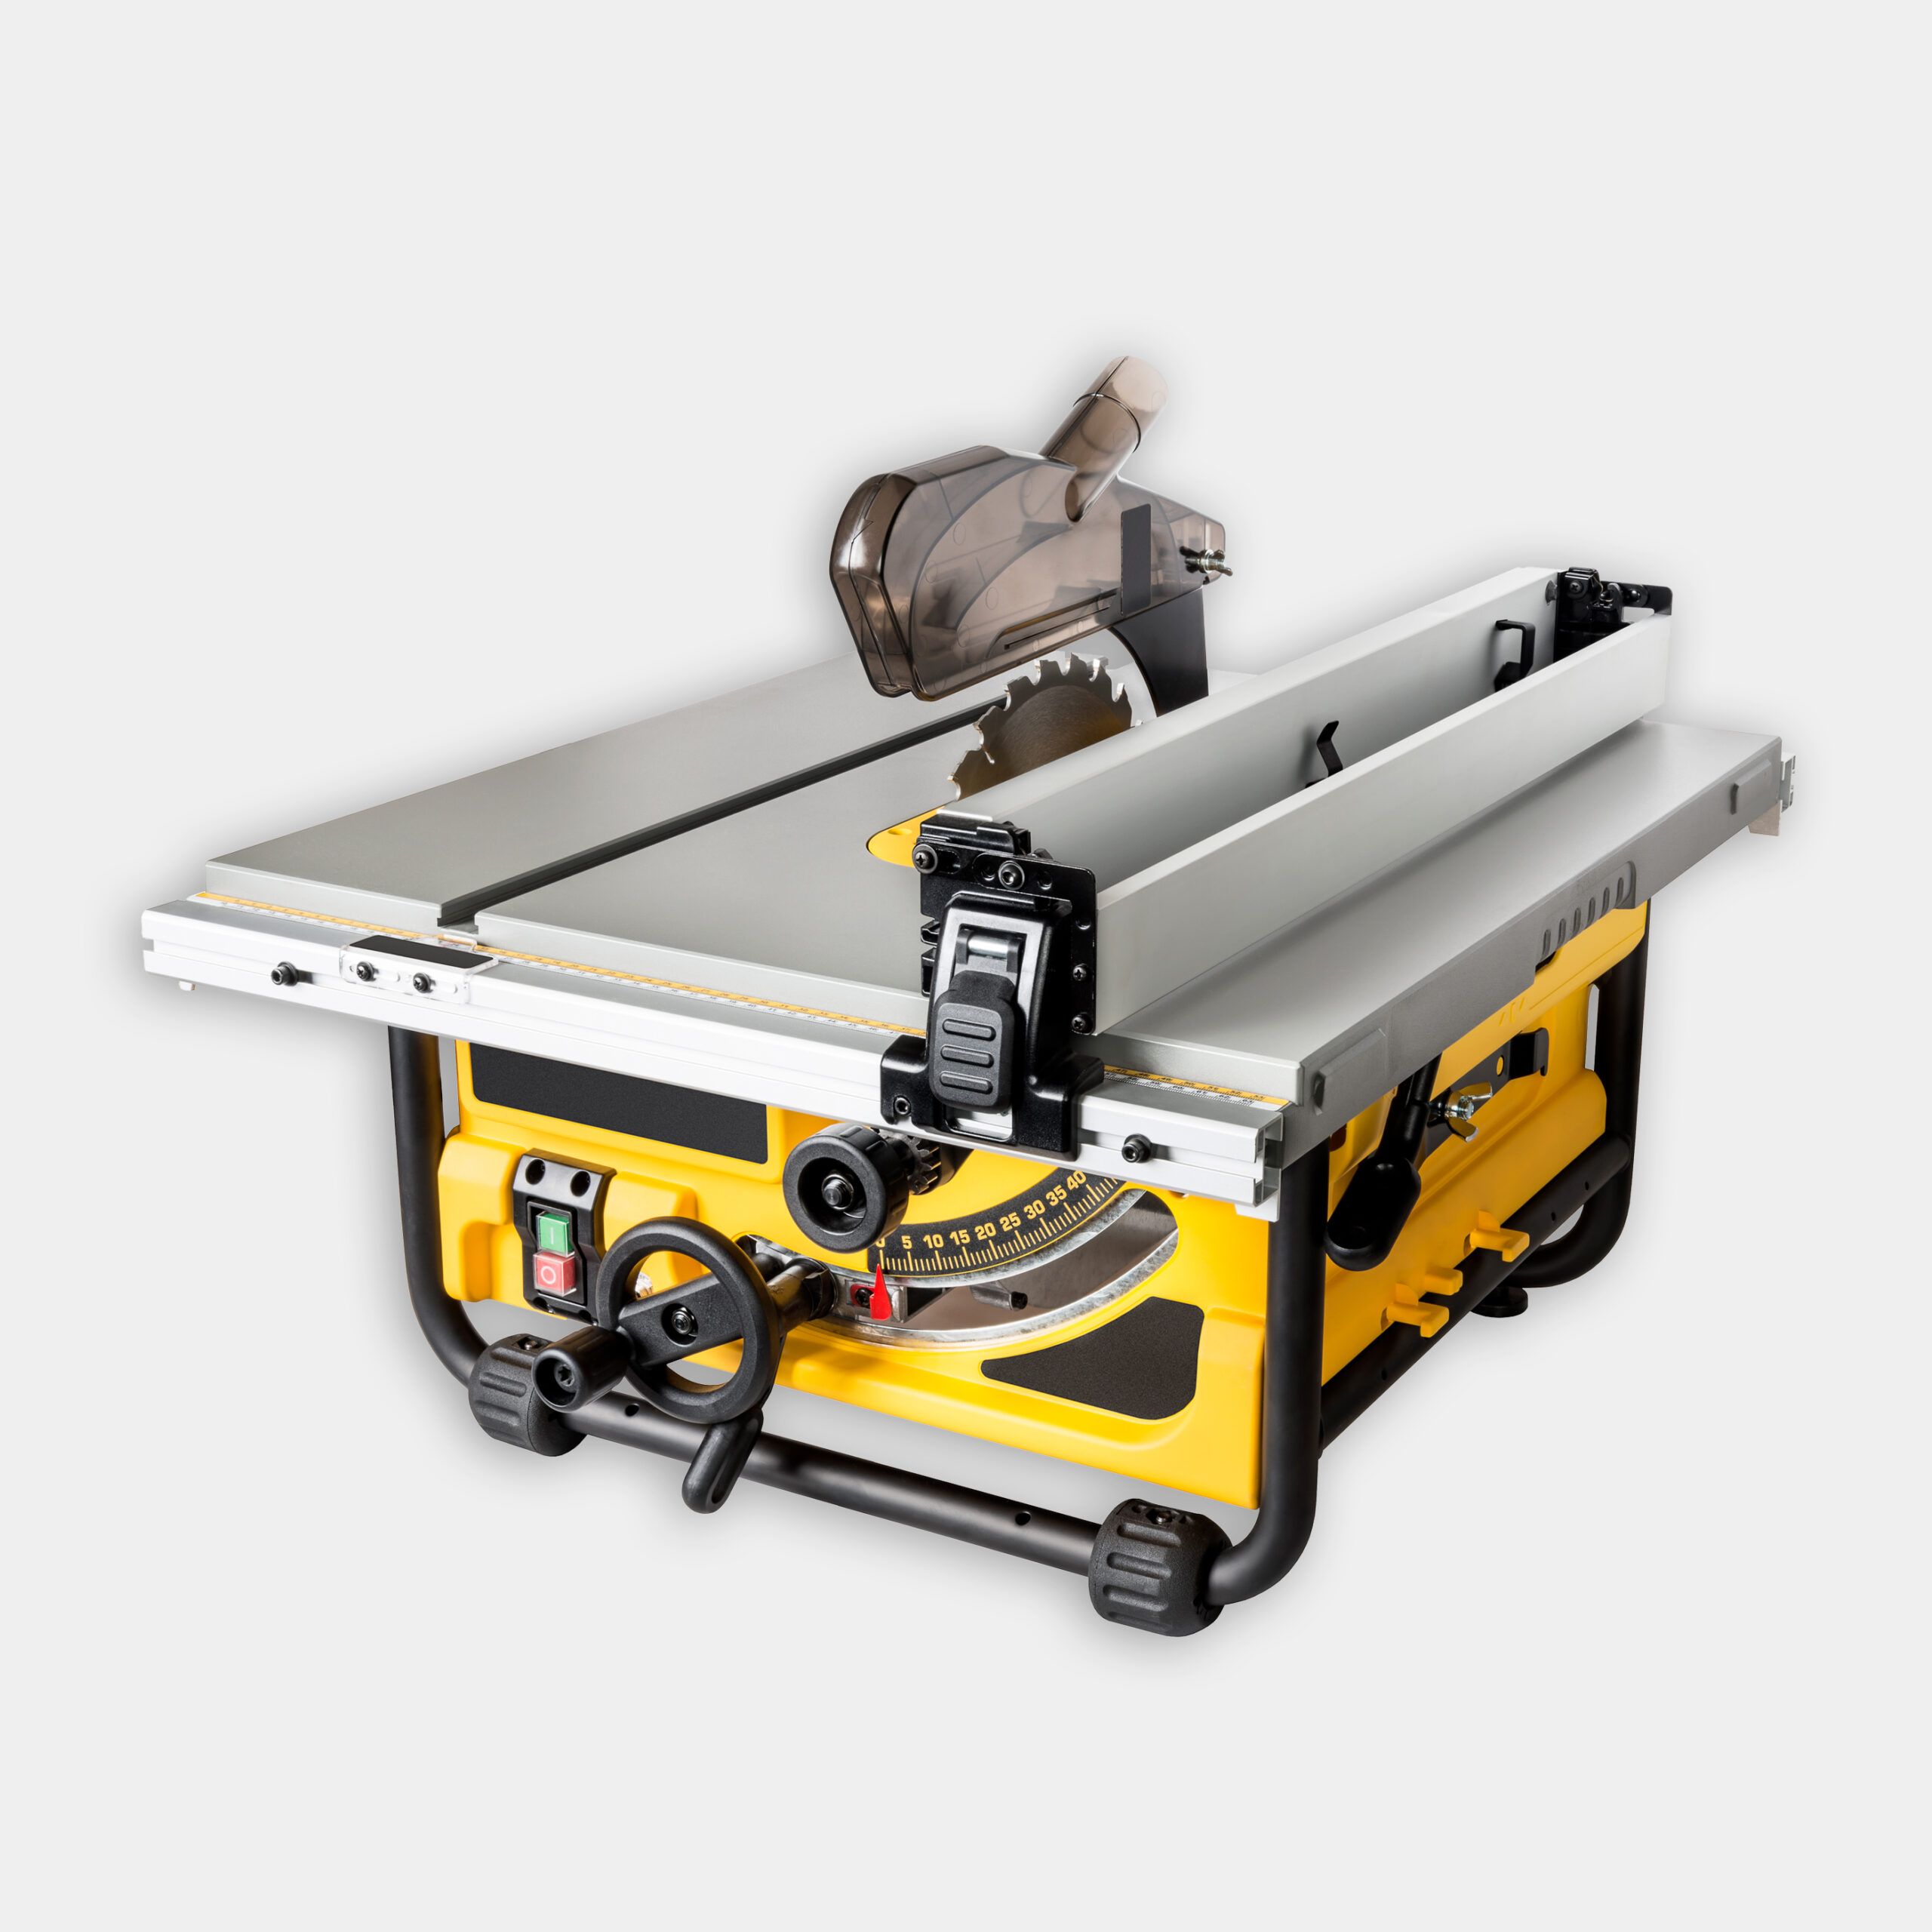
- Table saw or circular saw with straightedge guide
Steps for Building Custom Floating Shelves
Before Largesse began building her shelves, she removed her old pantry door to widen the opening and prepared the space for her new custom shelves per the planning directions above. Then, she proceeded with the construction process.
How To Build the Floating Shelves
Once you’ve done the necessary prep work, follow these steps to build your floating shelves:
- Start by sandwiching a frame of four 1-by-2 boards between a 1/4-inch plywood bottom and a 3/4-inch plywood top.
- To cap the front edge of the layers, Largesse used a 1-by-3—which happened to be the exact 2 1/2-inch thickness of the combined layers.
- Next, cut the 1-by-2 boards to length using a miter saw. Then, drill pocket holes in all the long front and back boards.
- Apply glue and use a drill/driver and 1 1/4-inch pocket-hole screws to assemble each frame.
- This is where Largesse learned some valuable lessons on this project, as follows:
- “First, I failed to account for the walls being a little wonky near the top of the pantry, so I needed to take the top two frames back apart and trim the width of the long front and back pieces.”
- “Secondly, I tried installing the frames all at once, first from the bottom and then skipping up to the top, only to remember that the opening is not as wide as the closet’s interior, so I couldn’t angle the plywood between the frames to fit them into place.”
- “Lastly, in dry fitting the location of my highest shelf, I realized basic items couldn’t clear the opening of the doors, so I ended up moving my top three shelves a bit lower to allow more clearance.”
- Tip: Keep your closet’s unique specifications in mind as you measure out the shelves.
- This is where Largesse learned some valuable lessons on this project, as follows:
- After assembling the shelves, cut the 3/4- and 1/4-inch plywood to size and coat everything with stain and two coats of polyurethane, sanding lightly between the clear coats. You can do this after installation, but Largesse used an oil-based paint at this stage. This can be a bit malodorous so she chose to stain it in her workshop.
- Starting from the bottom, install the frame. Predrill holes at the location of each stud, then drive 2-inch screws through the frame and drywall and into the studs. Frequently check the frame for level from side to side and front to back as you complete this step.
- This was a trial-and-error process for Largesse, who described it as follows:
- “For the first few shelves, I figured out how to finagle the 1/4-inch plywood down through the frame, where I then added glue and nailed it to the underside of the frame with 1 1/4-inch finish nails. Next, I tried to add the 3/4-inch plywood on top, but couldn’t get it into place. You’ll see I uninstalled the frame above it to make space, but then installed it with glue and 1 1/4-inch nails.”
- Tip: The key here is to place the next 1/4-inch piece into the space before installing the frame above, so you can then easily raise it into place. From there, continue gluing and nailing plywood to the frame before moving on to the next frame.
- This was a trial-and-error process for Largesse, who described it as follows:
- Once you’ve installed all the shelves, apply glue to the front edge and add the 1-by-3 caps with 1 1/4-inch nails.
Finalizing the Look of Your Pantry Shelves
Once her shelves were complete, Largesse worked with her local branch of a company called One Day Doors & Closets to measure her exact pantry opening so they could custom-cut the doors to fit her doorframe. This was a huge help for Largesse because the doors were not a standard size and One Day had many door style options. If you want to upgrade your existing doors or install a new door, this process will take a lot of guesswork out of trying to fit a stock door into an opening that’s not a standard size.
When Largesse’s new doors arrived, they already had her choice of hinge color installed and the One Day team completed the installation quickly with perfect spacing all around.
Our Conclusion
Custom floating shelves offer a stylish and practical solution for pantry organization. By following this guide, you can create durable, attractive shelves that maximize your storage space and complement your kitchen design. While this project requires some woodworking skills, the result is a custom storage solution tailored to your specific needs and style preferences.