After noticing his neighbors’ living rooms were brighter than his own, a homeowner decided to install a set of sconces over his fireplace mantle. With the help of master electrician Heath Eastman, the two were able to install a new light switch and a set of new sconces to brighten things up.
How High to Install a Sconce
There are no hard and fast rules about where to position a sconce. So you can place them where they work best around the furniture, headboards, or paintings in your house. However, these general height recommendations will ensure a wall sconce looks in the right proportion to the rest of the room:
● Above or around a headboard: 48 inches to 60 inches from the floor
● Around a bathroom vanity: 60 inches to 70 inches from the floor
● Accent or task lighting: 60 inches to 72 inches from the floor
In Heath’s case, he used the mantle as the baseline for where to install his sconces. Rather than using a level, he measured up from the top of the mantle to ensure the sconces looked even rather than ensuring they were level.
How to Install a Wall Sconce
- Start by choosing the wall sconce’s location—above an outlet is usually easiest. Mark the spot with a piece of painter’s tape. Use a stud finder to find the studs on either side of the new sconce’s location.
- If you’re installing a new switch, find the ideal area and mark it with painter’s tape. Again, use the stud finder to locate the studs on either side of the switch location. Head to the basement and look into the general area under the switch and sconce locations to ensure there aren’t any hazards.
- While in the basement, look for a junction box nearby for a power source to tap into. Shut off the breaker to supply power to the junction box and check all of the wires inside for voltage using a non-contact voltage detector.
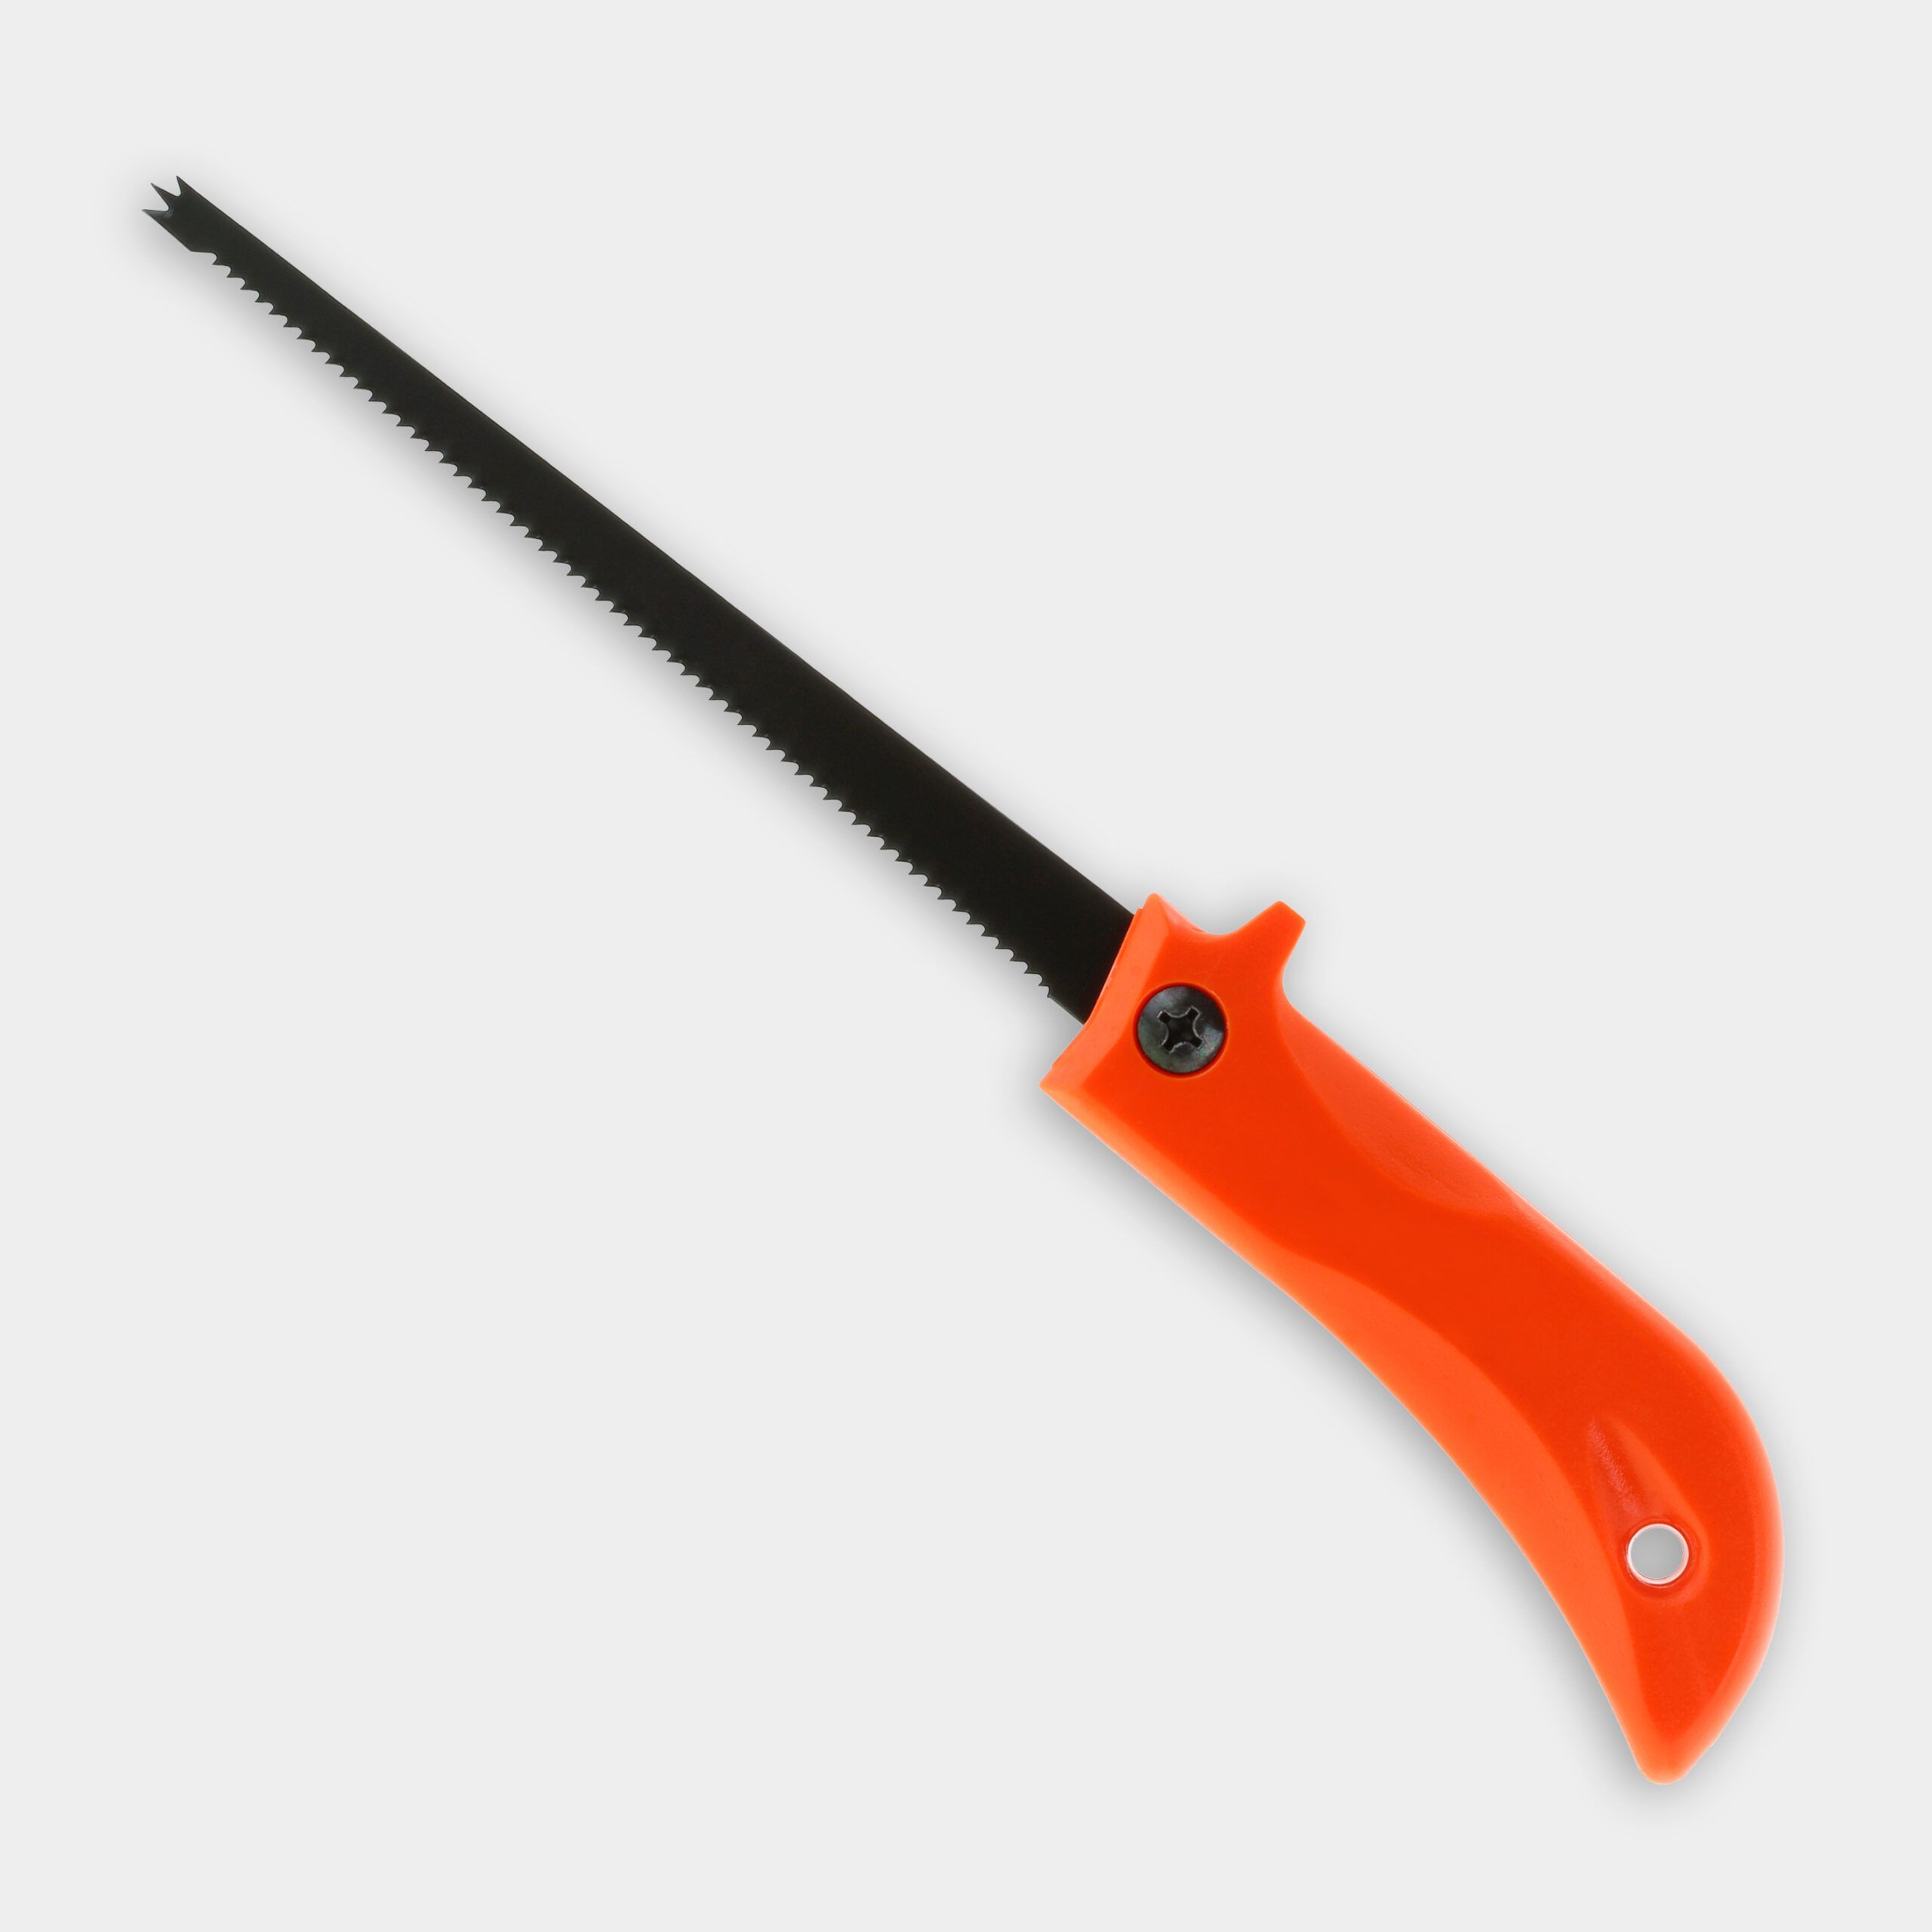
- Upstairs, clip the end of an insulation tie into a point with a pair of linesman pliers and install it in a drill. Place the point on the floor where it meets the baseboard directly below the switch location and drill a small hole through the floor and into the basement. Head to the basement to find the tie. This will help you find the wall cavity.
- Adjusting for the center of the wall, drill up through the basement ceiling. Run fish tape up through the hole and shake it around in the wall cavity while another person listens for it.
- Measure the proper height for the sconce and switches. Place the round-shaped ceiling electrical box face-down against the drywall in the location chosen for the sconce. Trace around it with a pencil and cut it out using the drywall saw. Don’t install the boxes yet.
- From the basement, tape wire to the end of the fish tape. Carefully pull it up and through the sconce hole. Leave around 8 to 10 inches of wire in a loop.
- Run the wire through the basement and over to the other switch hole, stapling it to the floor joists.
- Cut the wire so it’s long enough to run up the cavity and out of the switch hole about 8 to 10 inches. With fish tape in the switch cavity, tape the wire to the end and feed it through the switch hole. Pull it through the hole, cut it, and loop the wire.
- With the fish tape back in the basement, carefully run it back into the switch cavity, and tape a new wire to the end. Pull it through the switch hole, cut it, and loop it in the room. This wire will be the power supplied from the junction box in the basement.
- In the basement:
● Run the power supply to the junction box and staple it to the joists as you go.
● Remove a new knockout and install a wire bushing in the knockout hole.
● Feed the supply wire into the junction box. - In the junction box:
● Cut the wire in the junction box around 8-10 inches and remove about 6 inches of the plastic jacket.
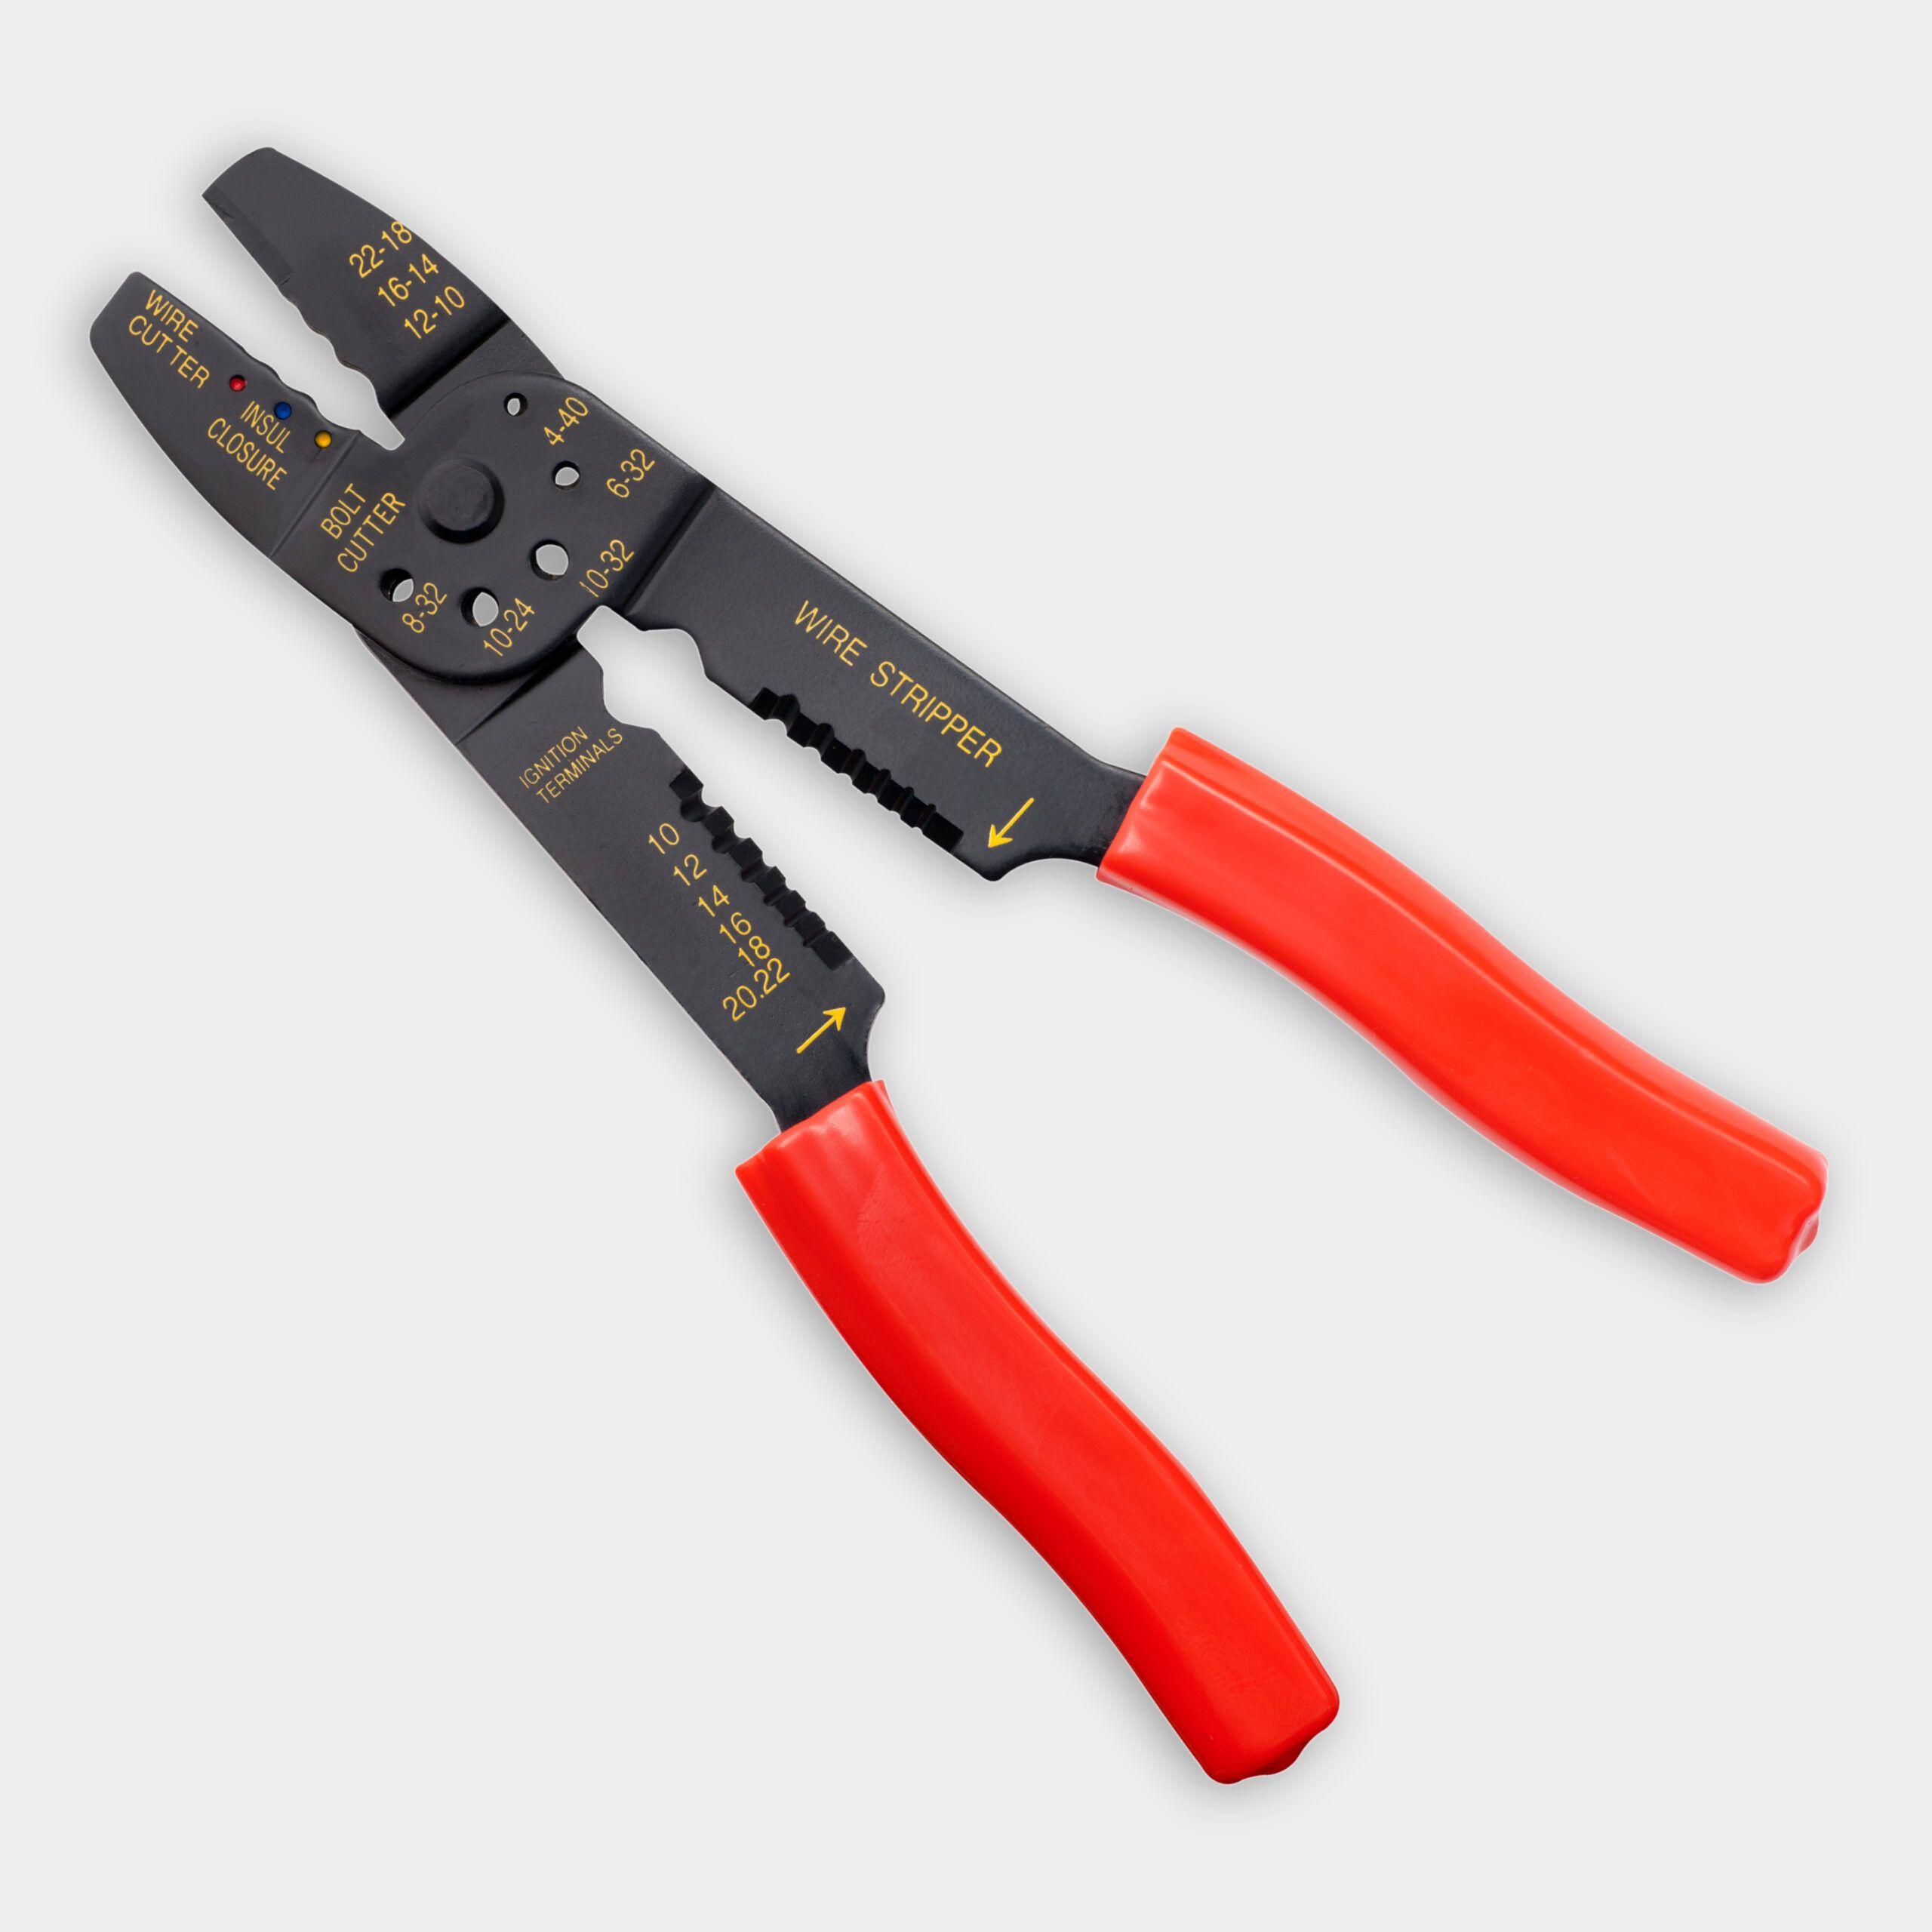
● Strip about 1 inch off the end of each wire with the wire strippers.
● Connect them to the existing wires with wire nuts (black to black, white to white, and copper ground to copper ground).
● Cover the junction box. - Back at the switch hole, feed both wires up into the bottom of an electrical box and install it in the opening:
● Cut and remove both wires’ jackets and strip the end of the wires about 1 inch.
● Bend the ends of the black wires into a hook and install them on the gold screws of the light switch.
● Wire nut the white wires together inside the box.
● Cut a small length of copper wire (about 5 inches, known as a “pigtail”) from a scrap length and wire nut it together with the ground wires in the box, and then bend a small hook in the other end of the jumper to secure it to the green screw.
● Fold the wires neatly into the box, fasten the switch, and install the cover plate. - At the sconce hole, feed the wires through the electrical box and secure it to the wall. Repeat the process of removing the jacket and stripping the ends of the wires. Install the light mounting bracket that came with the kit.
- Install the light by wiring the white wire to the white wire, black to black, and copper to copper using wire nuts. Push the wires into the box, place the light over the plate, and secure it with the included nuts.
- Flip the breaker back on and check your work. The switch should now control the sconce.
Make sure to sweep up the little bits of wire and drywall dust and then step back and appreciate the extra illumination your new sconce provides. If you like, repeat the same process to add more wall sconces around the house.
Consider sitting and reading areas, bedrooms, or anywhere else in need of brightening up. With this approach, you can install a sconce almost anywhere an outlet already exists.
Resources
Sconces Installed: Modern 1-Light Brass Gold Wall Sconce with Open Cylinder Clear Glass
Lightbulbs: 40-Watt Candelabra Dim White Filament Clear Glass LED 2700K
Heath used a Tempo 508S-G wire finder to locate the dead wire and old light box behind the wall.
To find the access point for the sconce wires from the basement, Heath took a metal
insulation support wire, cut to a sharp point. He used that to drill a small hole in the crevice of the baseboard to find the baseboard’s location from the basement ceiling. Wax putty can be used to fill in the hole and it will be completely unnoticeable.
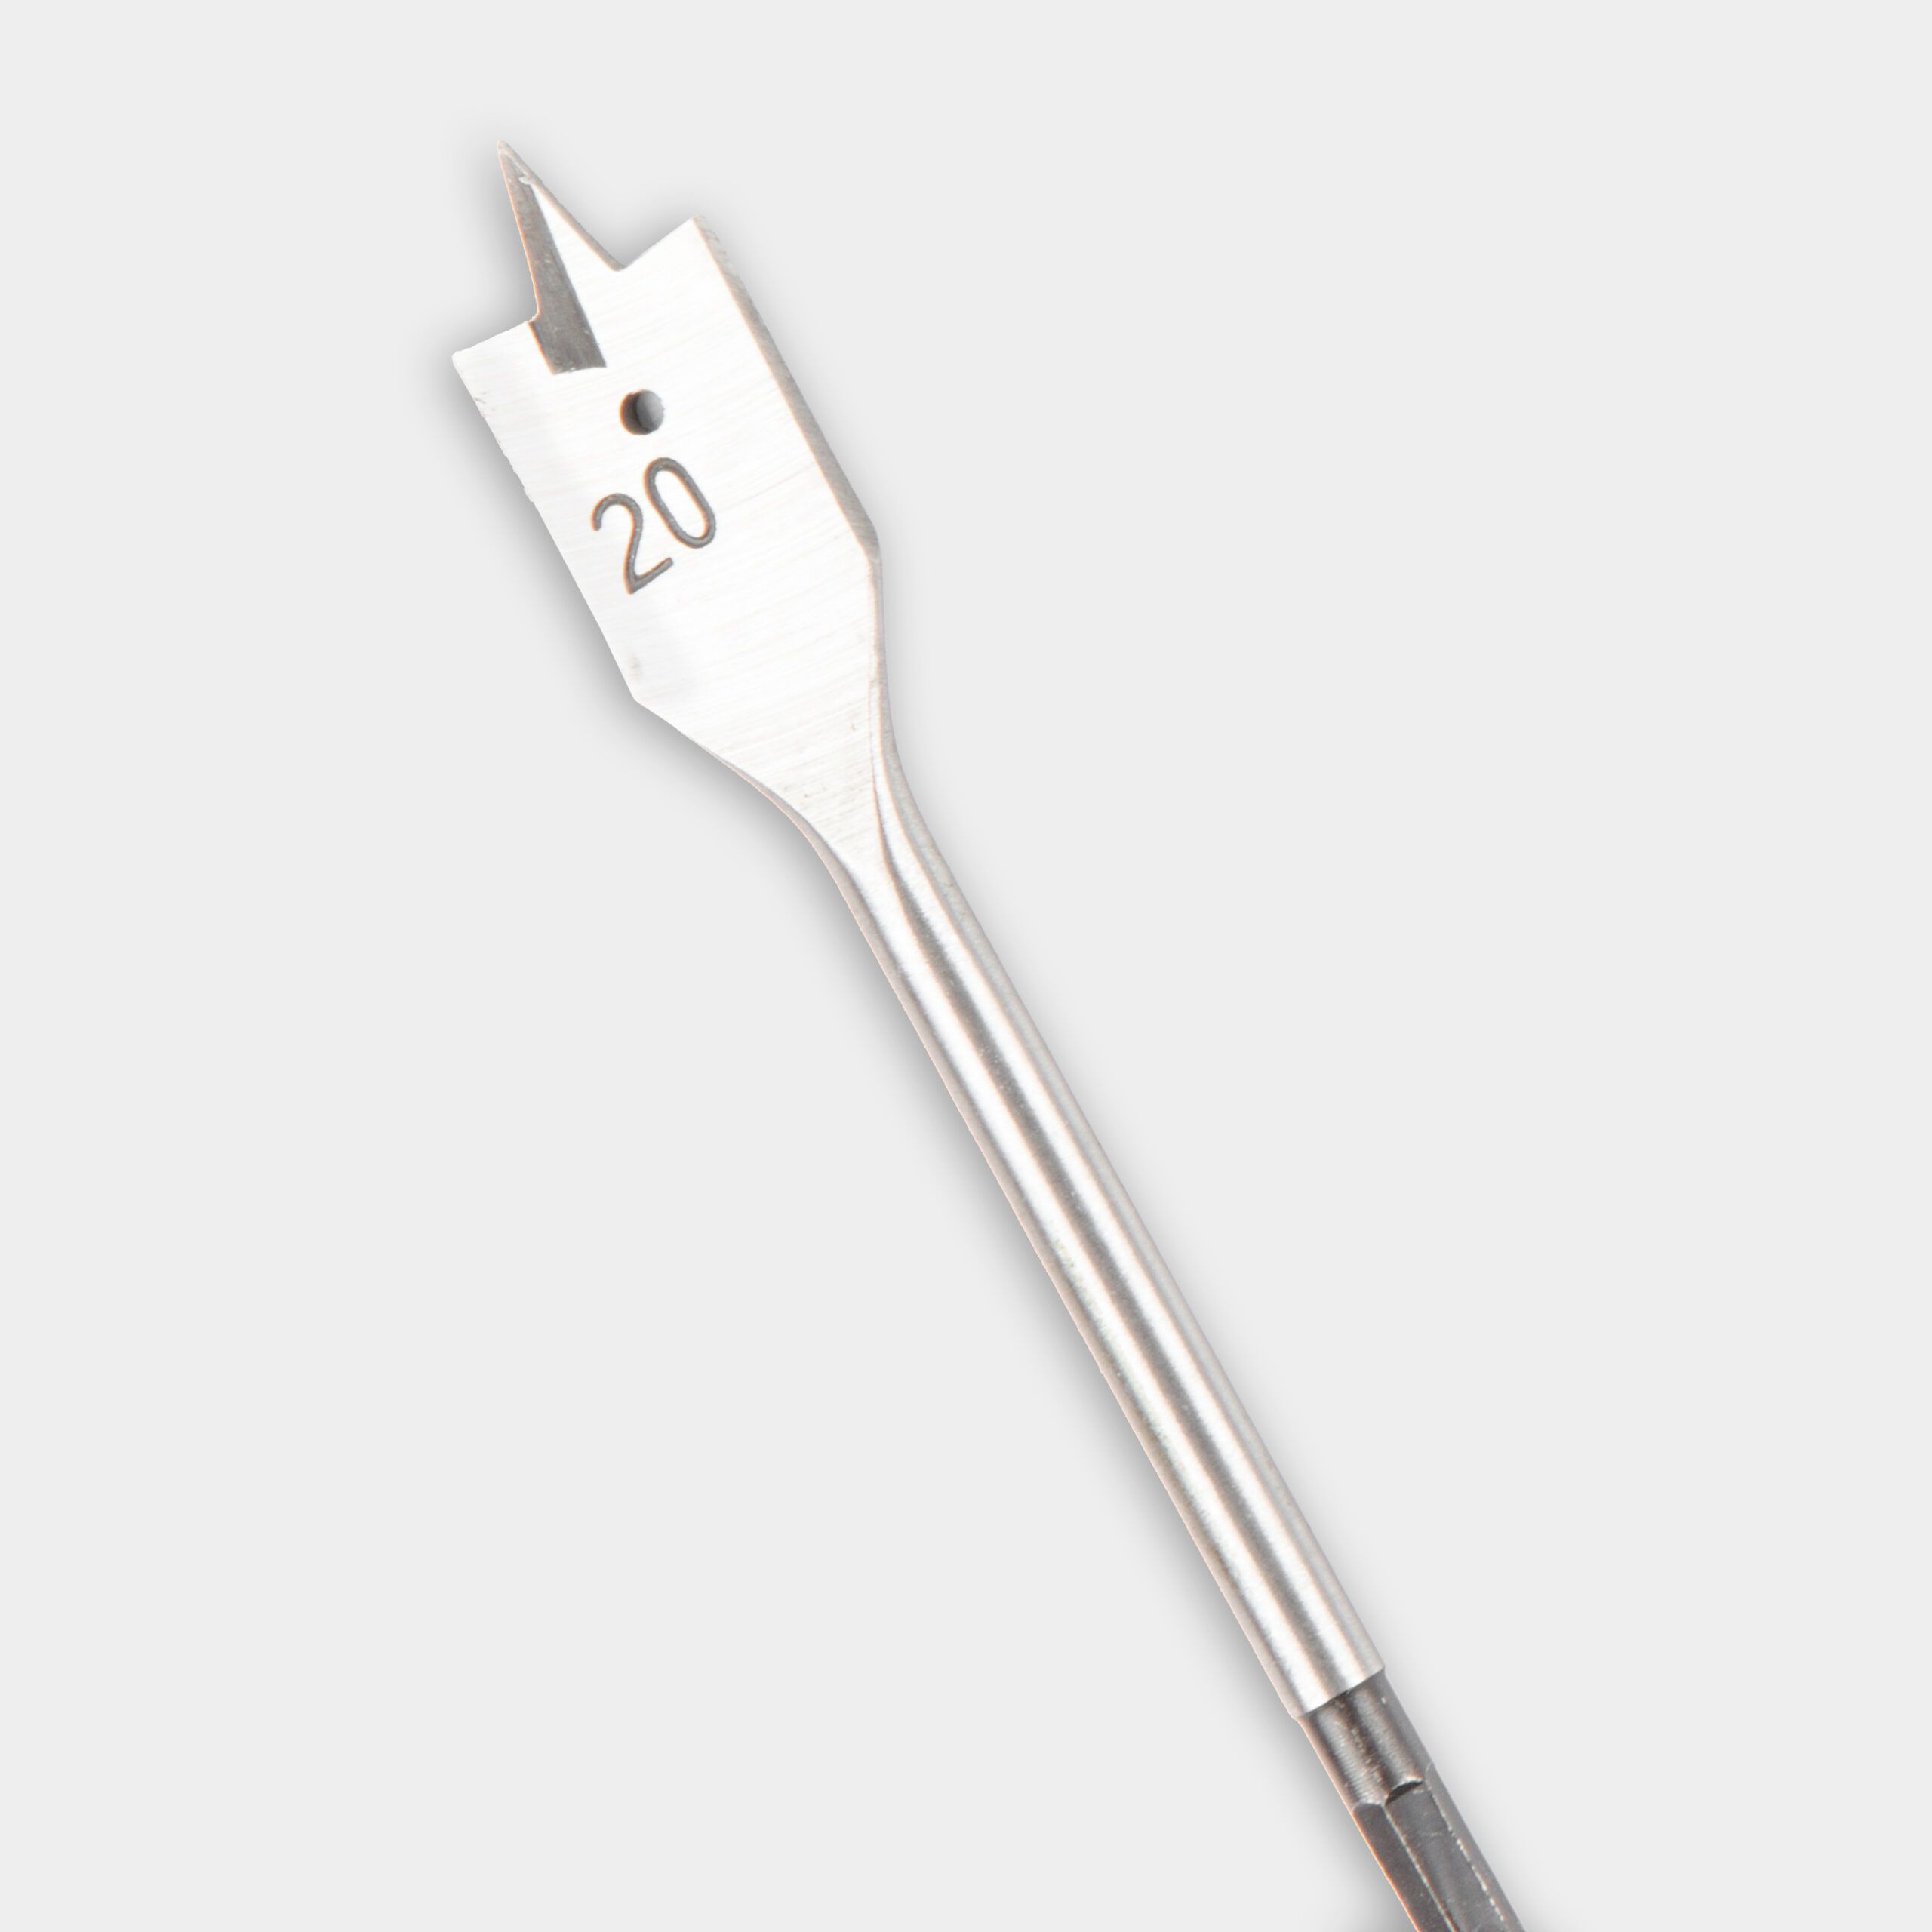
Heath used a power drill with a wood spade bit to drill access holes from the basement ceiling for the wires. A steel fish tape was used to confirm that the access point went all the way through to the sconce light location and to pull the wire to the light box locations. For wire Heath used 14/2 NM-B wire. He used plastic insulated staples to secure the wire to the joists.
To cut out the drywall, Heath used an oscillating tool with a drywall bit. A dust collector attached to a HEPA vacuum was used to collect debris.
Heath installed a Lutron LED dimmer light switch.
Materials
Note: Despite the ceiling box’s name, it will be used on the wall as the junction box for the sconce.
- Fish tape
- Painter’s tape
- 14/2 non-metallic sheathed building wire
- Plastic insulated wall staples
- Junction box bushings
- New work electrical box
- New work ceiling electrical box
- Wire connectors
- Light switch and cover plate
- Sconce(s) with mounting hardware