Part of a homeowner’s kitchen renovation was removing the wall between the kitchen and the dining. While this created one bright, open space, it also meant removing wallpaper and stripping the paint from the existing wainscoting in the dining room. At a standstill, he called the team at Ask This Old House for help, and paint expert Mauro Henrique knew just how to help.
How to Paint Wainscoting with a Sprayer
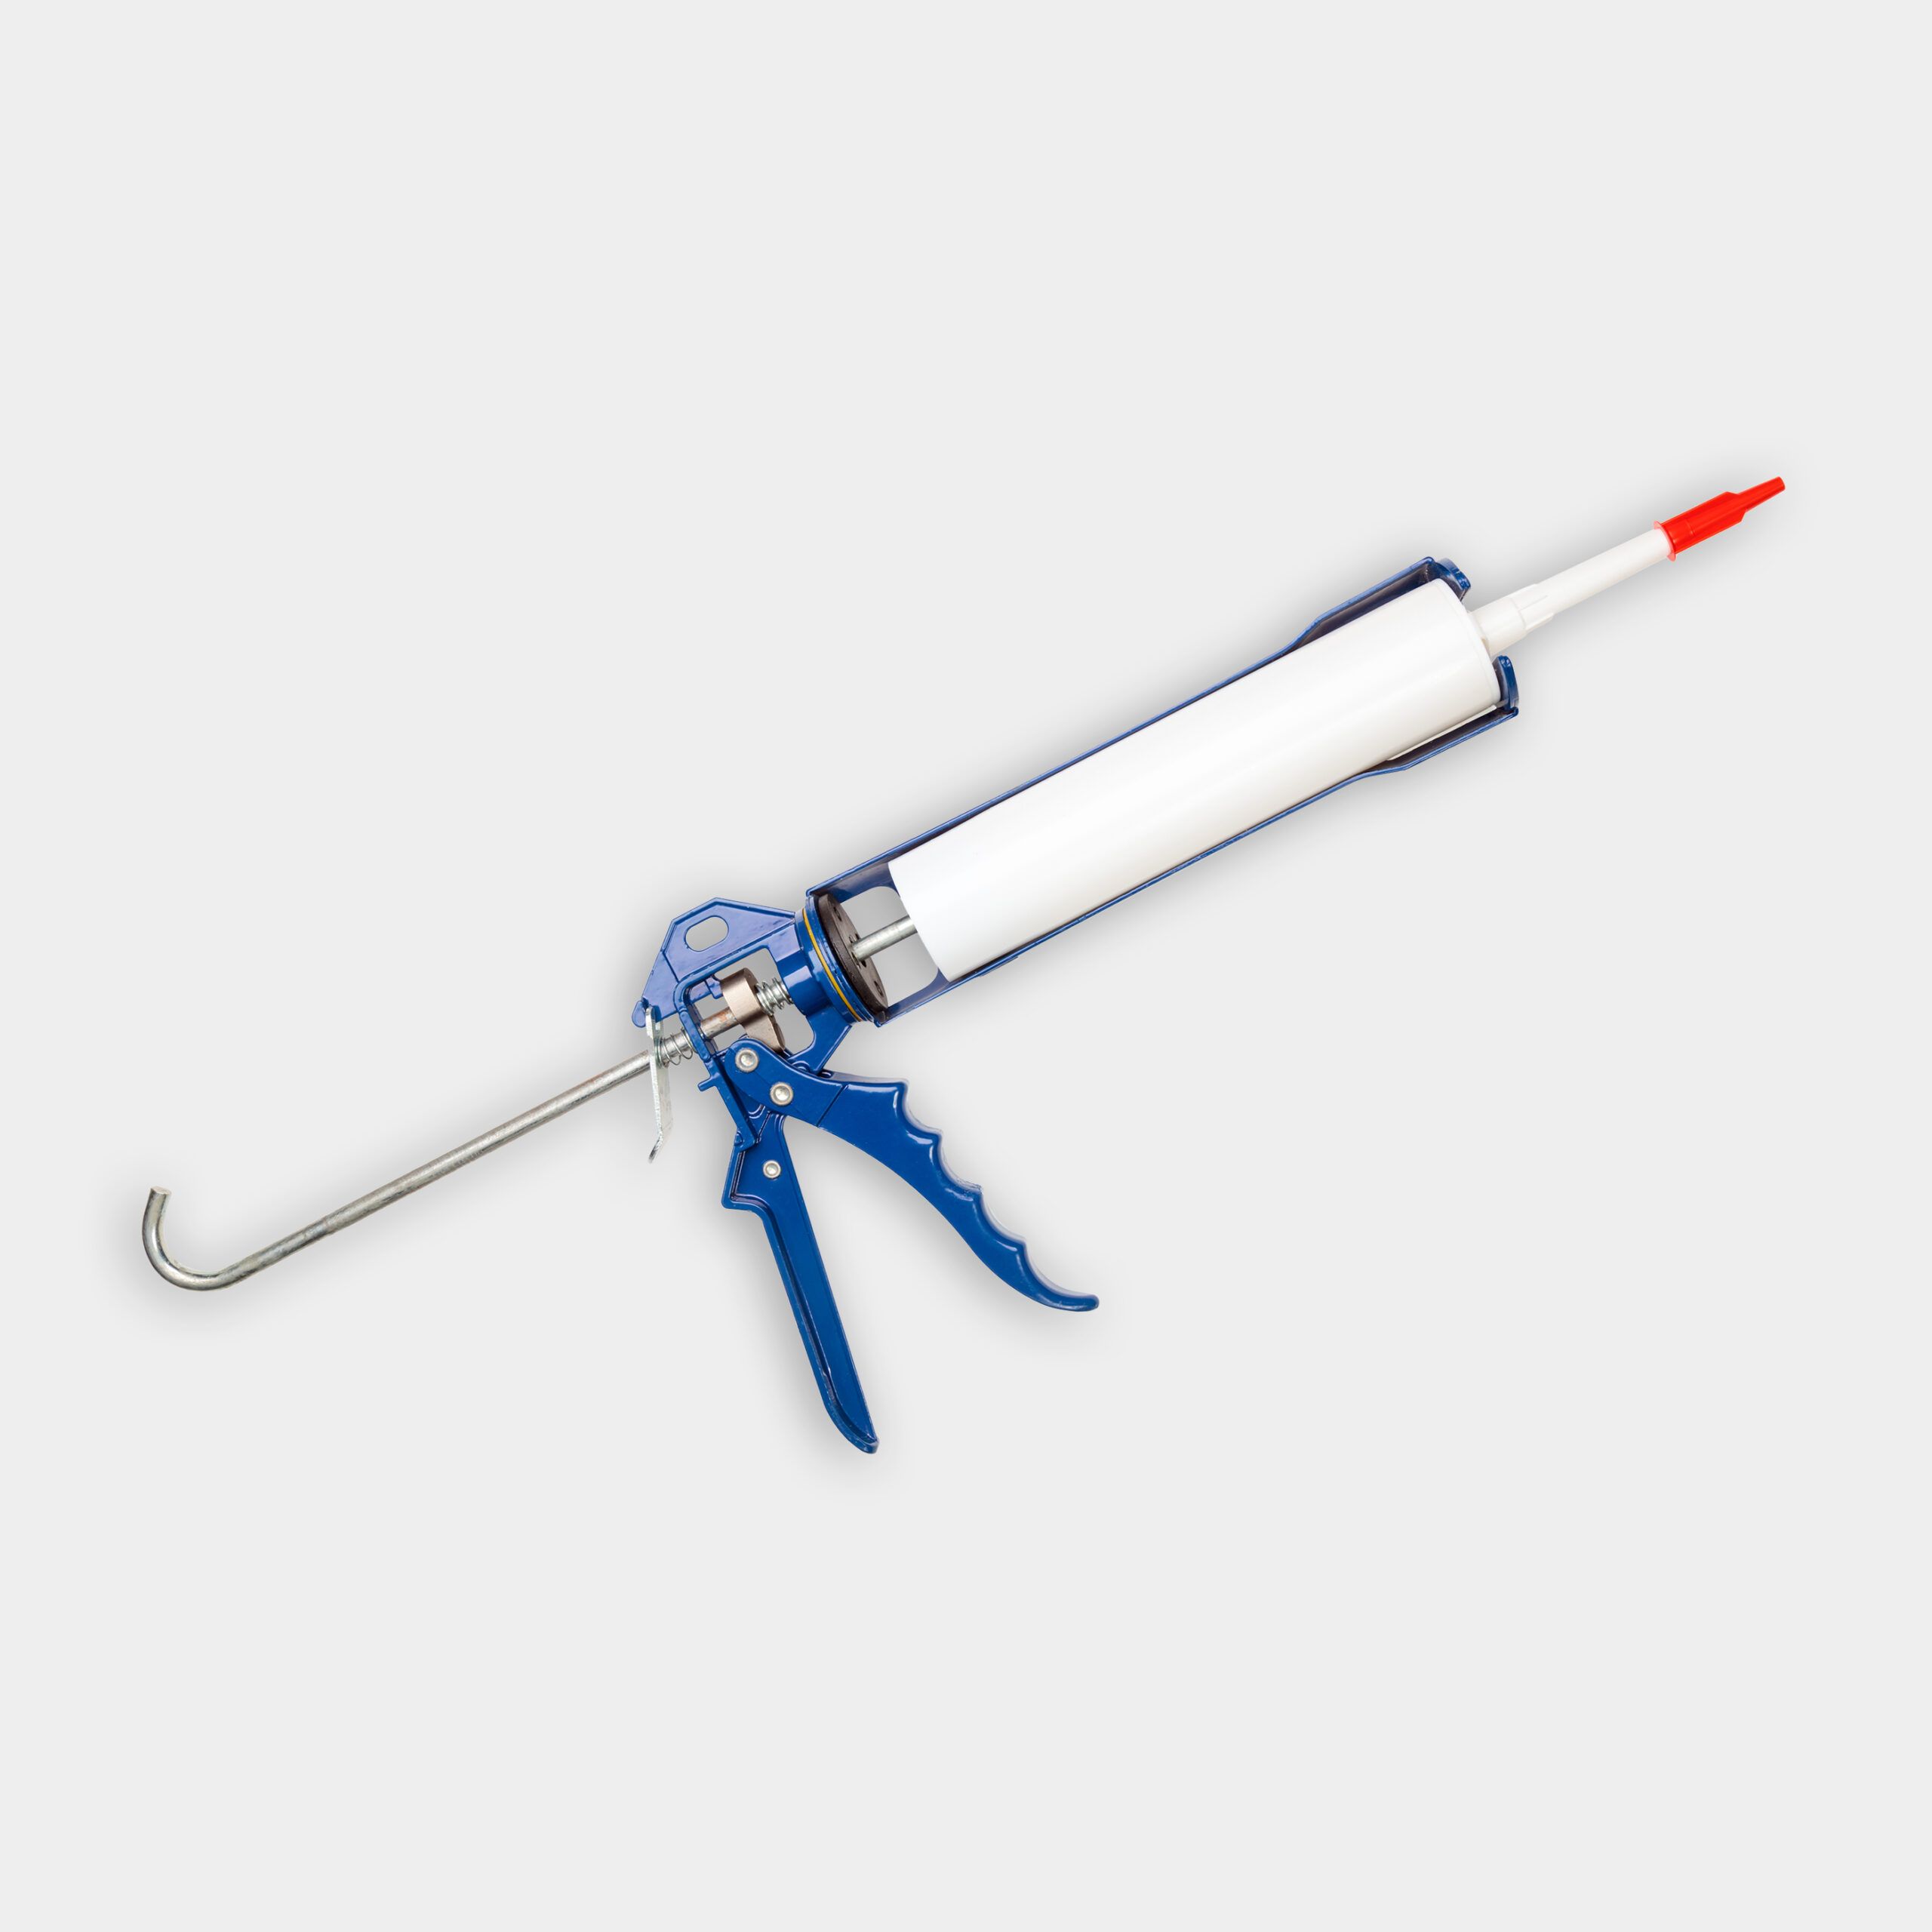
Painting with a paint sprayer is a little different than a brush and roller. For one, paint sprayers use about 30% more paint than traditional methods due to priming the sprayer and the overspray they create. Also, the process is faster but it’s important to maintain a constant speed and distance from the surface for the best possible results.
- Start by preparing the room. Use painter’s tape and plastic sheeting to protect the walls around the trim and wainscot, and block off any doorways and windows to prevent overspray. Roll out rosin paper along the walls and cover the floor with drop cloths to control any possible messes and protect the flooring.
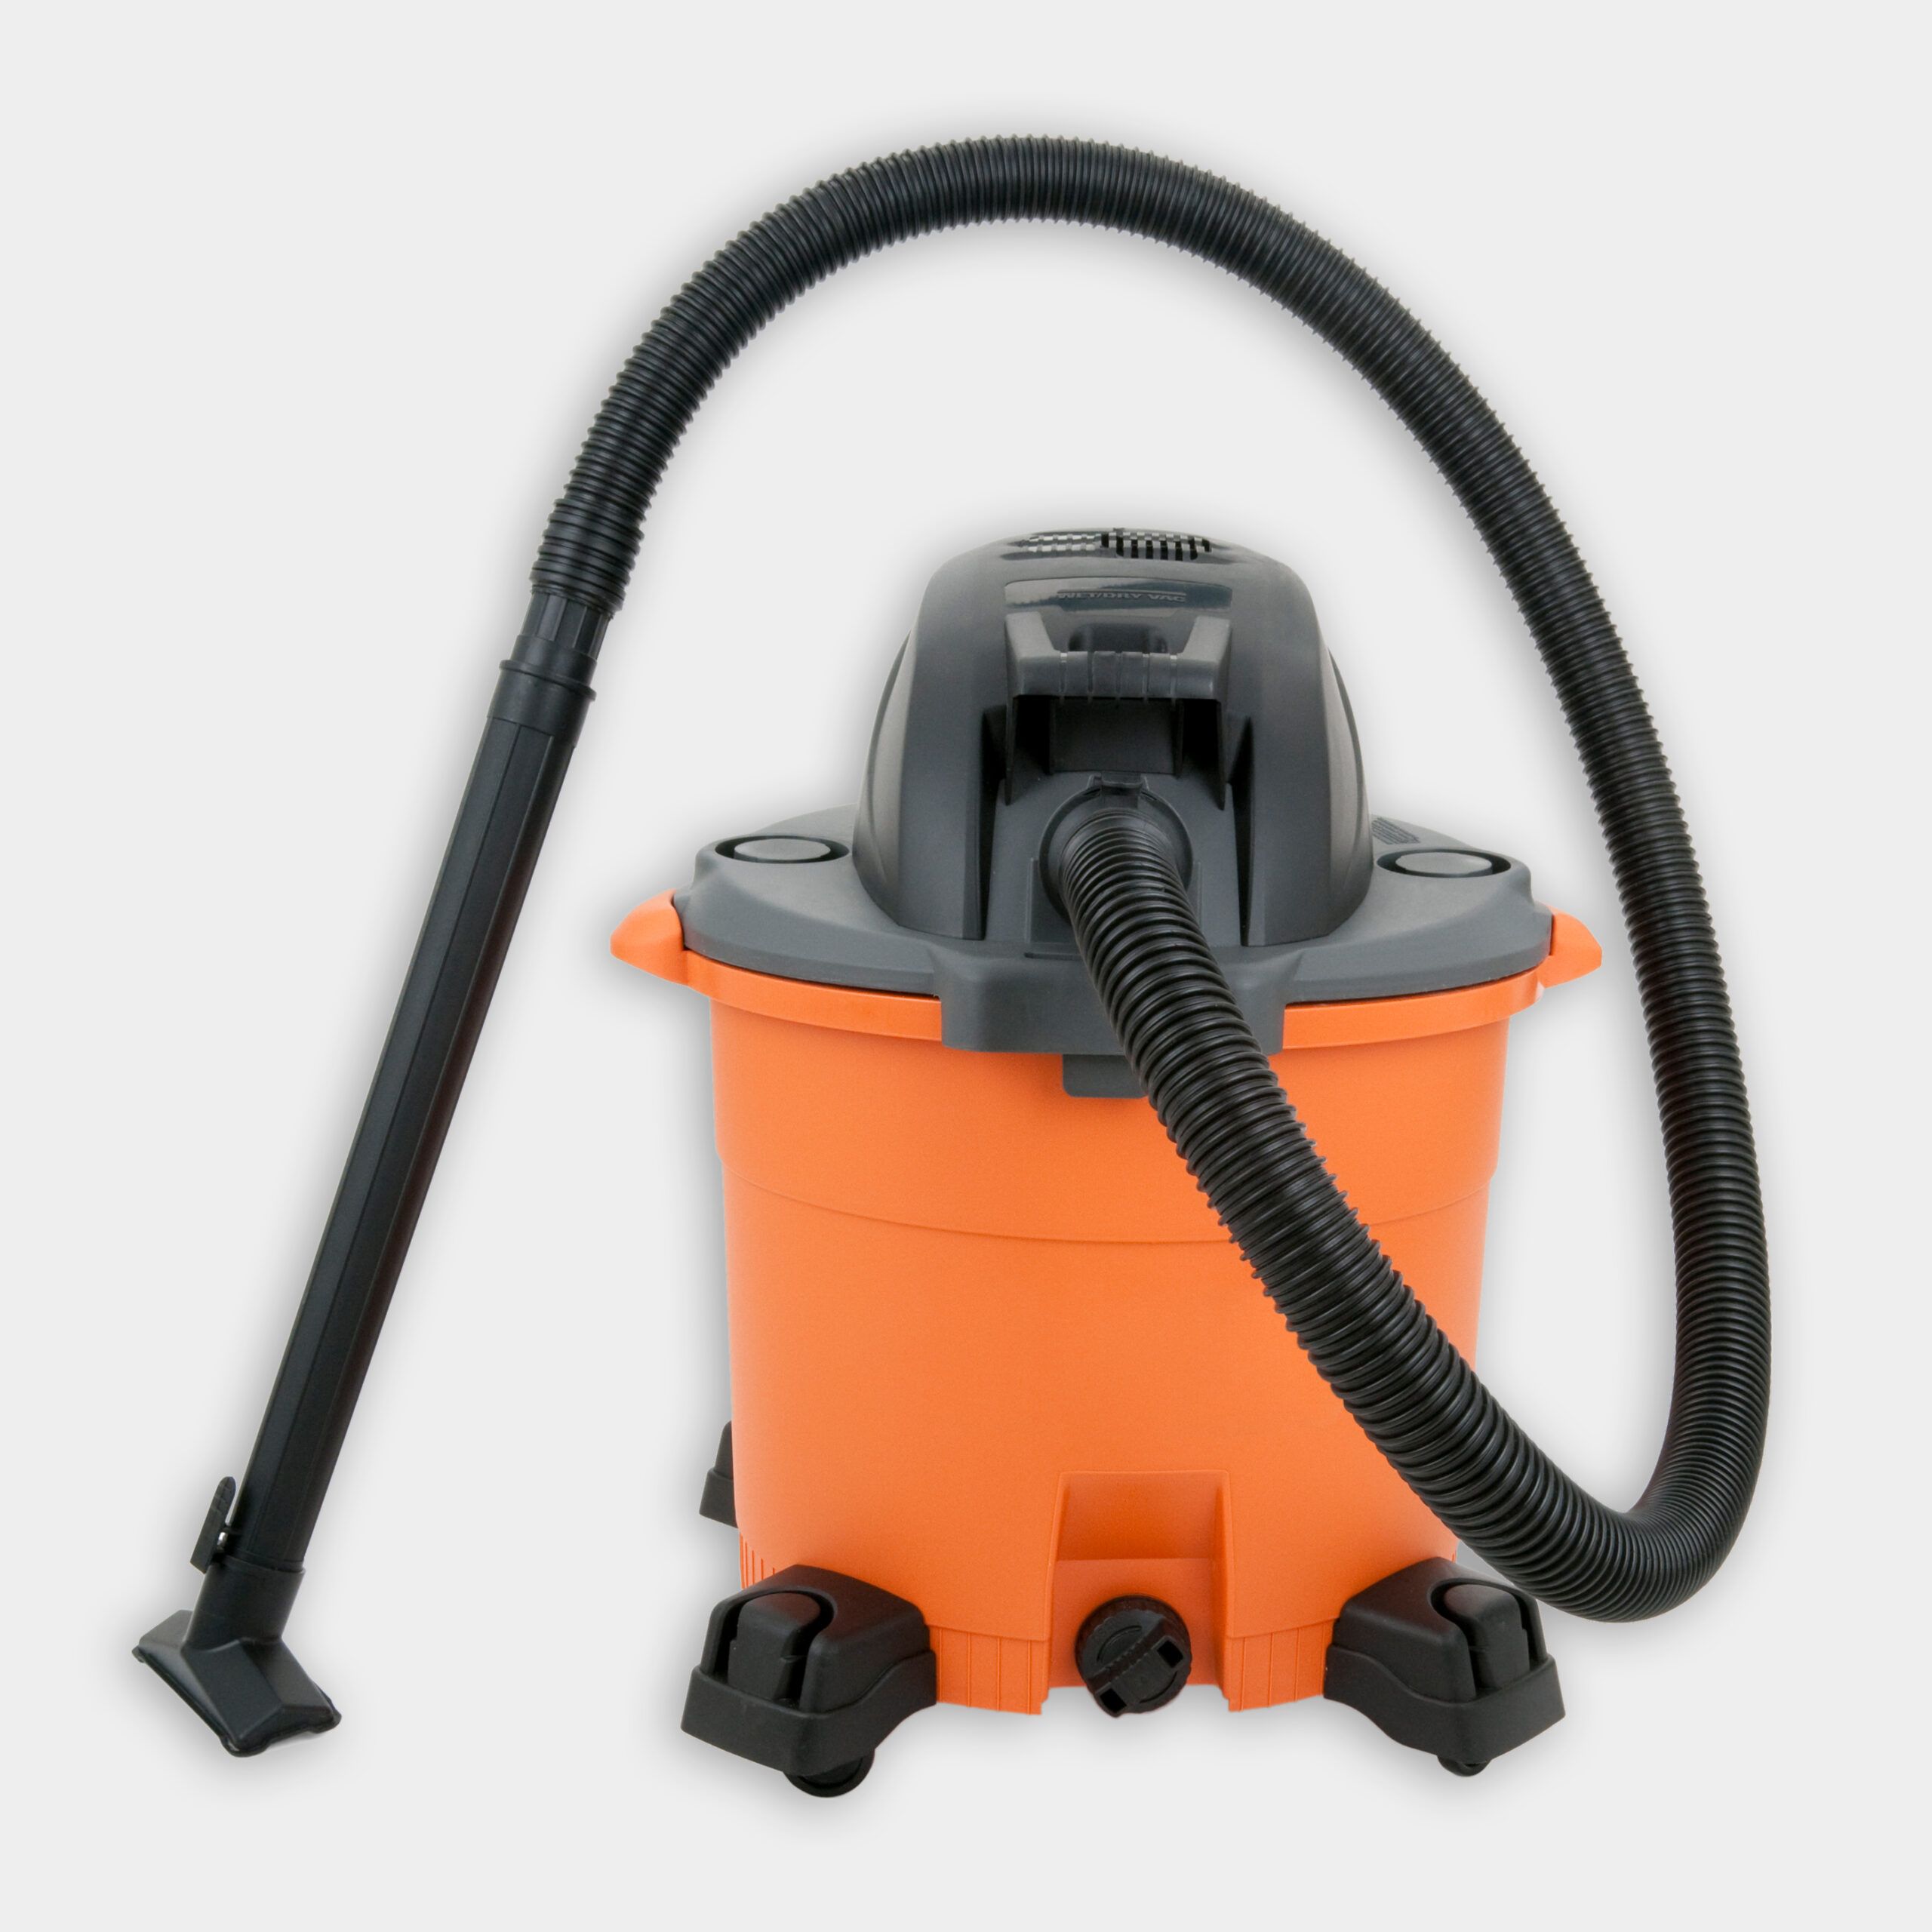
- Vacuum the surface of the wainscoting with a wet/dry vacuum and a brush attachment. Once vacuumed, clean the surface with a tack cloth to remove any dust that may remain.
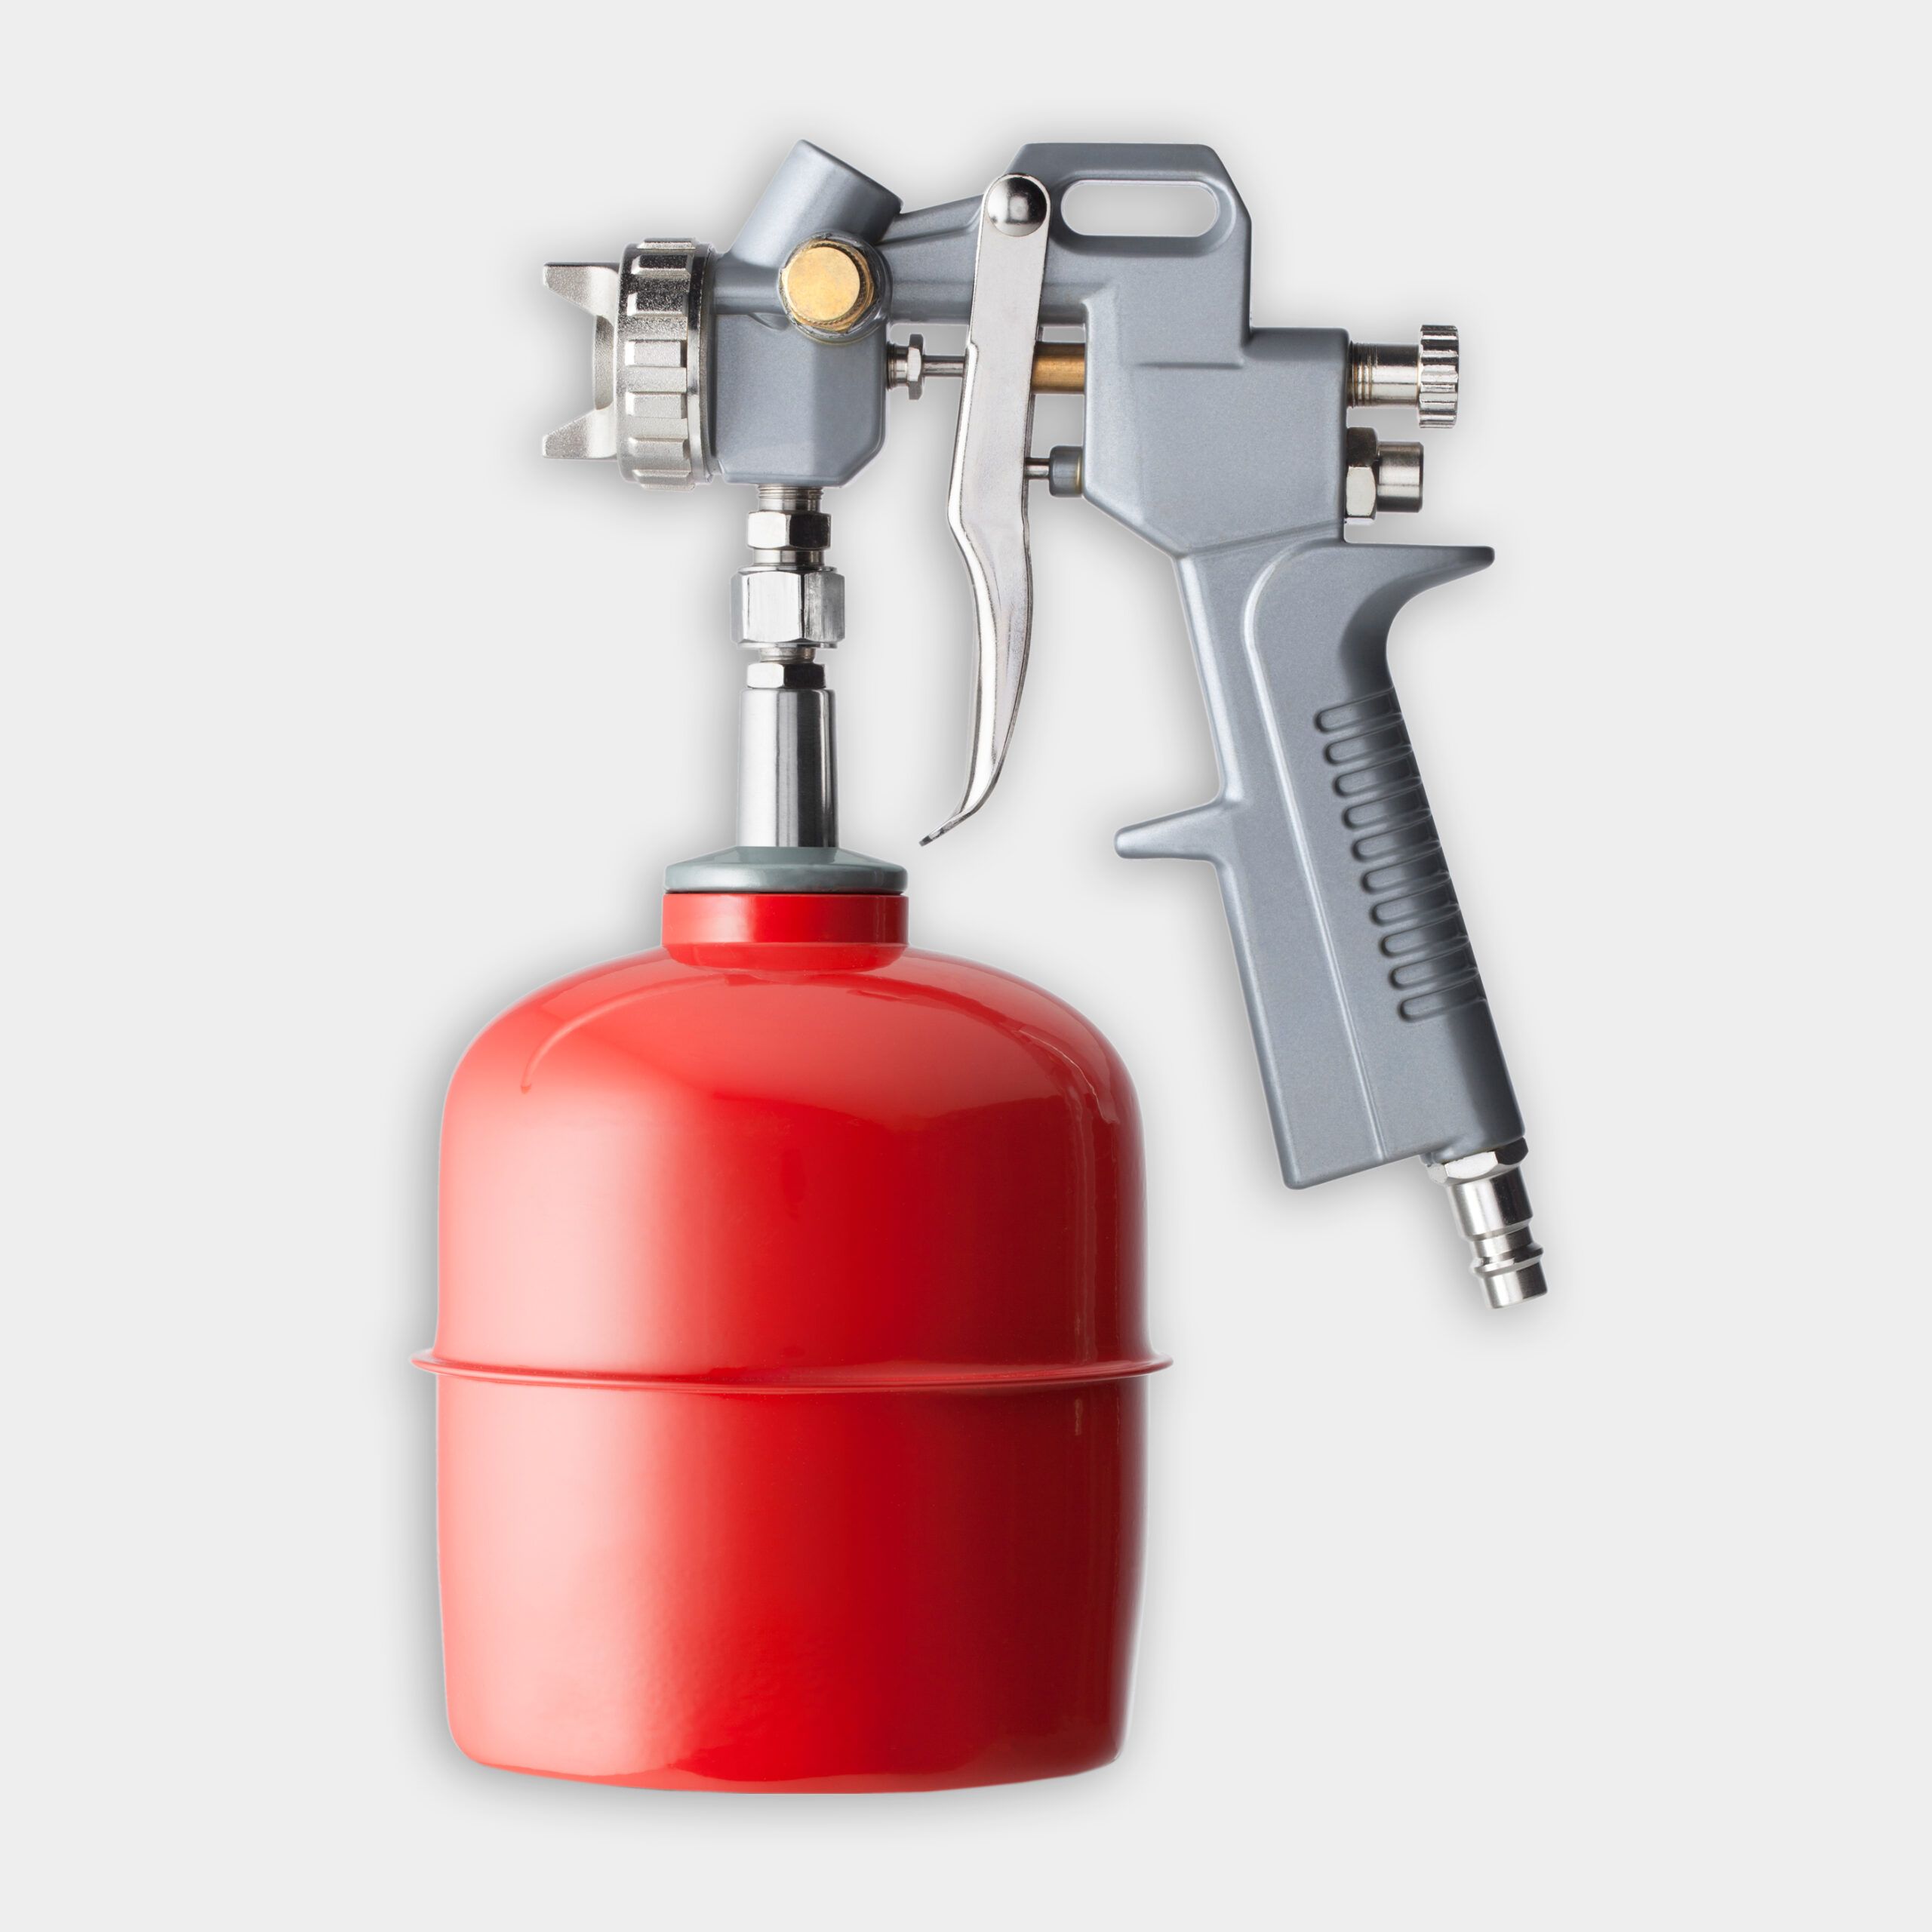
- Place the sprayer’s pickup tube in the primer bucket and its purge tube in a clean, empty bucket. Open the purge or priming valve and turn on the machine, allowing the water to drain into the empty bucket until the stream of water turns into primer. Shut the valve and repeat with the nozzle, spraying until the water is gone and the nozzle sprays primer.
- Hold the nozzle at a right angle about six to ten inches from the surface of the wainscoting. Maintaining that distance and starting slightly above the wainscoting, move the nozzle at a constant speed, holding the trigger down until you’re past the bottom of the wainscot. Release the trigger. Note: It’s critical not to squeeze or release the trigger over the wainscoting, as this will create bubbles, lap marks, and other imperfections in the paint. Start the spray before the nozzle is over the wainscoting and release it once it’s past it.
- Repeat the step above to start the next pass. Maintain the same speed and distance from the surface and overlap the previous pass by about 50%.
- Use the same technique to spray door and window trim, working at a 45-degree angle to spray into 90-degree joints, such as where the trim meets the wall. Use shorter, faster bursts for smaller details.
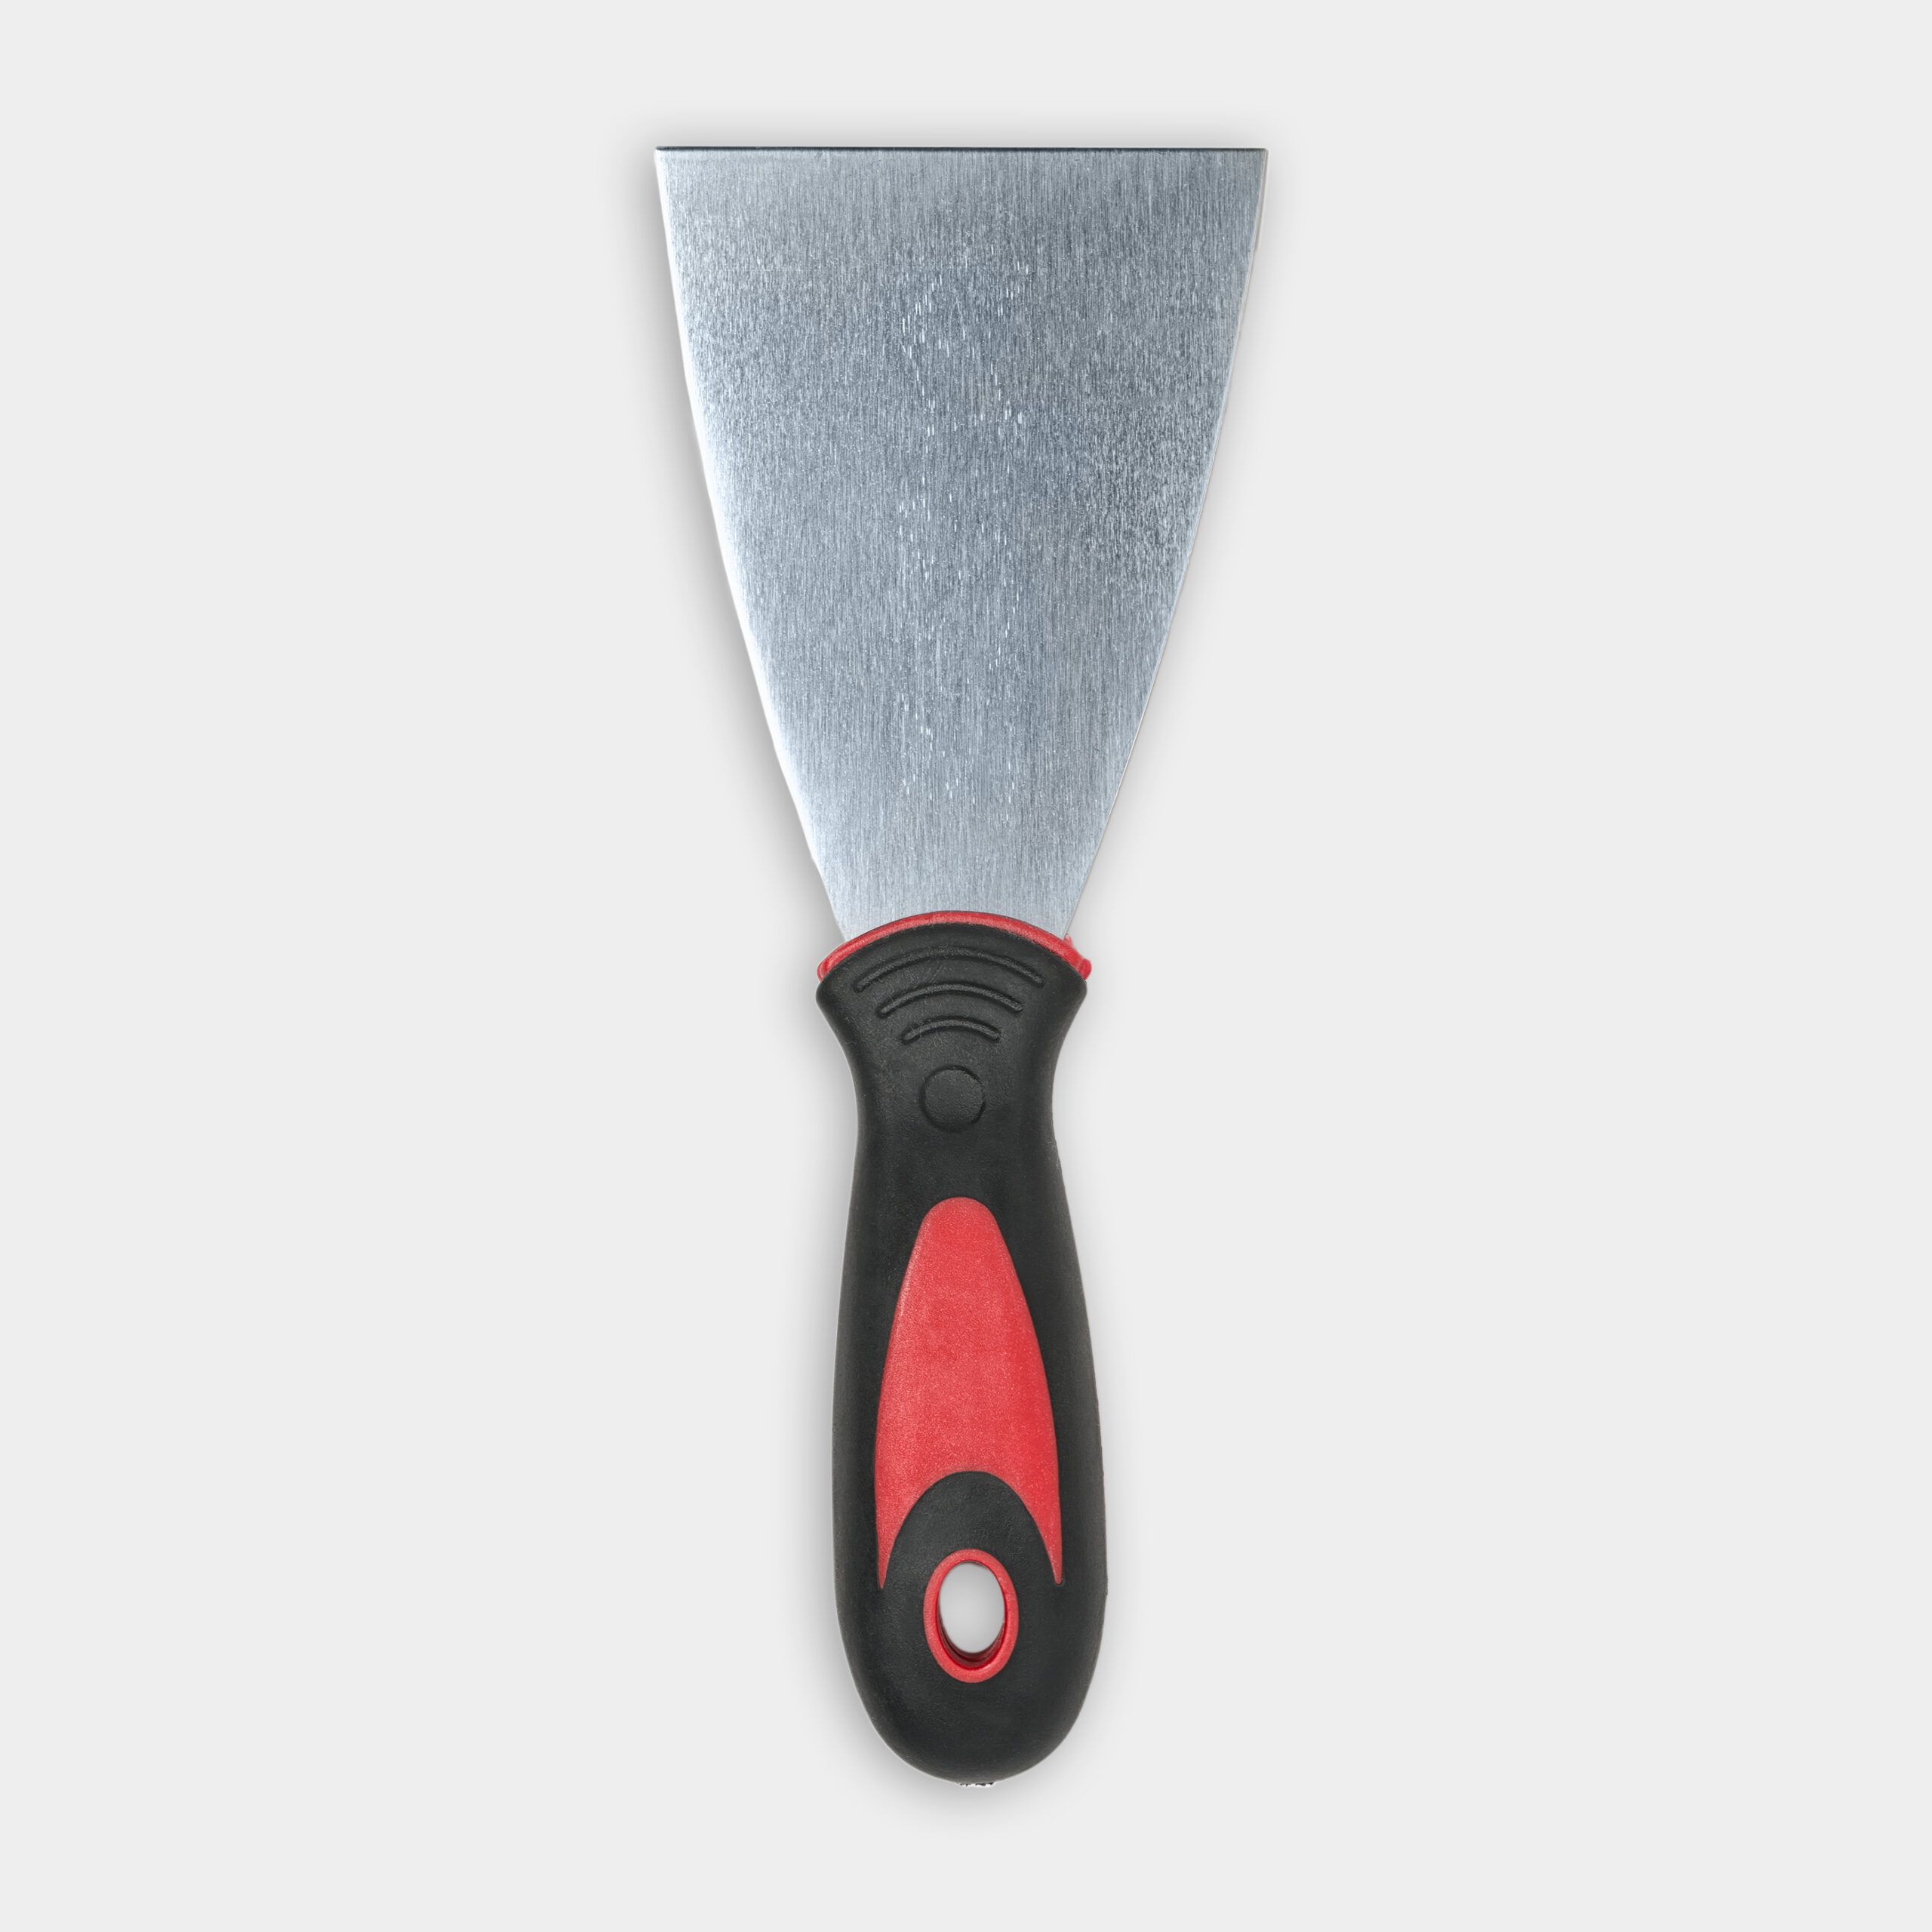
- Allow the primer to dry and assess the wainscoting’s condition. Look for nail holes and gaps that need to be filled with wood putty and caulk and fill them as necessary.
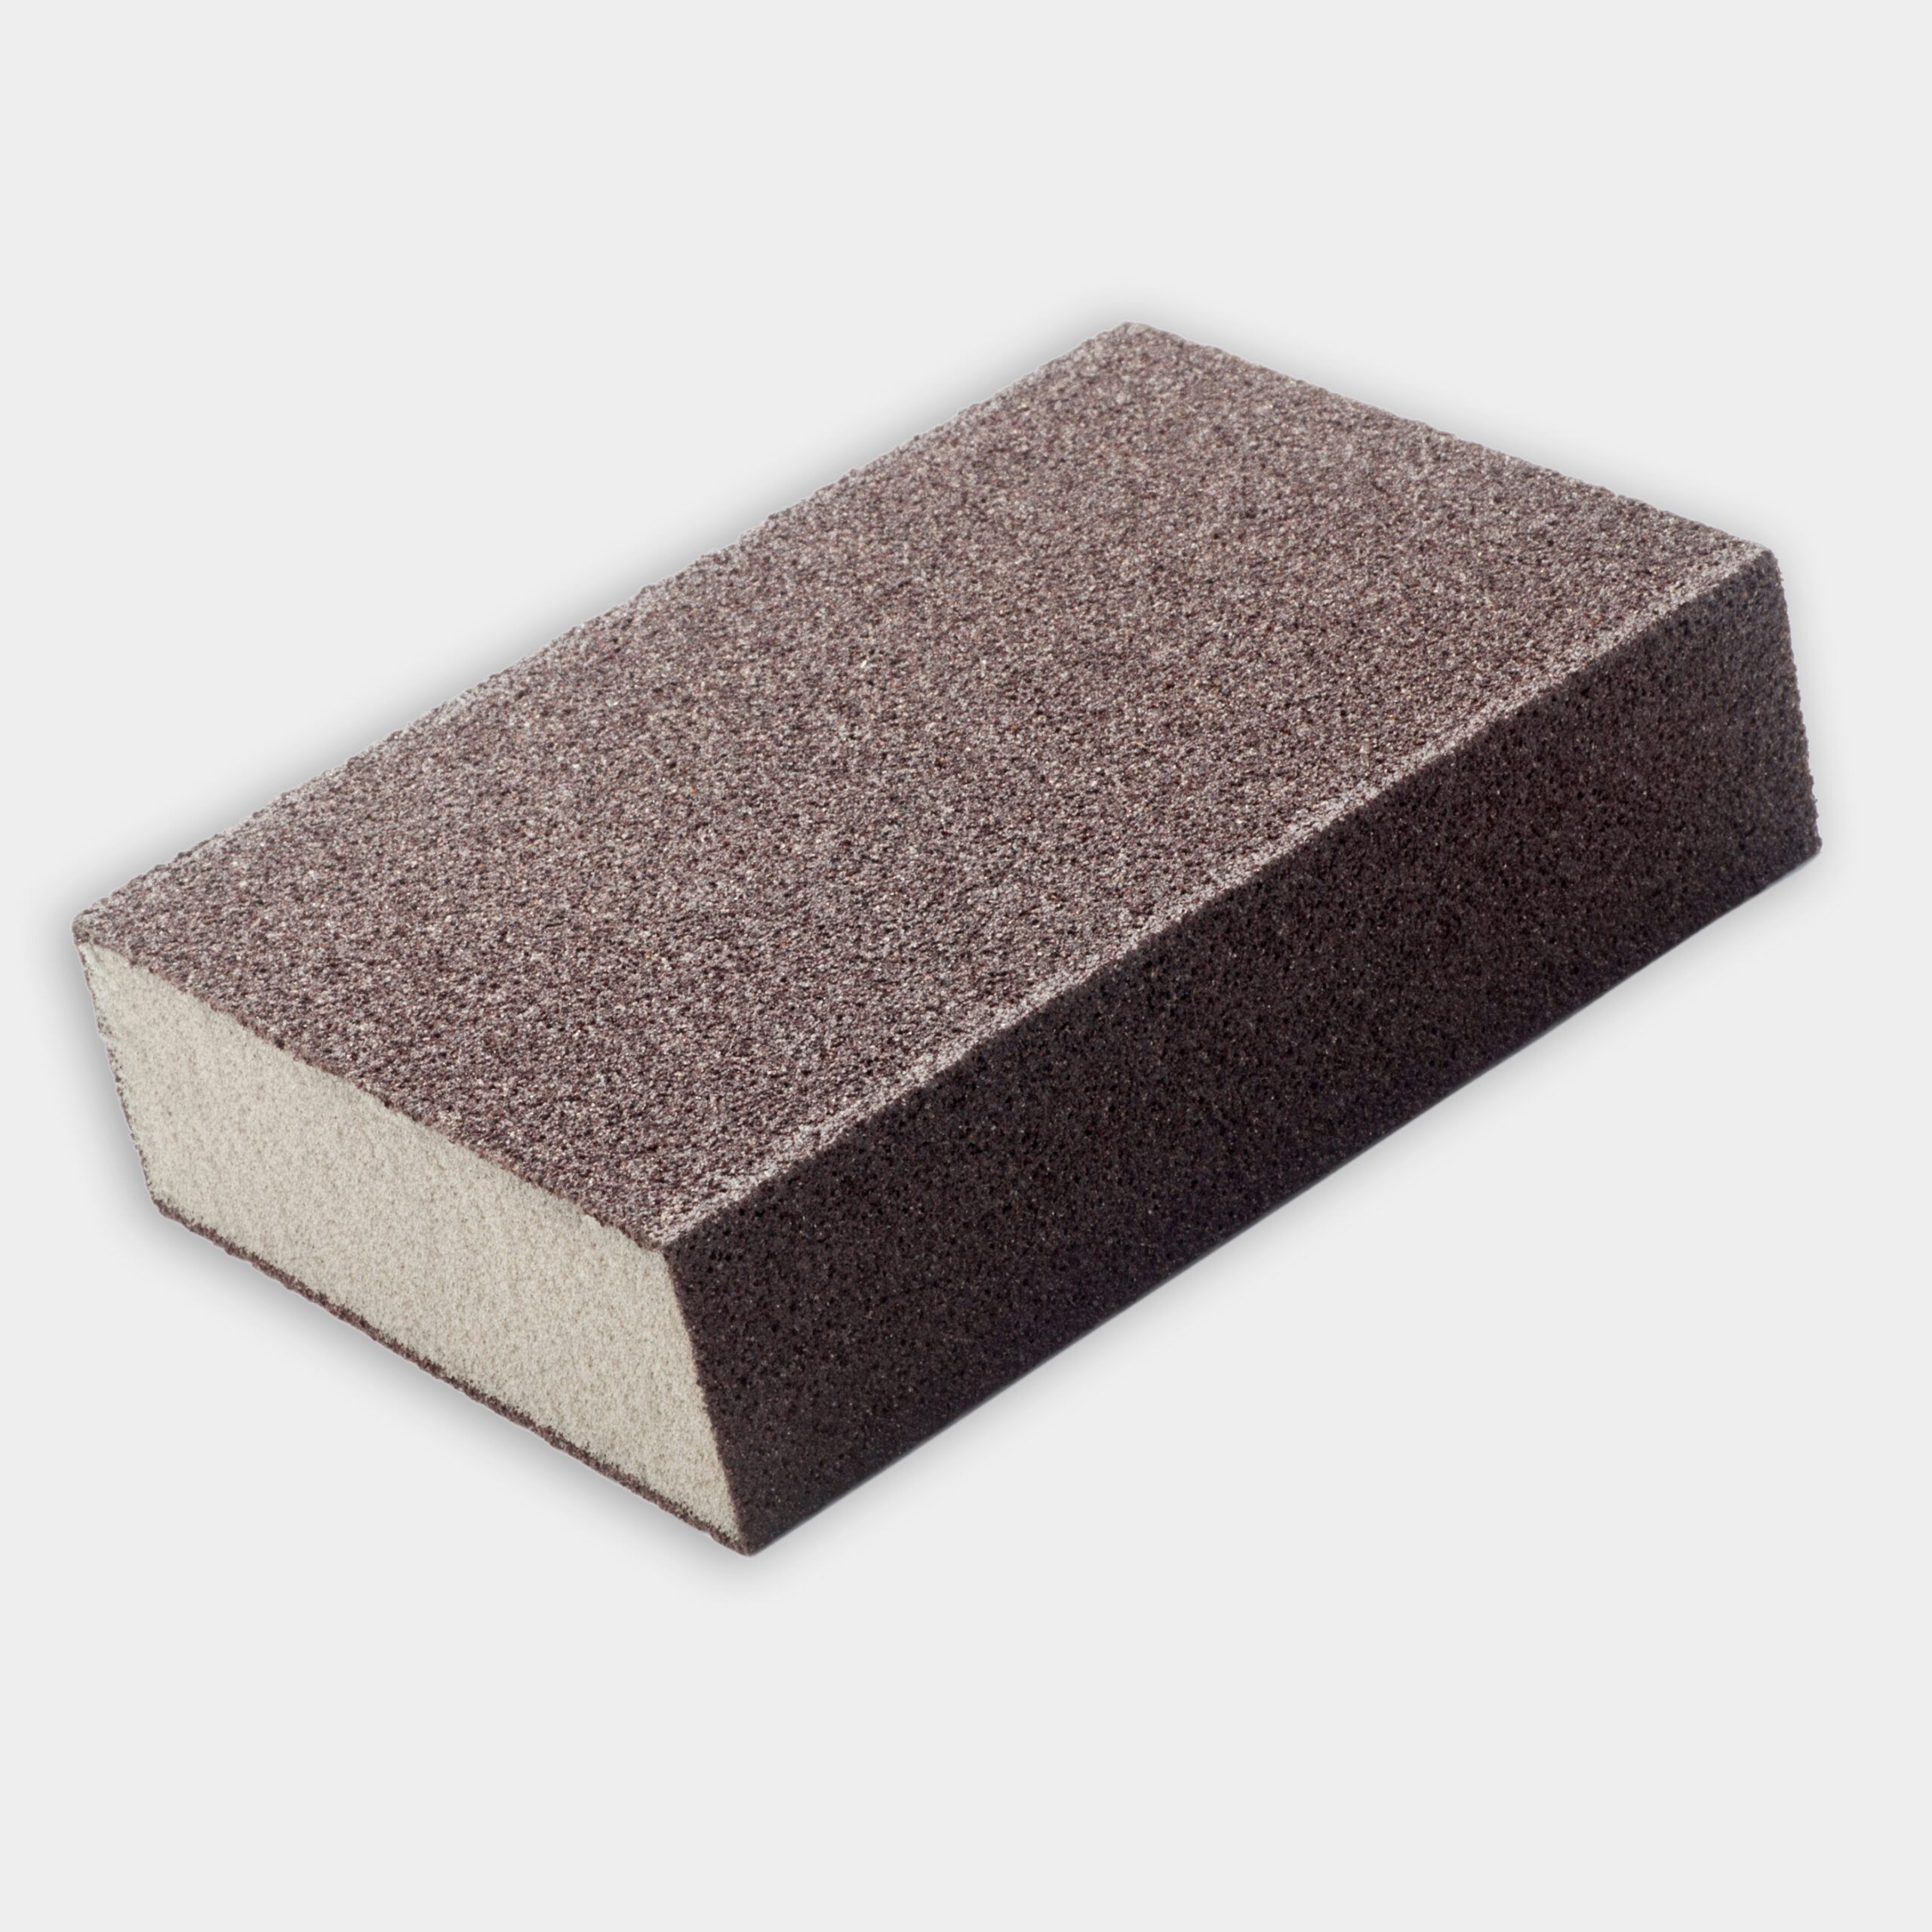
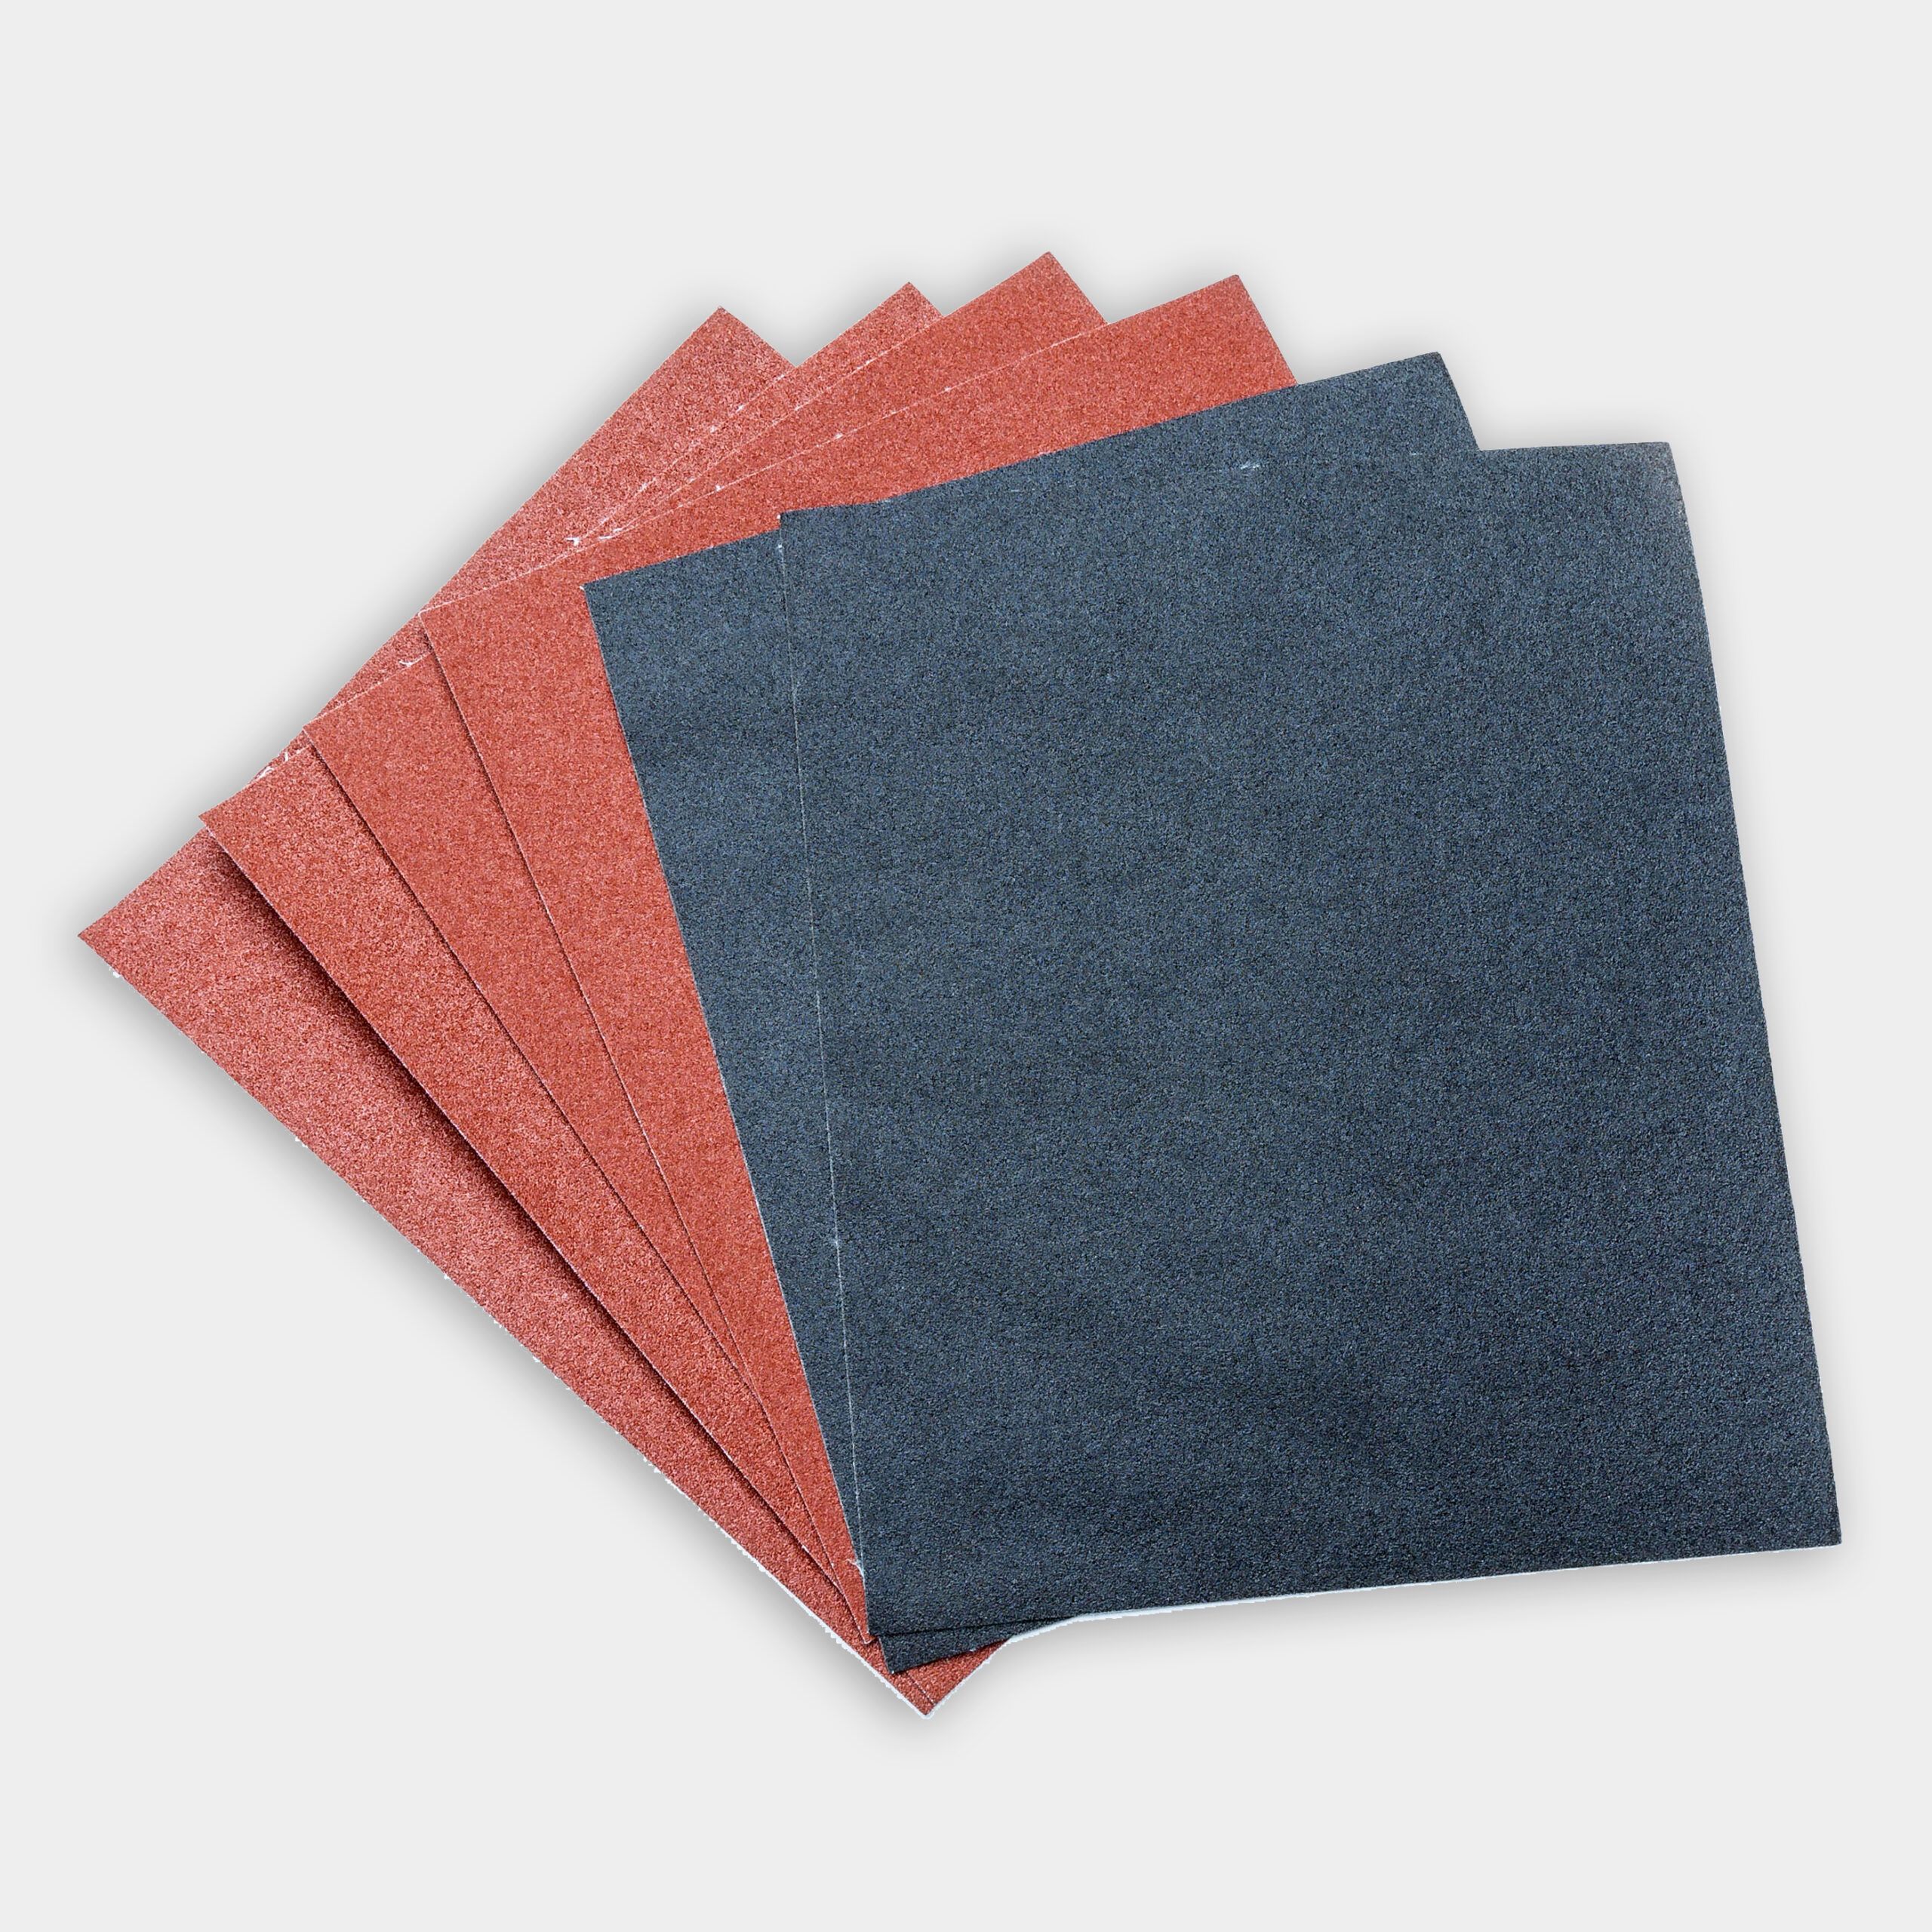
- Once the wood filler and caulk are dry, sand the wainscoting surface with the sanding block and sponge to knock down any high spots and create better adherence for the first coat of paint. Vacuum the surface and remove any debris with the tack cloth.
- Repeat the process of priming the sprayer, but this time use the paint. Apply the first coat of paint using the same method and technique as above, moving at a constant speed and distance and overlapping 50%.
- Allow the first coat to dry before lightly sanding, removing the debris with a vacuum and tack cloth, and applying a second coat.
- Once the final coat is dry, carefully remove the painter’s tape and plastic sheeting. Be sure to clean the paint sprayer according to the manufacturer’s instructions.
Resources
Mauro started by removing dust and debris from the wainscoting with a vacuum and a tack cloth. He then lined the top and bottom of the wainscoting with painter’s tape. To protect the floor around the wainscoting he used floor protection paper and to protect the wall above it he used pre-taped painter’s plastic.
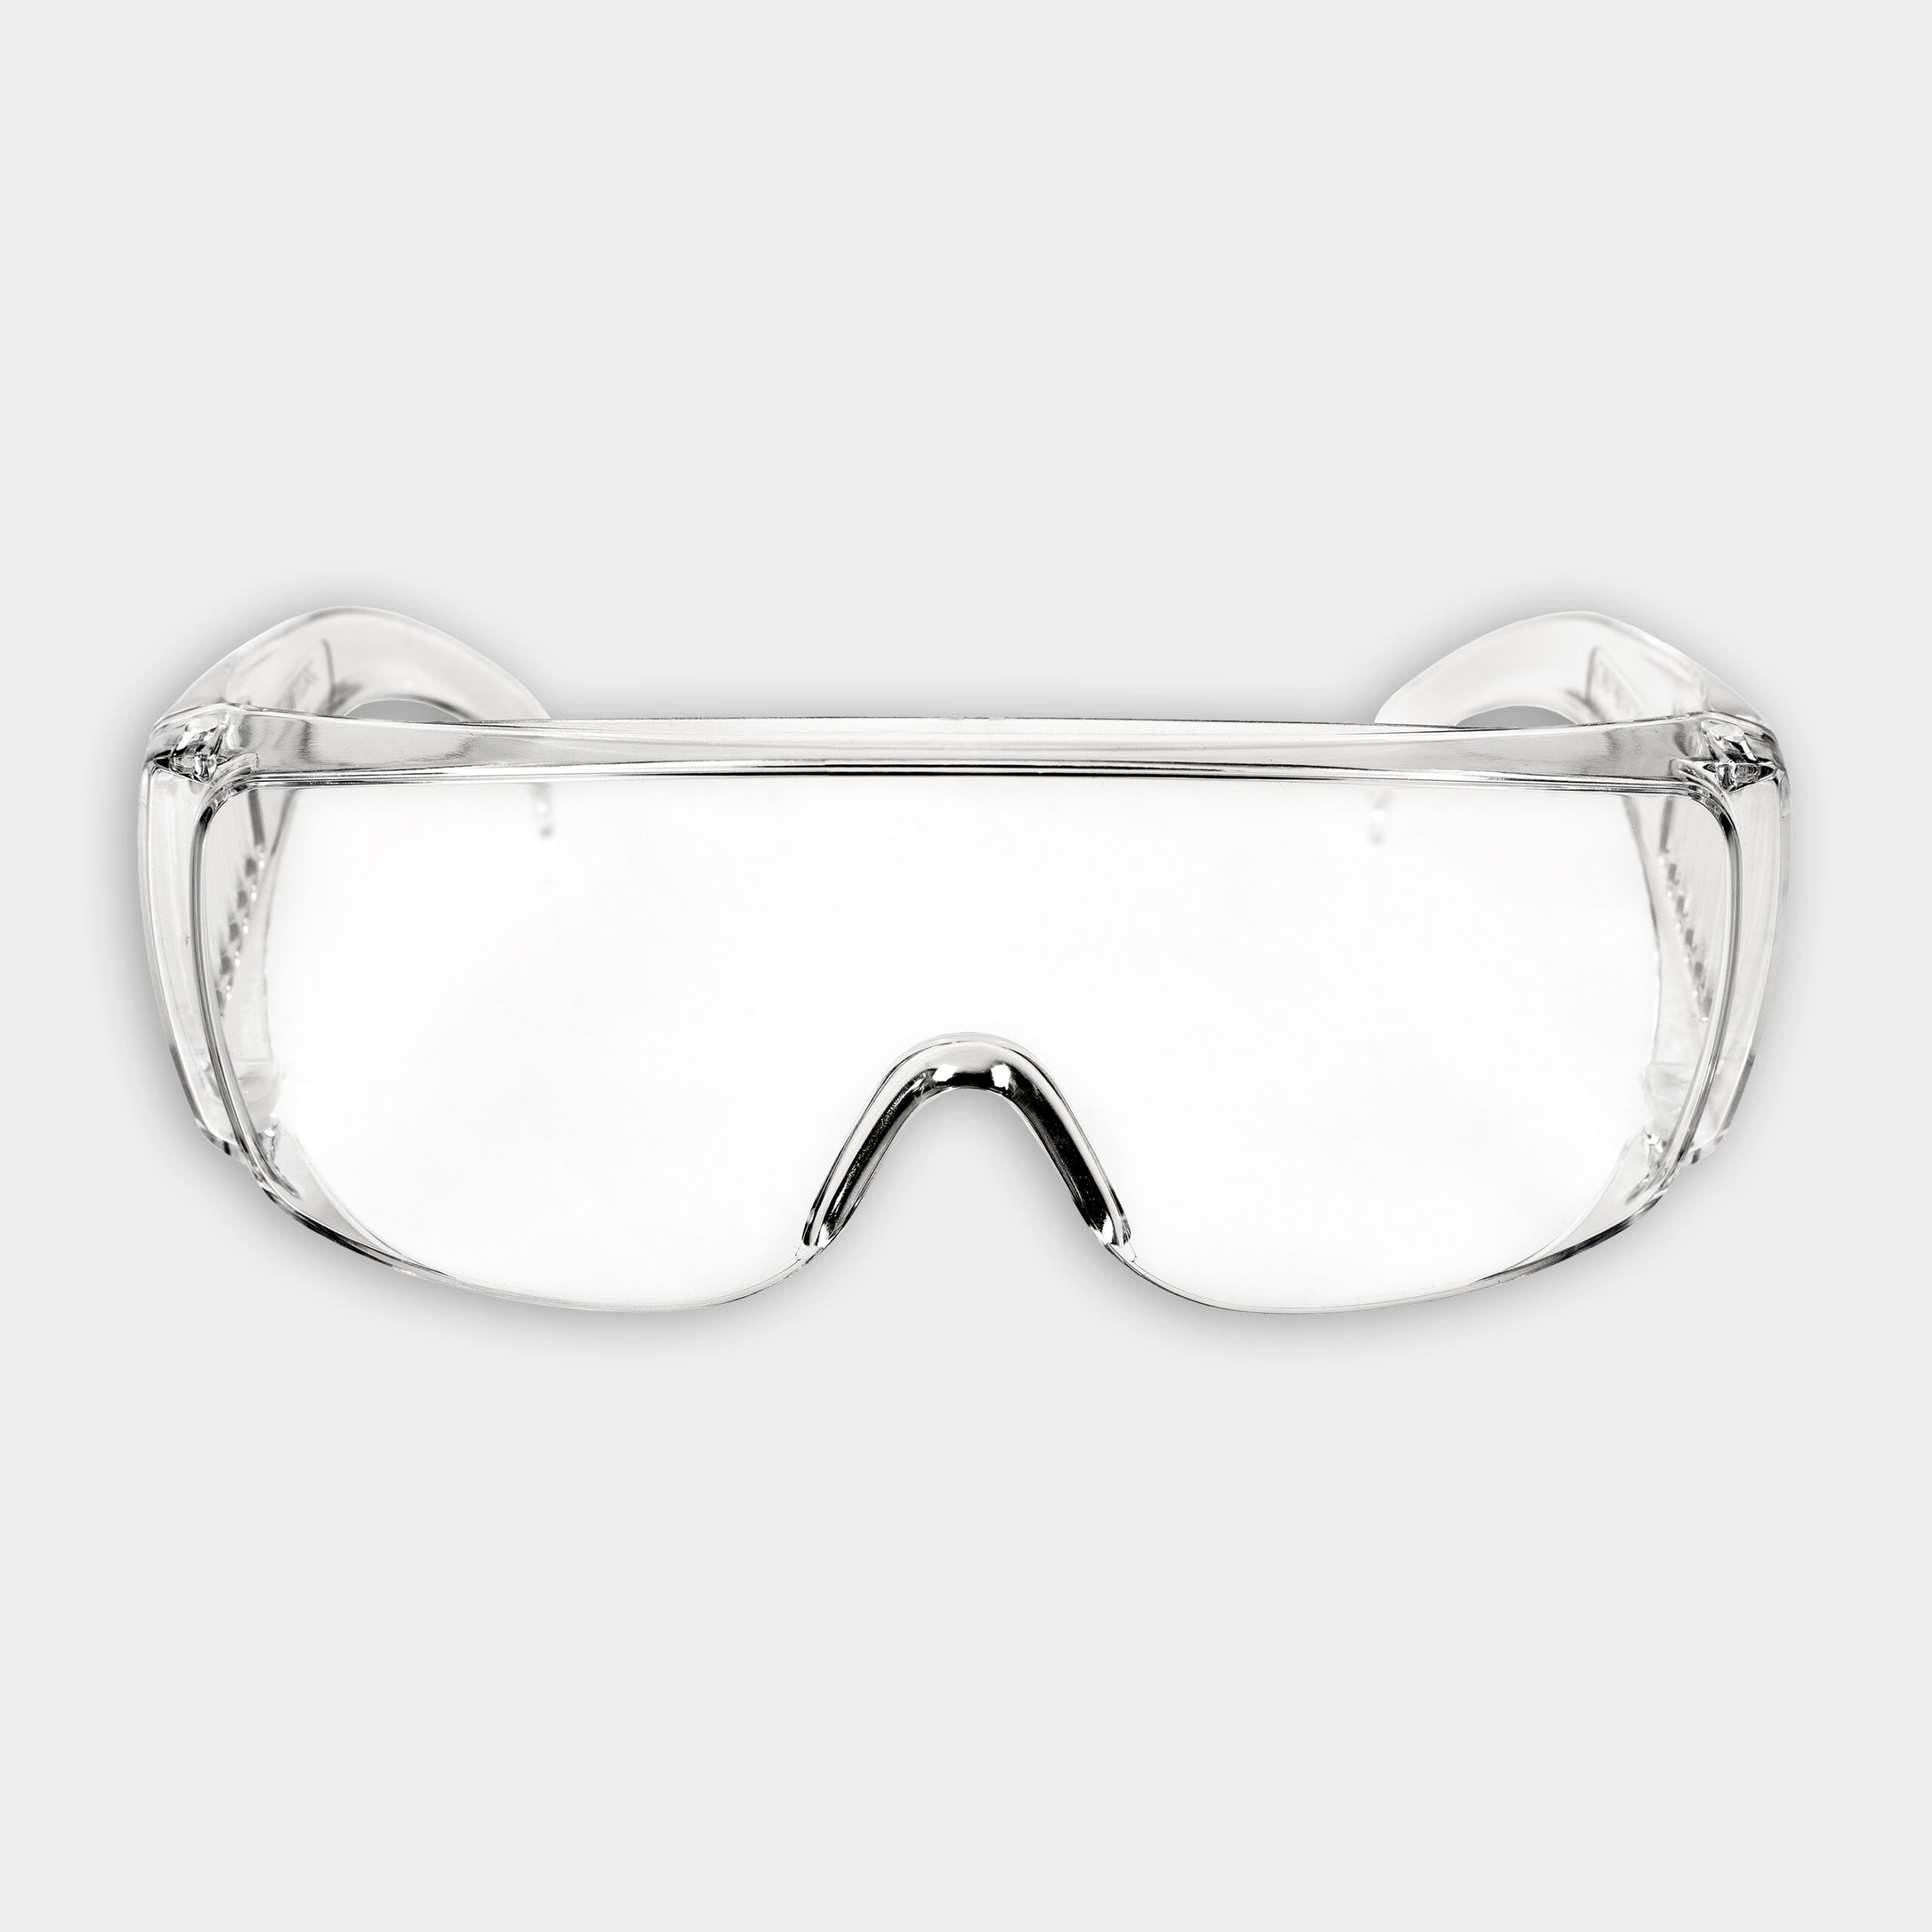
With the area cleaned and protected, Mauro used a Titan 440 Airless Sprayer with a 315 nozzle to apply a coat of primer to the wainscoting. To spray, Mauro put on glasses, a mask with a respirator, and coveralls.
After letting the primer dry for 1-2 hours, Mauro used wood filler and caulk to fill holes and cracks in the wainscoting and then sanded it smooth with sanding blocks. Mauro then used the sprayer to apply two even coats of white paint, waiting 1-2 hours for each coat to dry.
Materials
- Painter’s tape
- Plastic sheeting
- Rosin paper
- Drop cloths
- Tack cloth
- Acrylic primer
- Wood putty
- Paintable latex caulk
- Semi-gloss latex paint