Host Kevin O’Connor and general contractor Tom Silva are about to dive into the future of woodworking. With a handheld CNC router in hand, the two work together to find a design, upload it to the router, and cut out two unbelievably accurate legs for a toddler’s step stool. Here’s how it’s done.
How to Build a Toddler Step Stool with a CNC Router
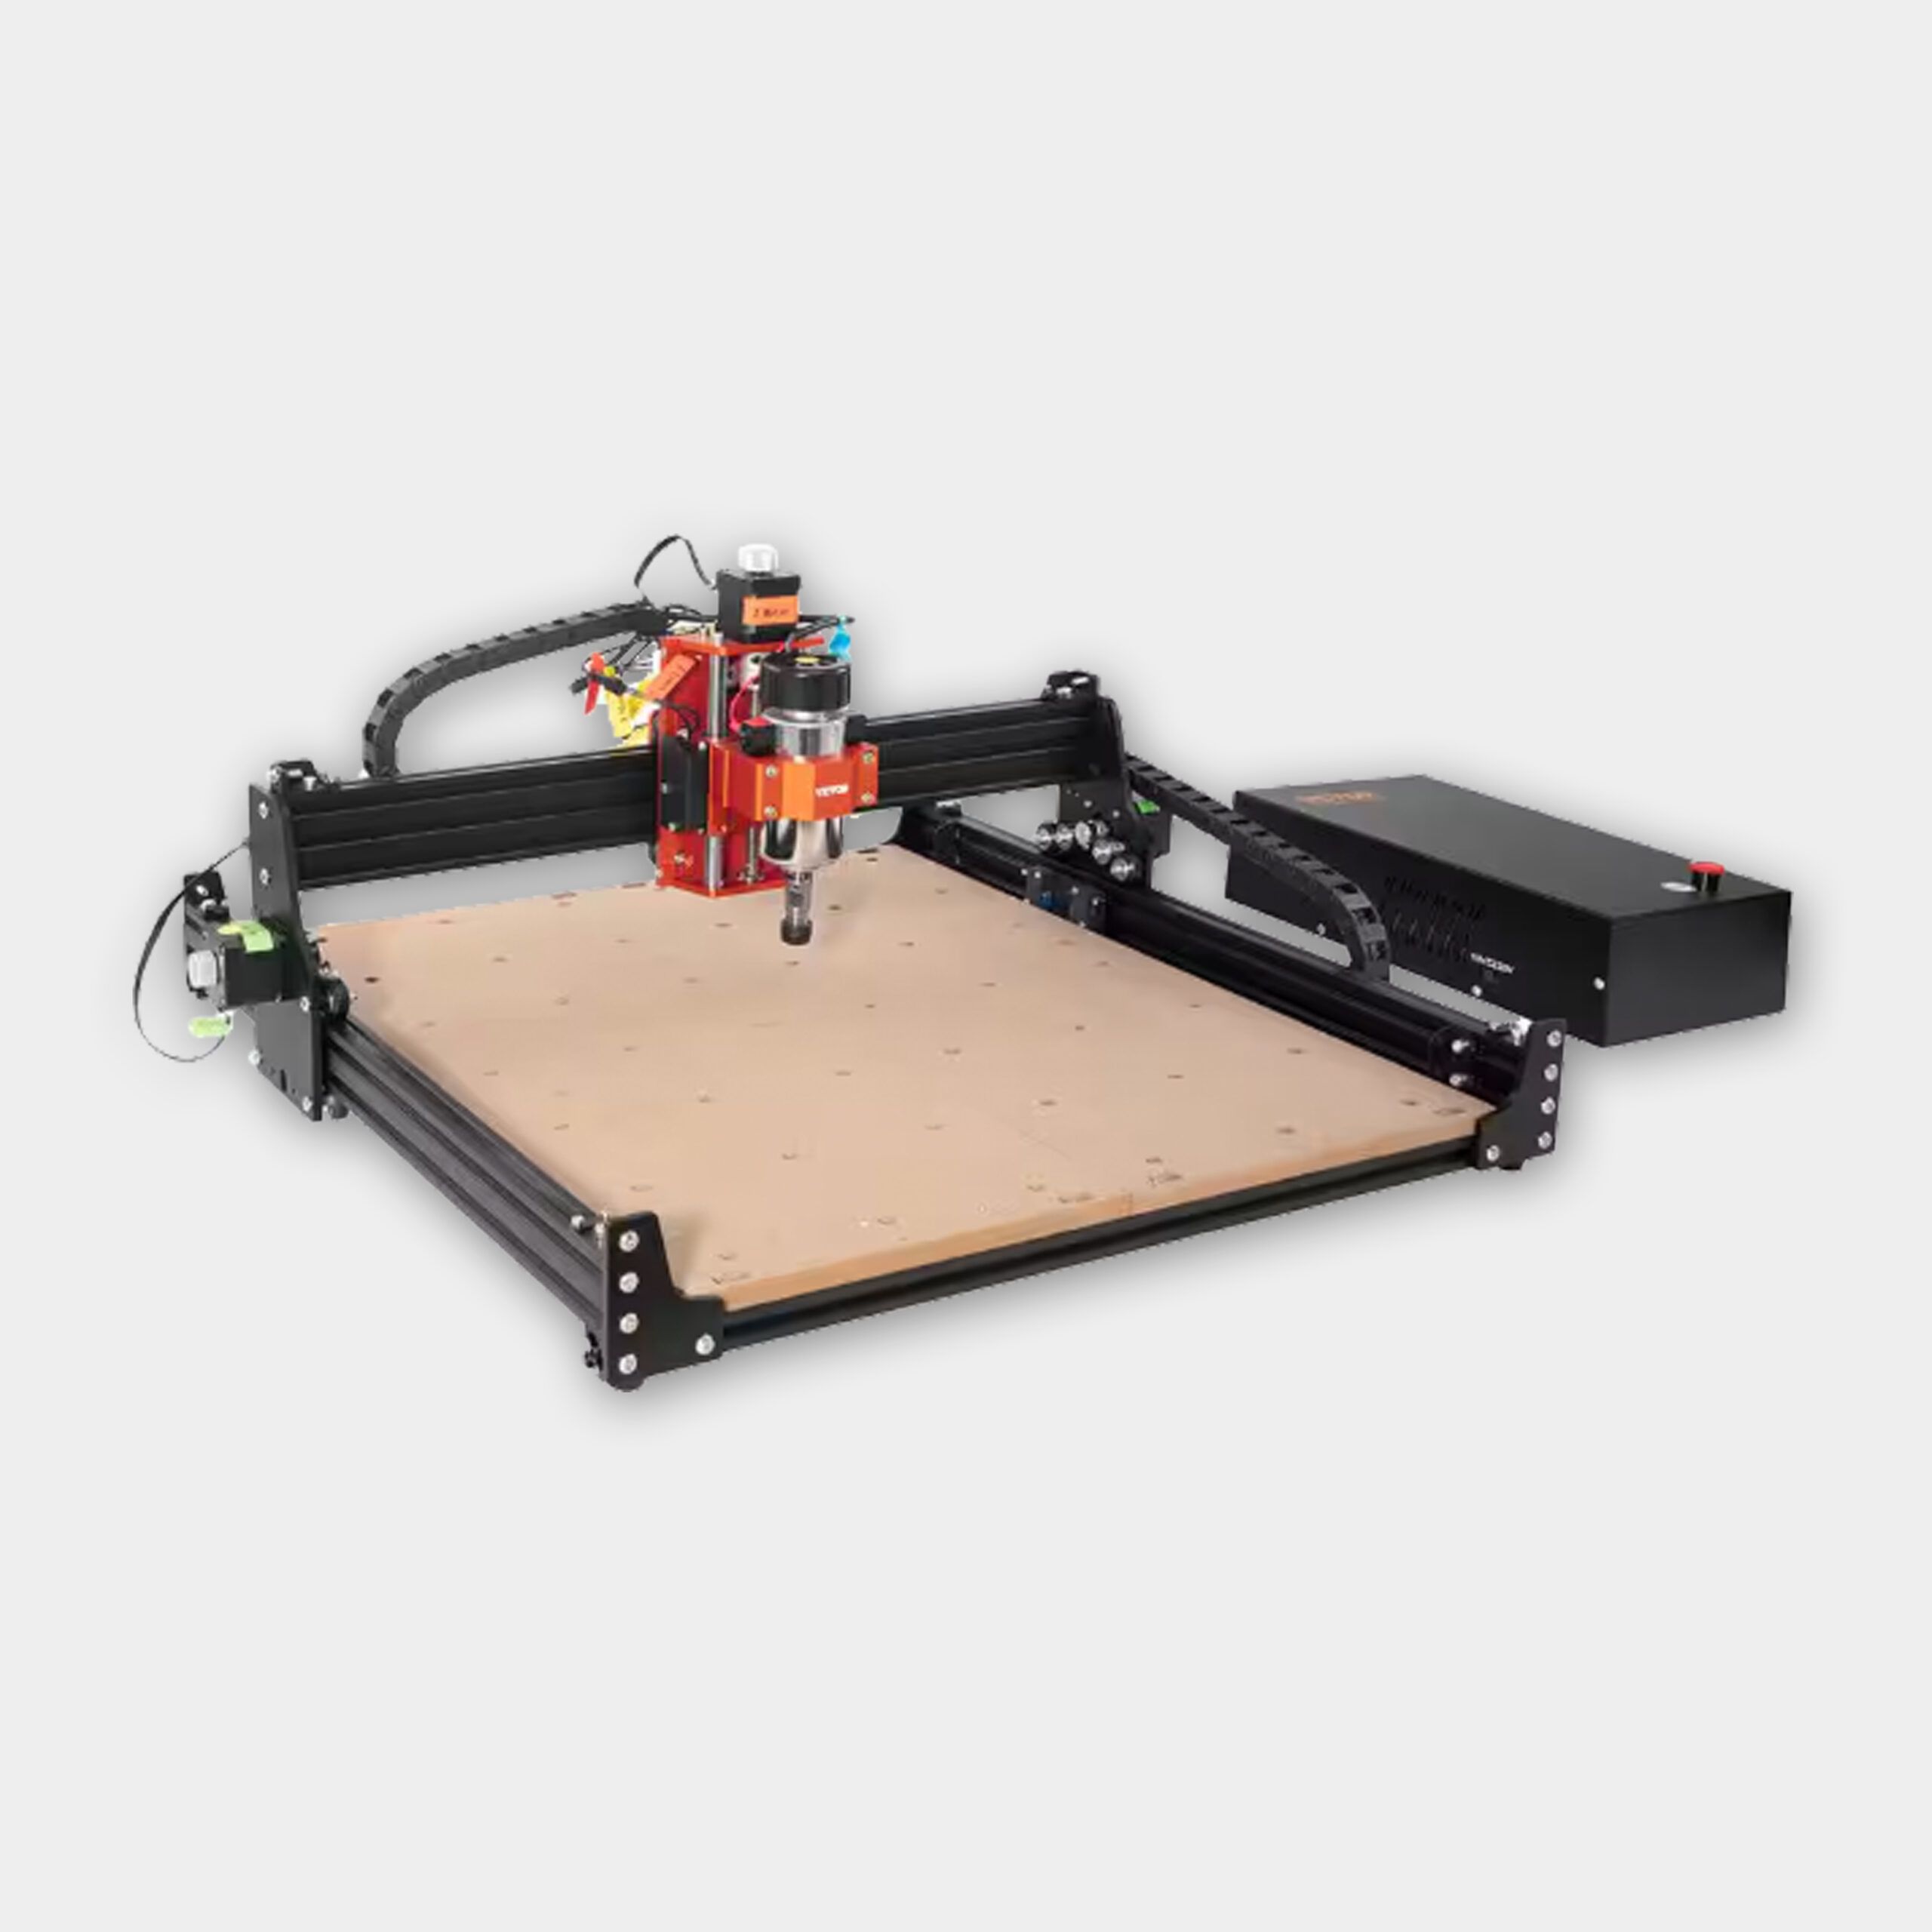
A CNC router is the star of this project. These tools can map out a project piece, reference an uploaded plan, and show woodworkers where to cut for a perfect project. Even if the woodworker strays from the path a bit, the router makes its own corrections, ensuring a perfect end result.
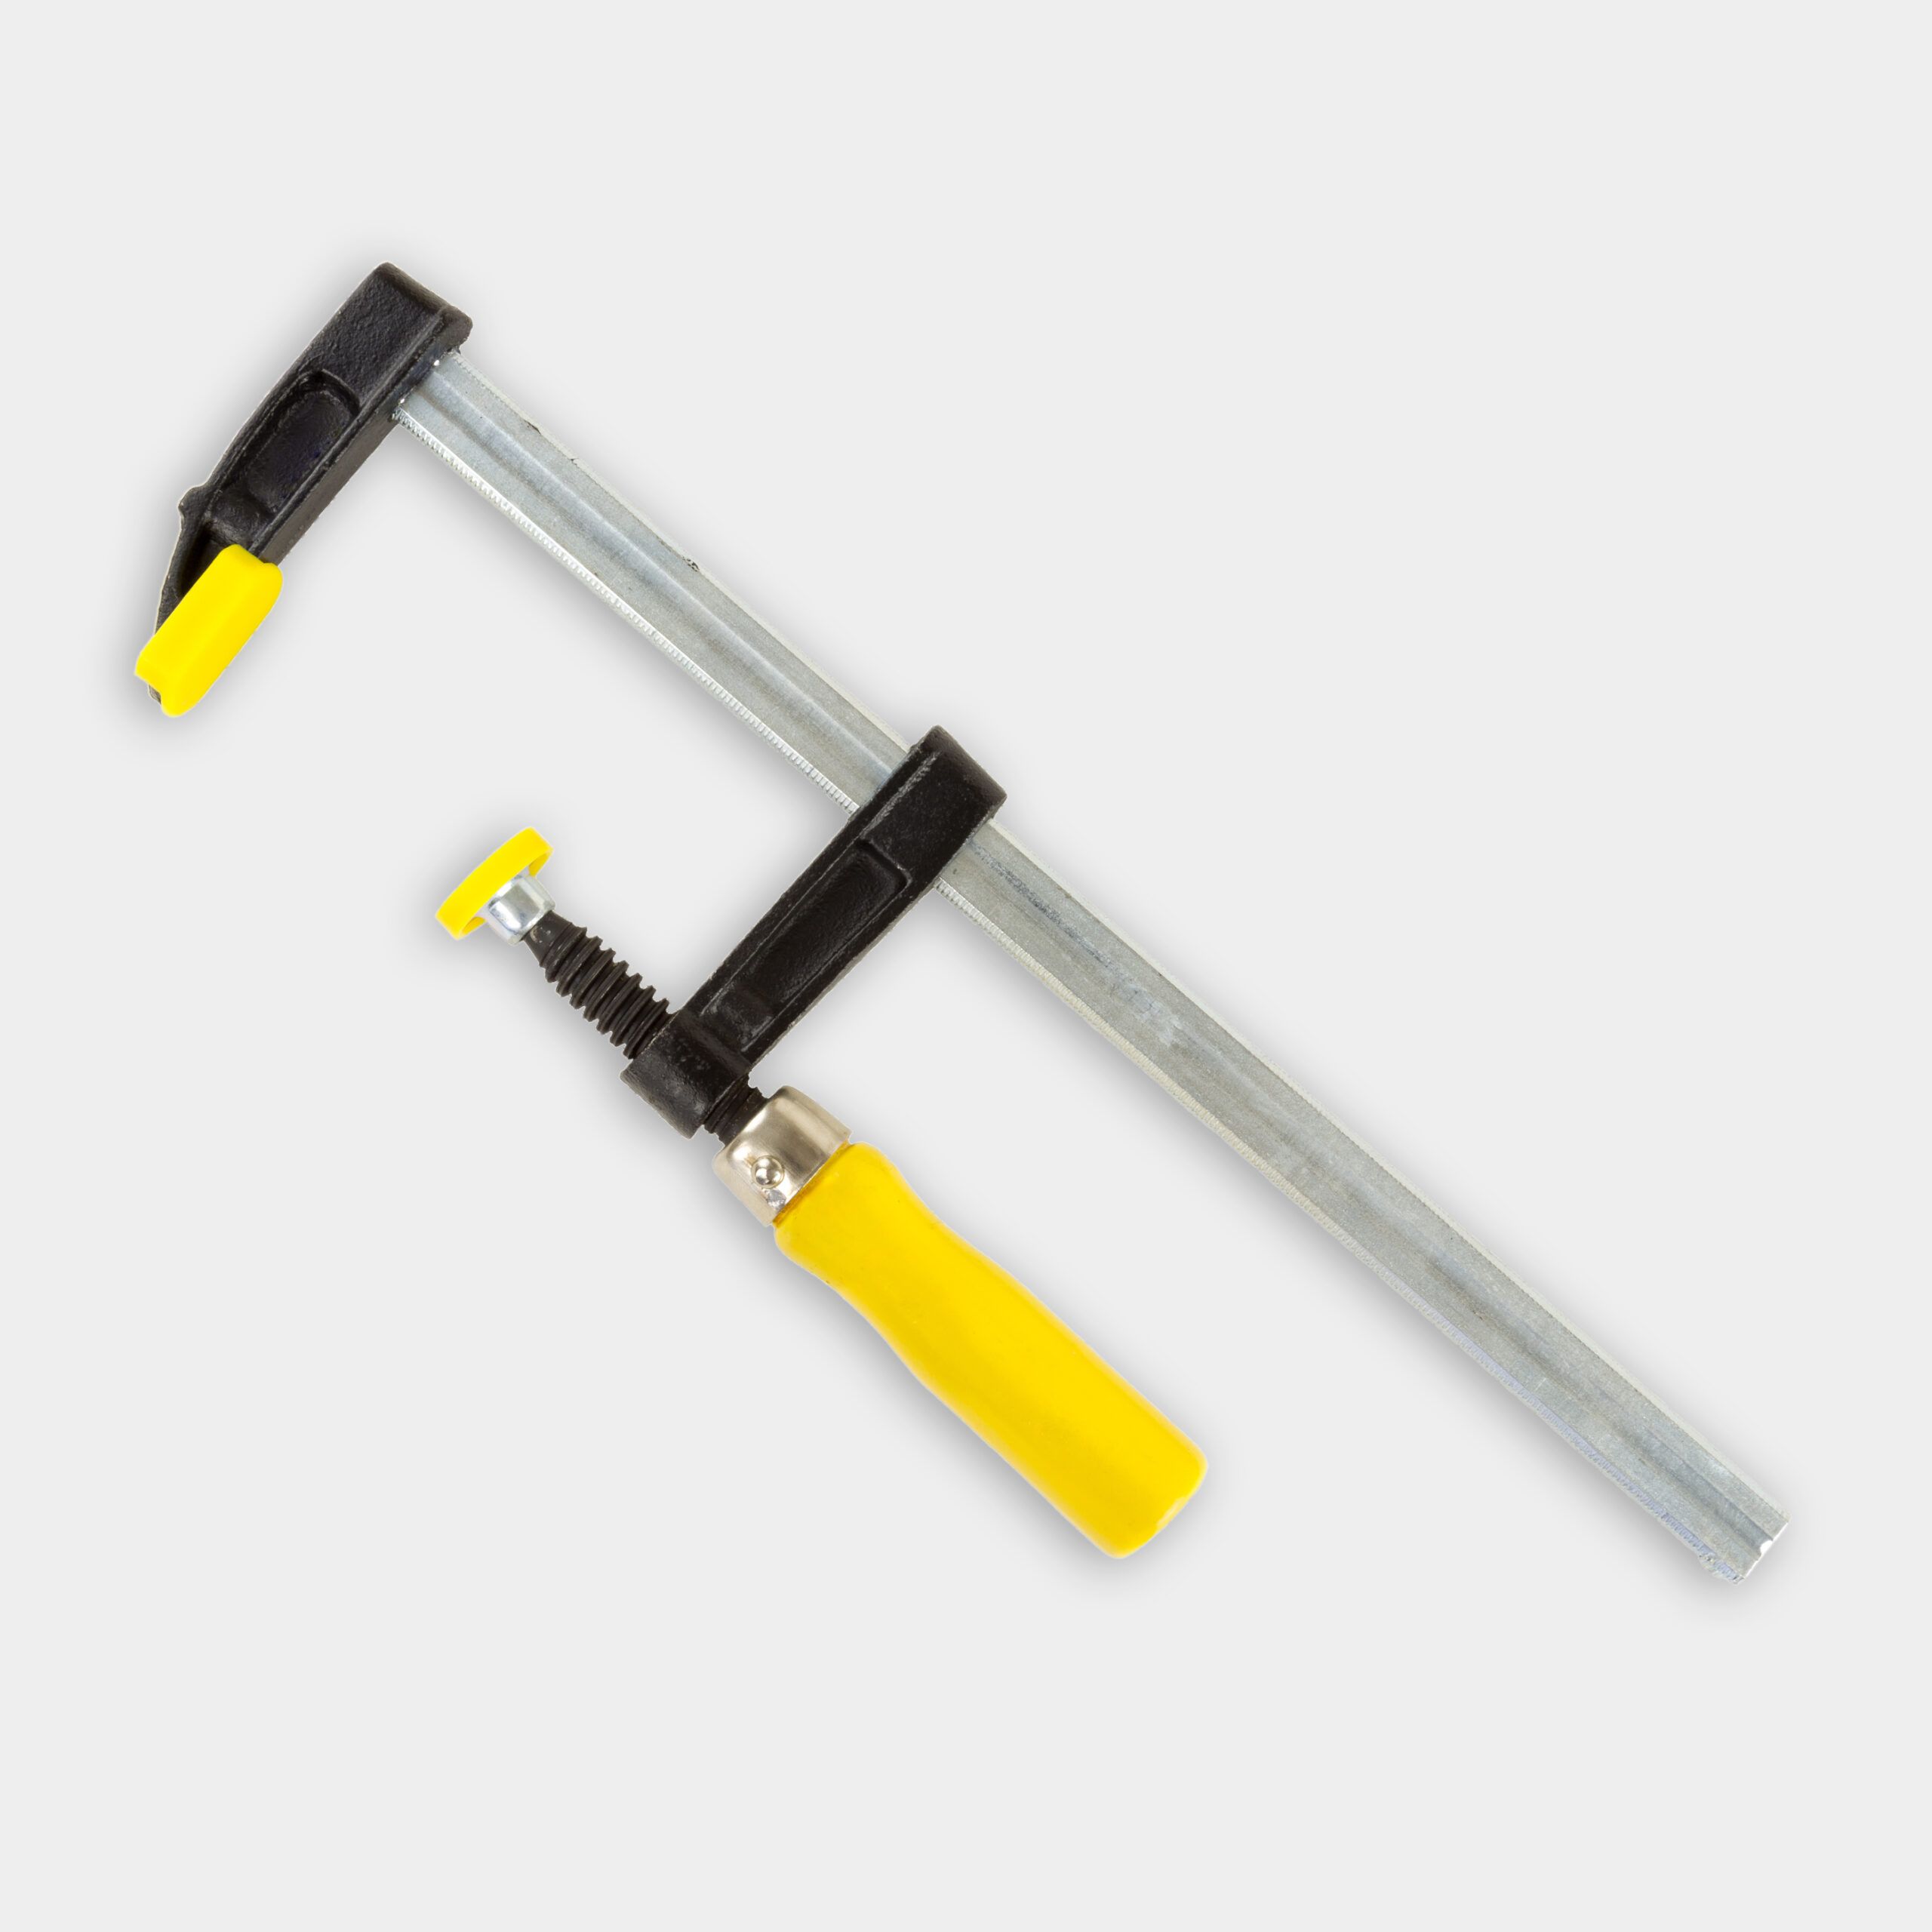
- Start by setting up the work area. Clamp a large sheet of scrap plywood to the table. Remove all of the dust and dirt from the sheet and apply several strips of double-sided tape to the surface. Press the project board onto the double-sided tape to keep it firmly in place.
- Apply multiple strips of domino guide tape to the surface of the plywood, spaced two or three inches from each other. The more tape you use, the more accurately the router will perform.
- Place the router in scan mode and slowly scan the surface of the workpiece. The router will take dozens of pictures of the workpiece and the corresponding domino tape, helping it understand the layout.
- Find the X and Y-axis by placing a bit in the router, plunging it down, and touching it to the sides of the workpiece at all of the locations the router requests. Do not turn on the router bit for this process.
- Upload the chosen plan to the router. Choose where to place the components on the plywood, keeping an eye for minimizing waste.
- Install the cutting bit in the router. Then, find the Z-axis (depth) by selecting the Z-axis setting and letting the router program itself.
- Start the router and follow the cut path outline on the router screen. Keep the circle over the cut path to allow the tool to make its own adjustments as you cut.
- Cut two dados in the back of the legs using the CNC router. Fill the dados with blocks and sandwich the legs together.
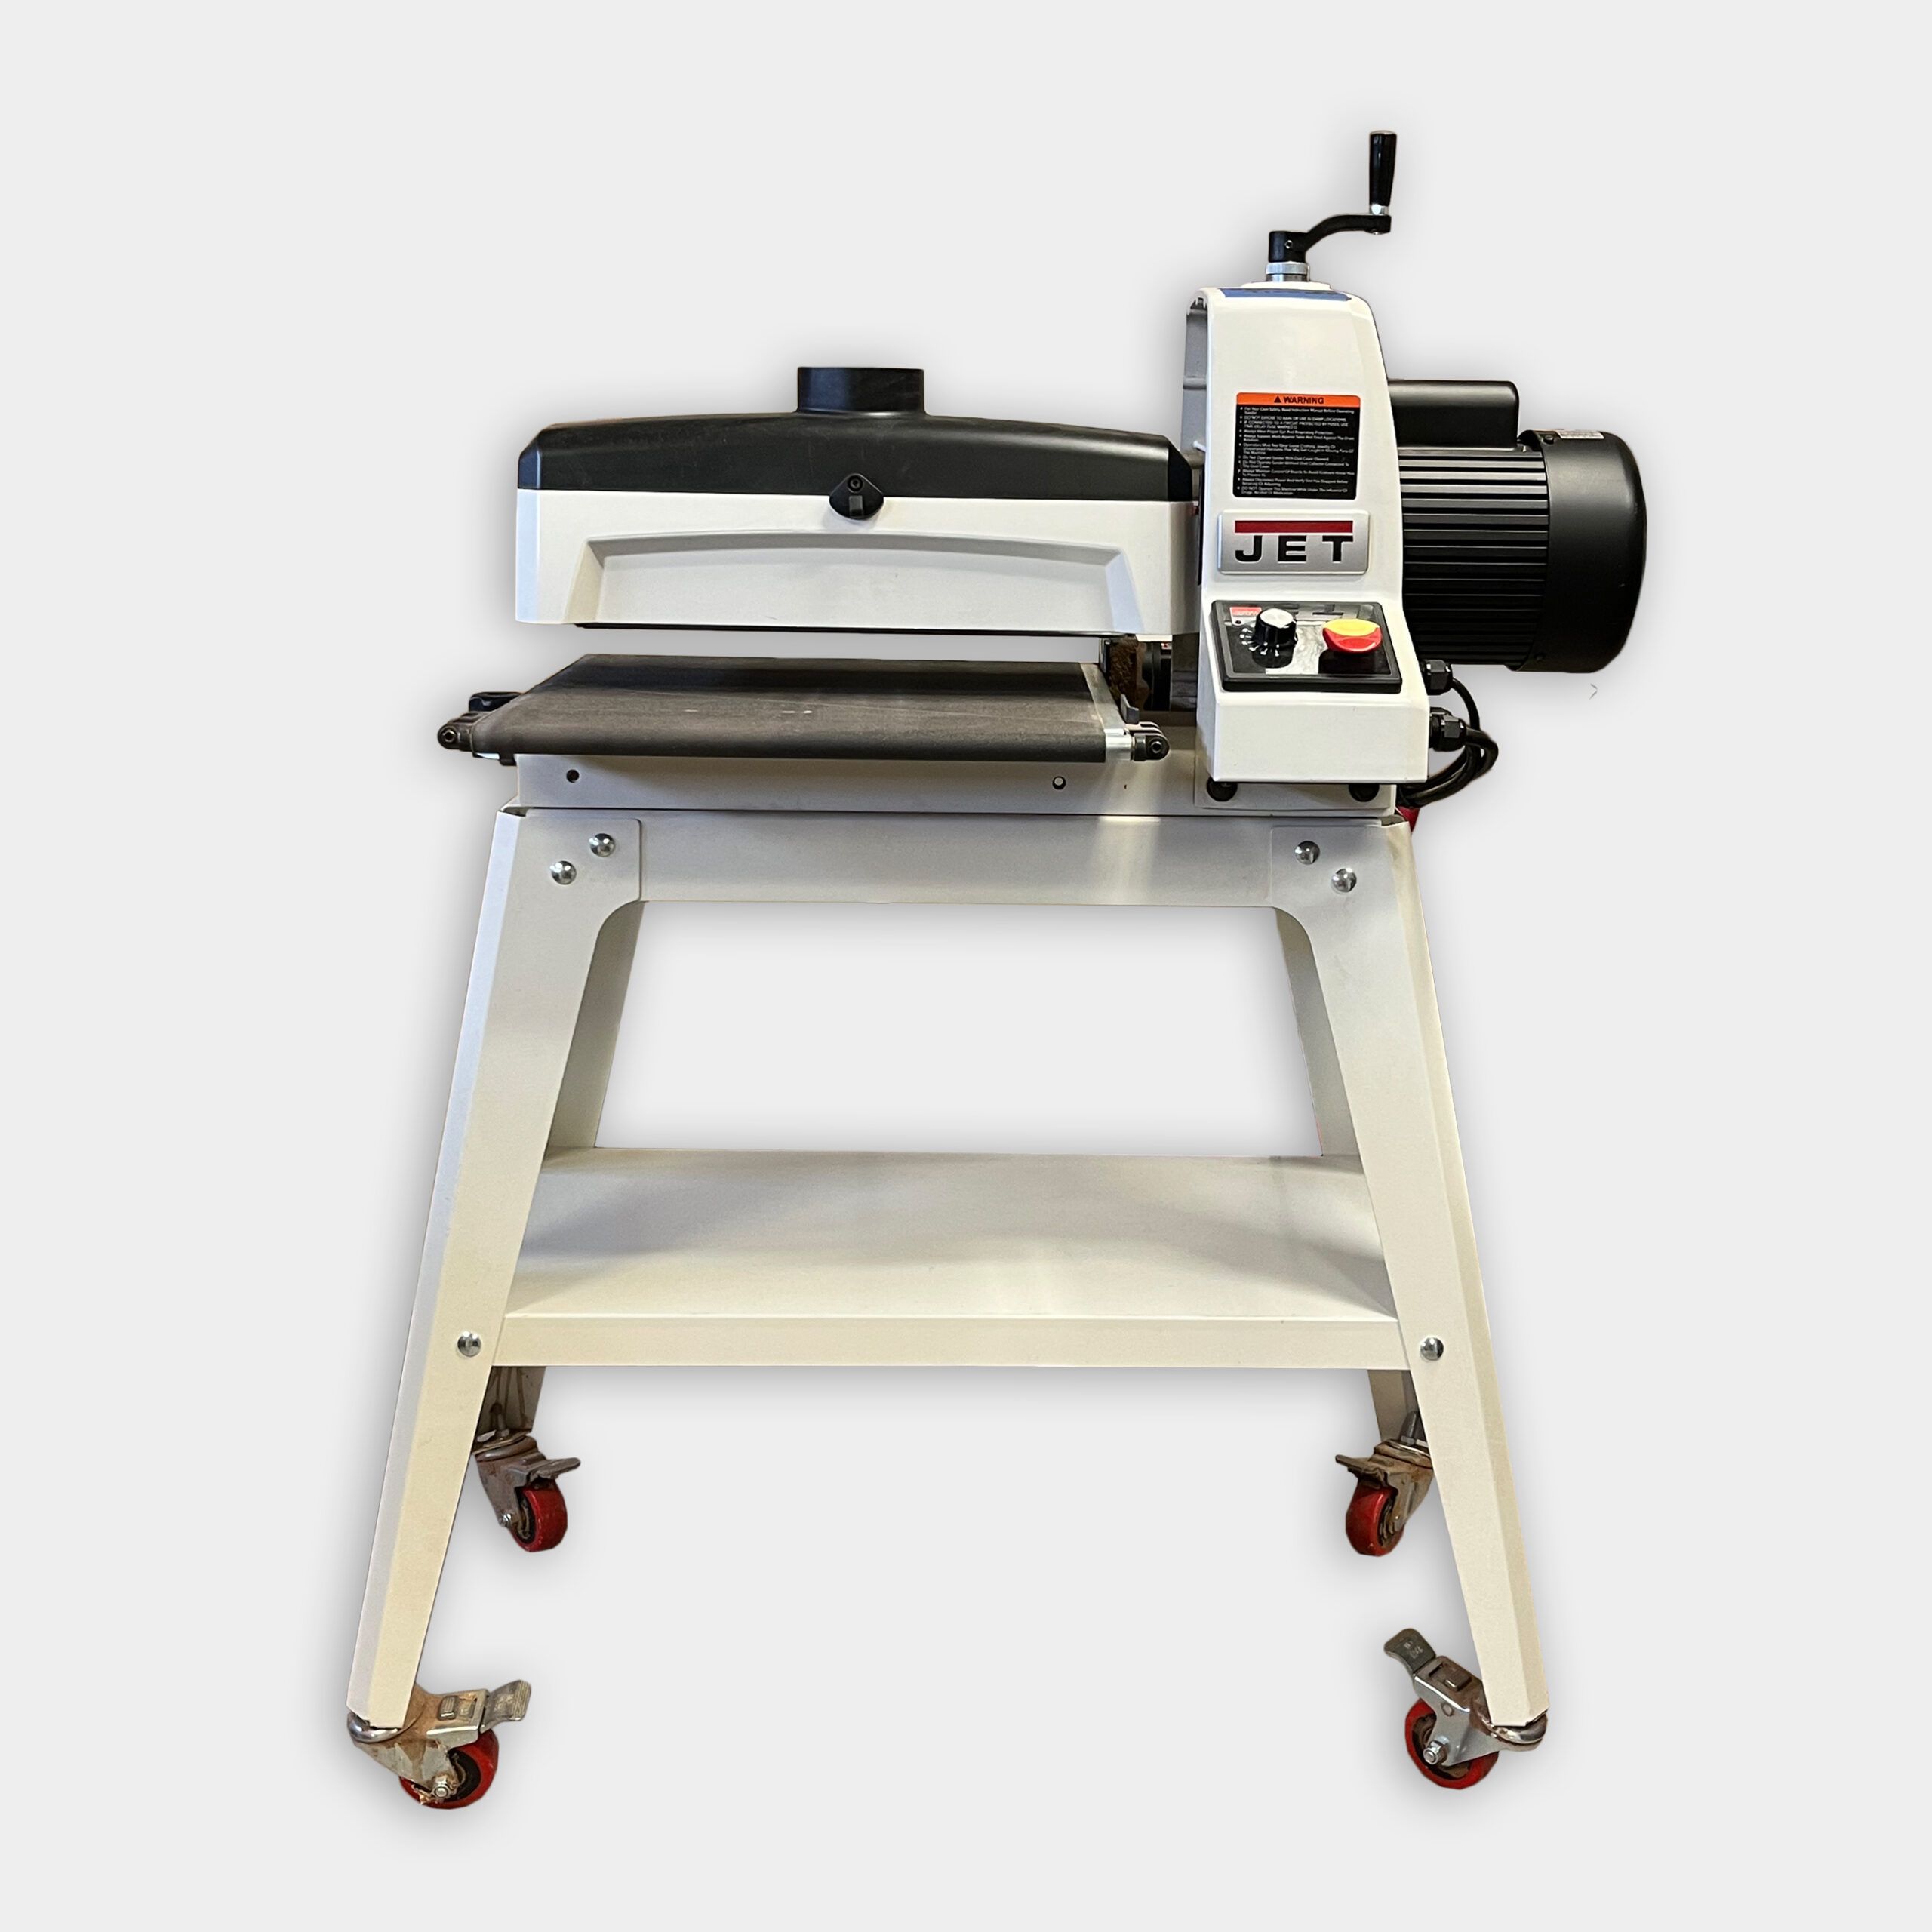
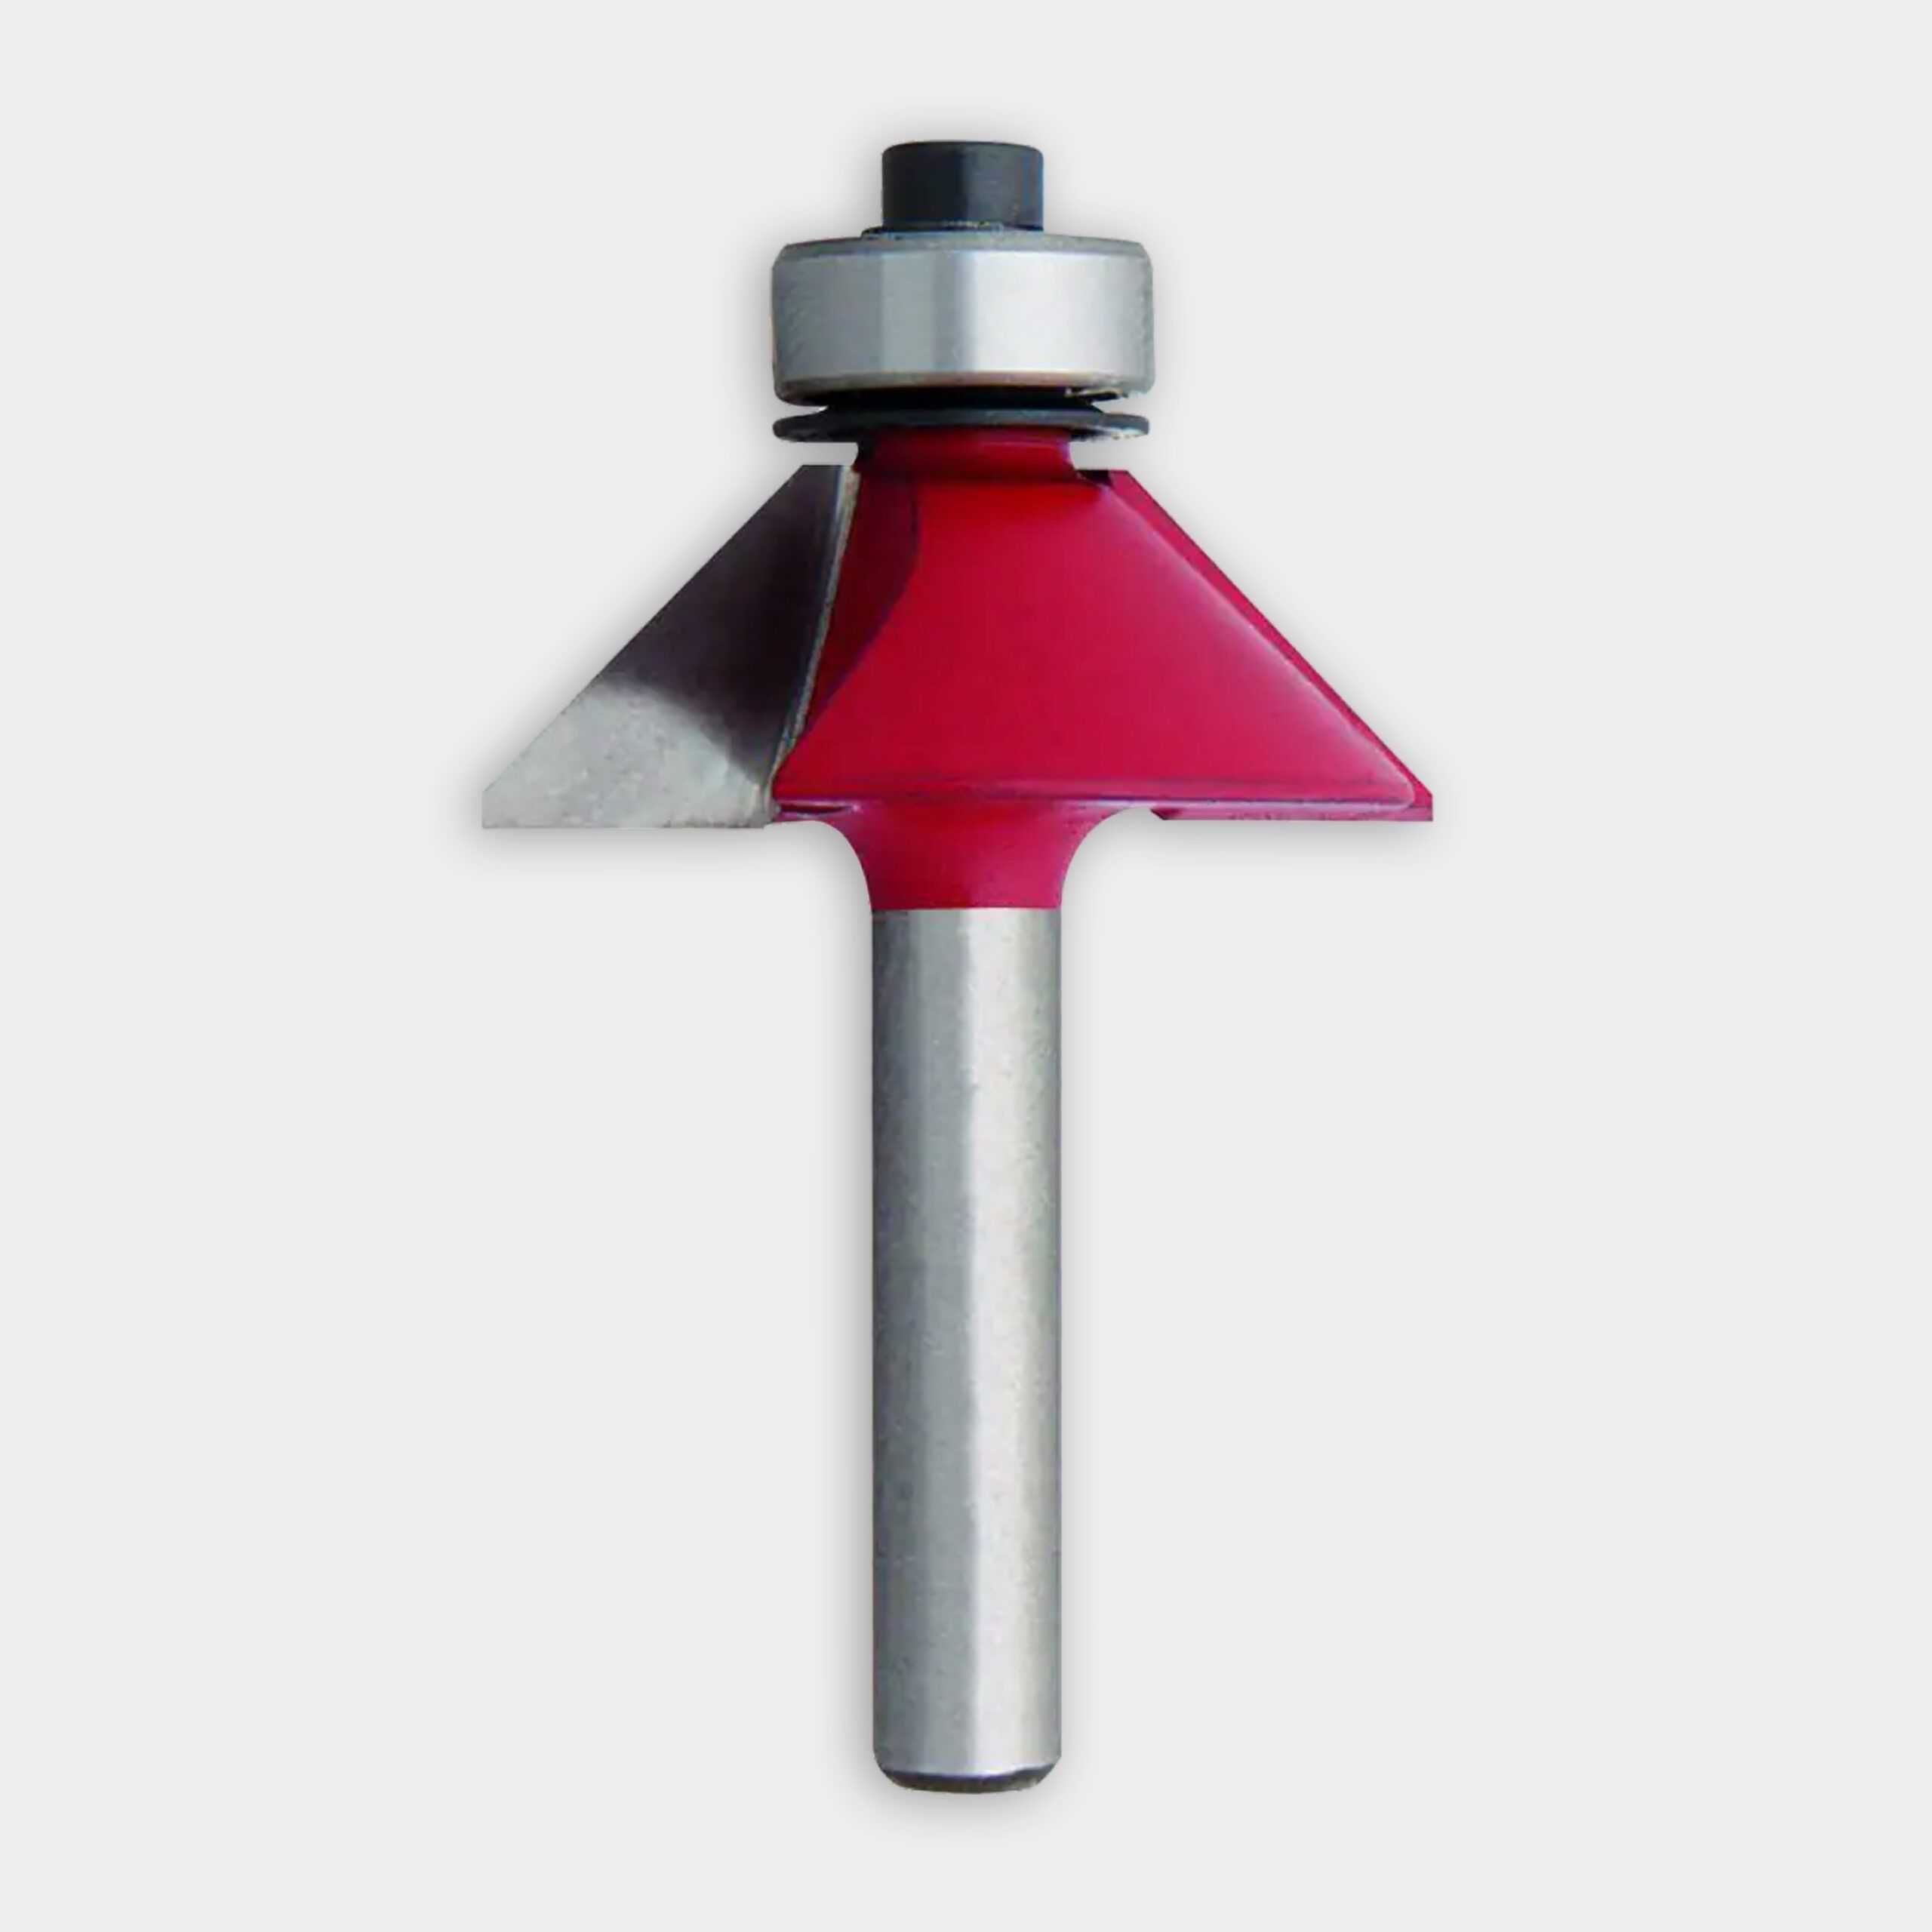
- Clean up the edges on the drum sander before chamfering the corners with a standard handheld router.
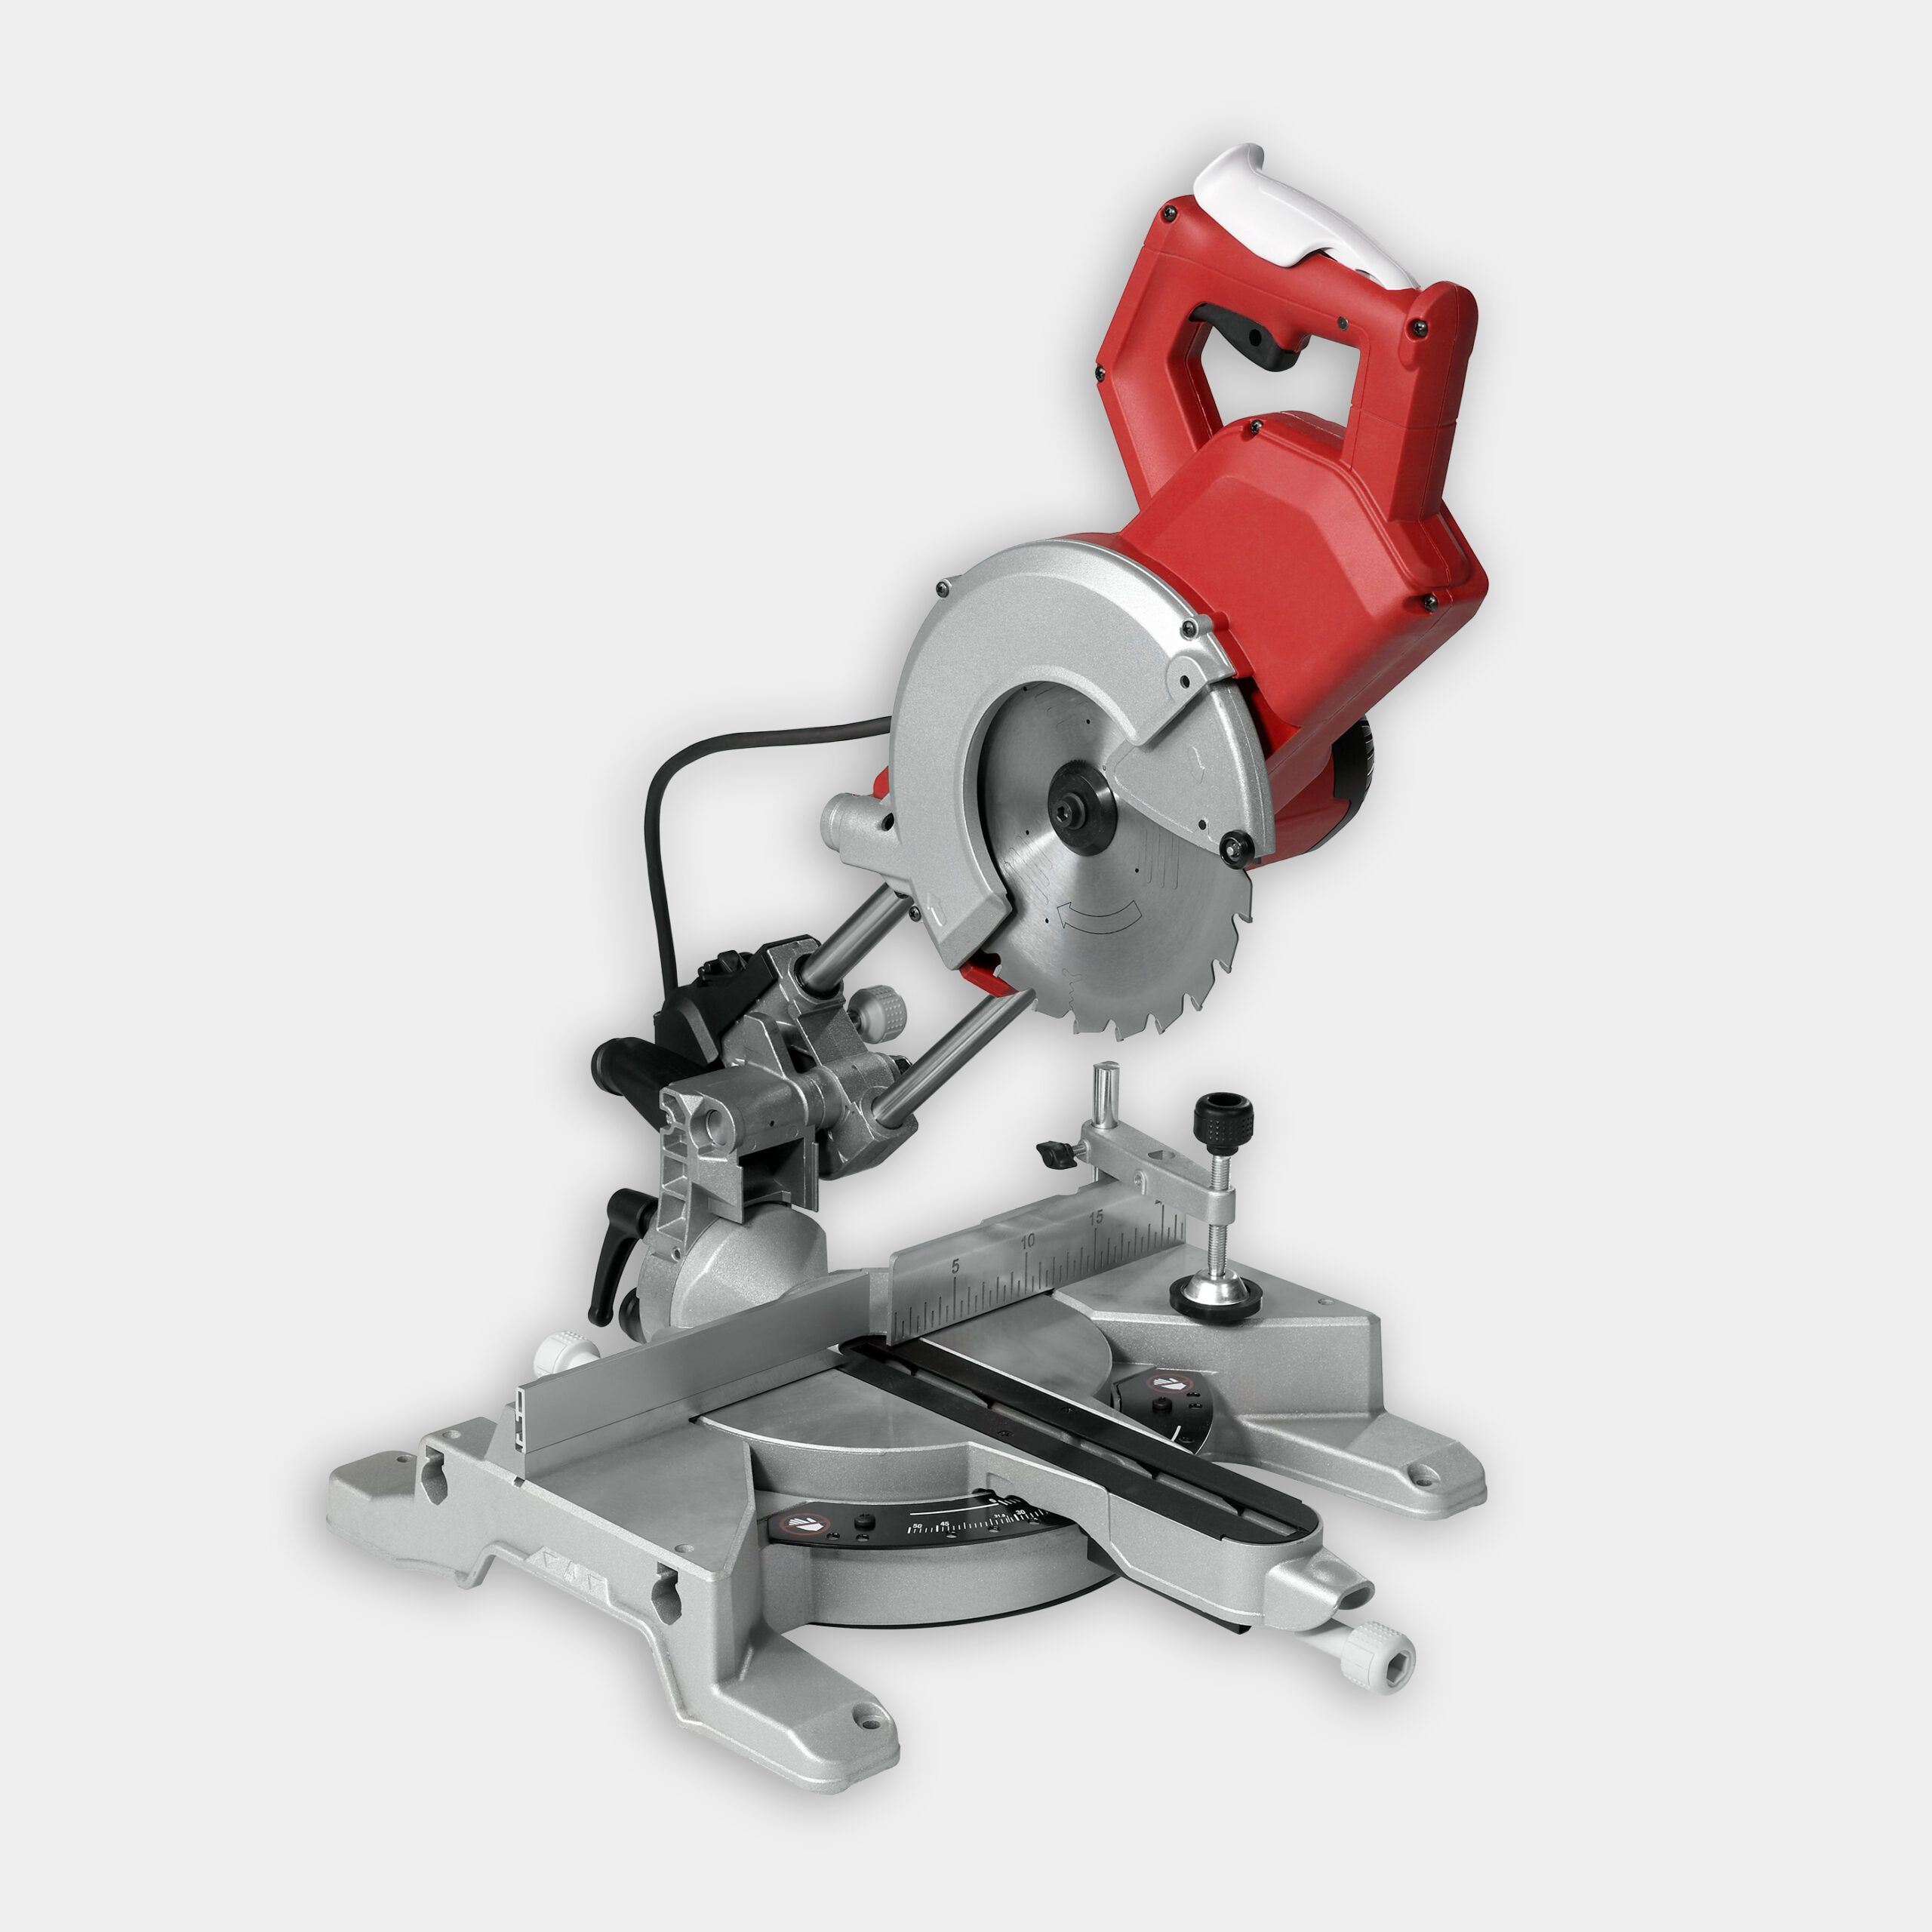
- Cut the treads on the miter saw.
- Remove the blocks from the dados, squeeze glue into the dado, and install the lower tread.
- Squeeze glue onto the top of the legs, align the top tread, and screw through the top and into the legs below.
- Remove any glue, sand the stool, and apply a clear coat, stain, or paint to protect it.
Resources
To prep your workspace to use a CNC hand router:
To protect your worktable clamp a spare piece of plywood down to the table. Use double sided stick tape on the plywood to secure the material you’re cutting to it. This will prevent the board from moving while using the router.
To prepare the router for a new project, add a special locator tape that allows the router to locate itself on any workpiece. Scan the workpiece to create a grid that the router will follow.
To keep your workspace clean connect the router to a HEPA vac for minimal dust transfer.
Baltic birch plywood was used for this project.
Chamfer bit for router to round the edges.
Cut the treads on the miter saw.
Wood glue to join pieces together and screws to secure them in place.
Materials
- Downloadable plan
- Scrap plywood
- Baltic birch plywood
- Double-sided tape
- Domino guide tape
- Wood glue
- Wood screws