When a homeowner realized her children love to dig, she knew the perfect outside toy would be a sandbox. But, without knowing how to build one that would stand up to the rigors of childhood, she called the team at Ask This Old House for help. As a man who loves to dig himself, master carpenter Nathan Gilbert was happy to answer the call.
How to Build a Sandbox
- Start by finding a shady, mostly level surface for the sandbox. The less leveling that needs to be done, the easier the installation will be and the longer it will last.
- Start by marking and cutting the first course. Choose an overall width and length that fits within the area. For the first course, cut the long boards to the actual length and cut the shorter boards to fit between them 11 inches shorter than the overall width, as 4×6 posts are 3 ½ inches thick and 5 ½ inches wide. For example, if the overall size of the sandbox is 4×6, cut two timbers to 6 feet and two shorter lengths to 37 inches. These shorter timbers will fit in between the longer timbers, giving the appropriate overall width of 48 inches.
- Place the cut pieces in place and check for layout and grade. Remove the pieces and soften the grade underneath to ensure the sandbox will sit level.
- Replace the pieces and attach them using timber screws. Check to ensure the sandbox is square by measuring diagonally from corner to corner, ensuring both measurements are equal.
- Attach weed barrier to the inside of the box. Cut it to length with a utility knife and tack it in place with a hammer tacker.
- Cut the second course. This time, cut the shorter pieces to the full width of the sandbox (for our example, 48 inches), and the longer pieces 11 inches shorter (for our example, 61 inches long). Place them on the first course, attach them to each other with timber screws, and fasten them to the first course.
- Cut another course that matches the first course. Place it on the second course, attach the pieces to one another and then fasten the course together with timber screws.
- If desired, add a seat to the corner of the sandbox. Cut a small block of timber with two opposing 45-degree angles. Place it in the corner of the sandbox and fasten it in place with timber screws.
- Ease the edges of the sandbox by using a router and round-over bit. Go around all of the hard, 90-degree edges with the router to create a softer, safer play environment.
- Place bags of play sand in the sandbox cut them open and spread them around the sandbox to fill it for hours of digging fun.
Resources
- Start by cutting pressure-
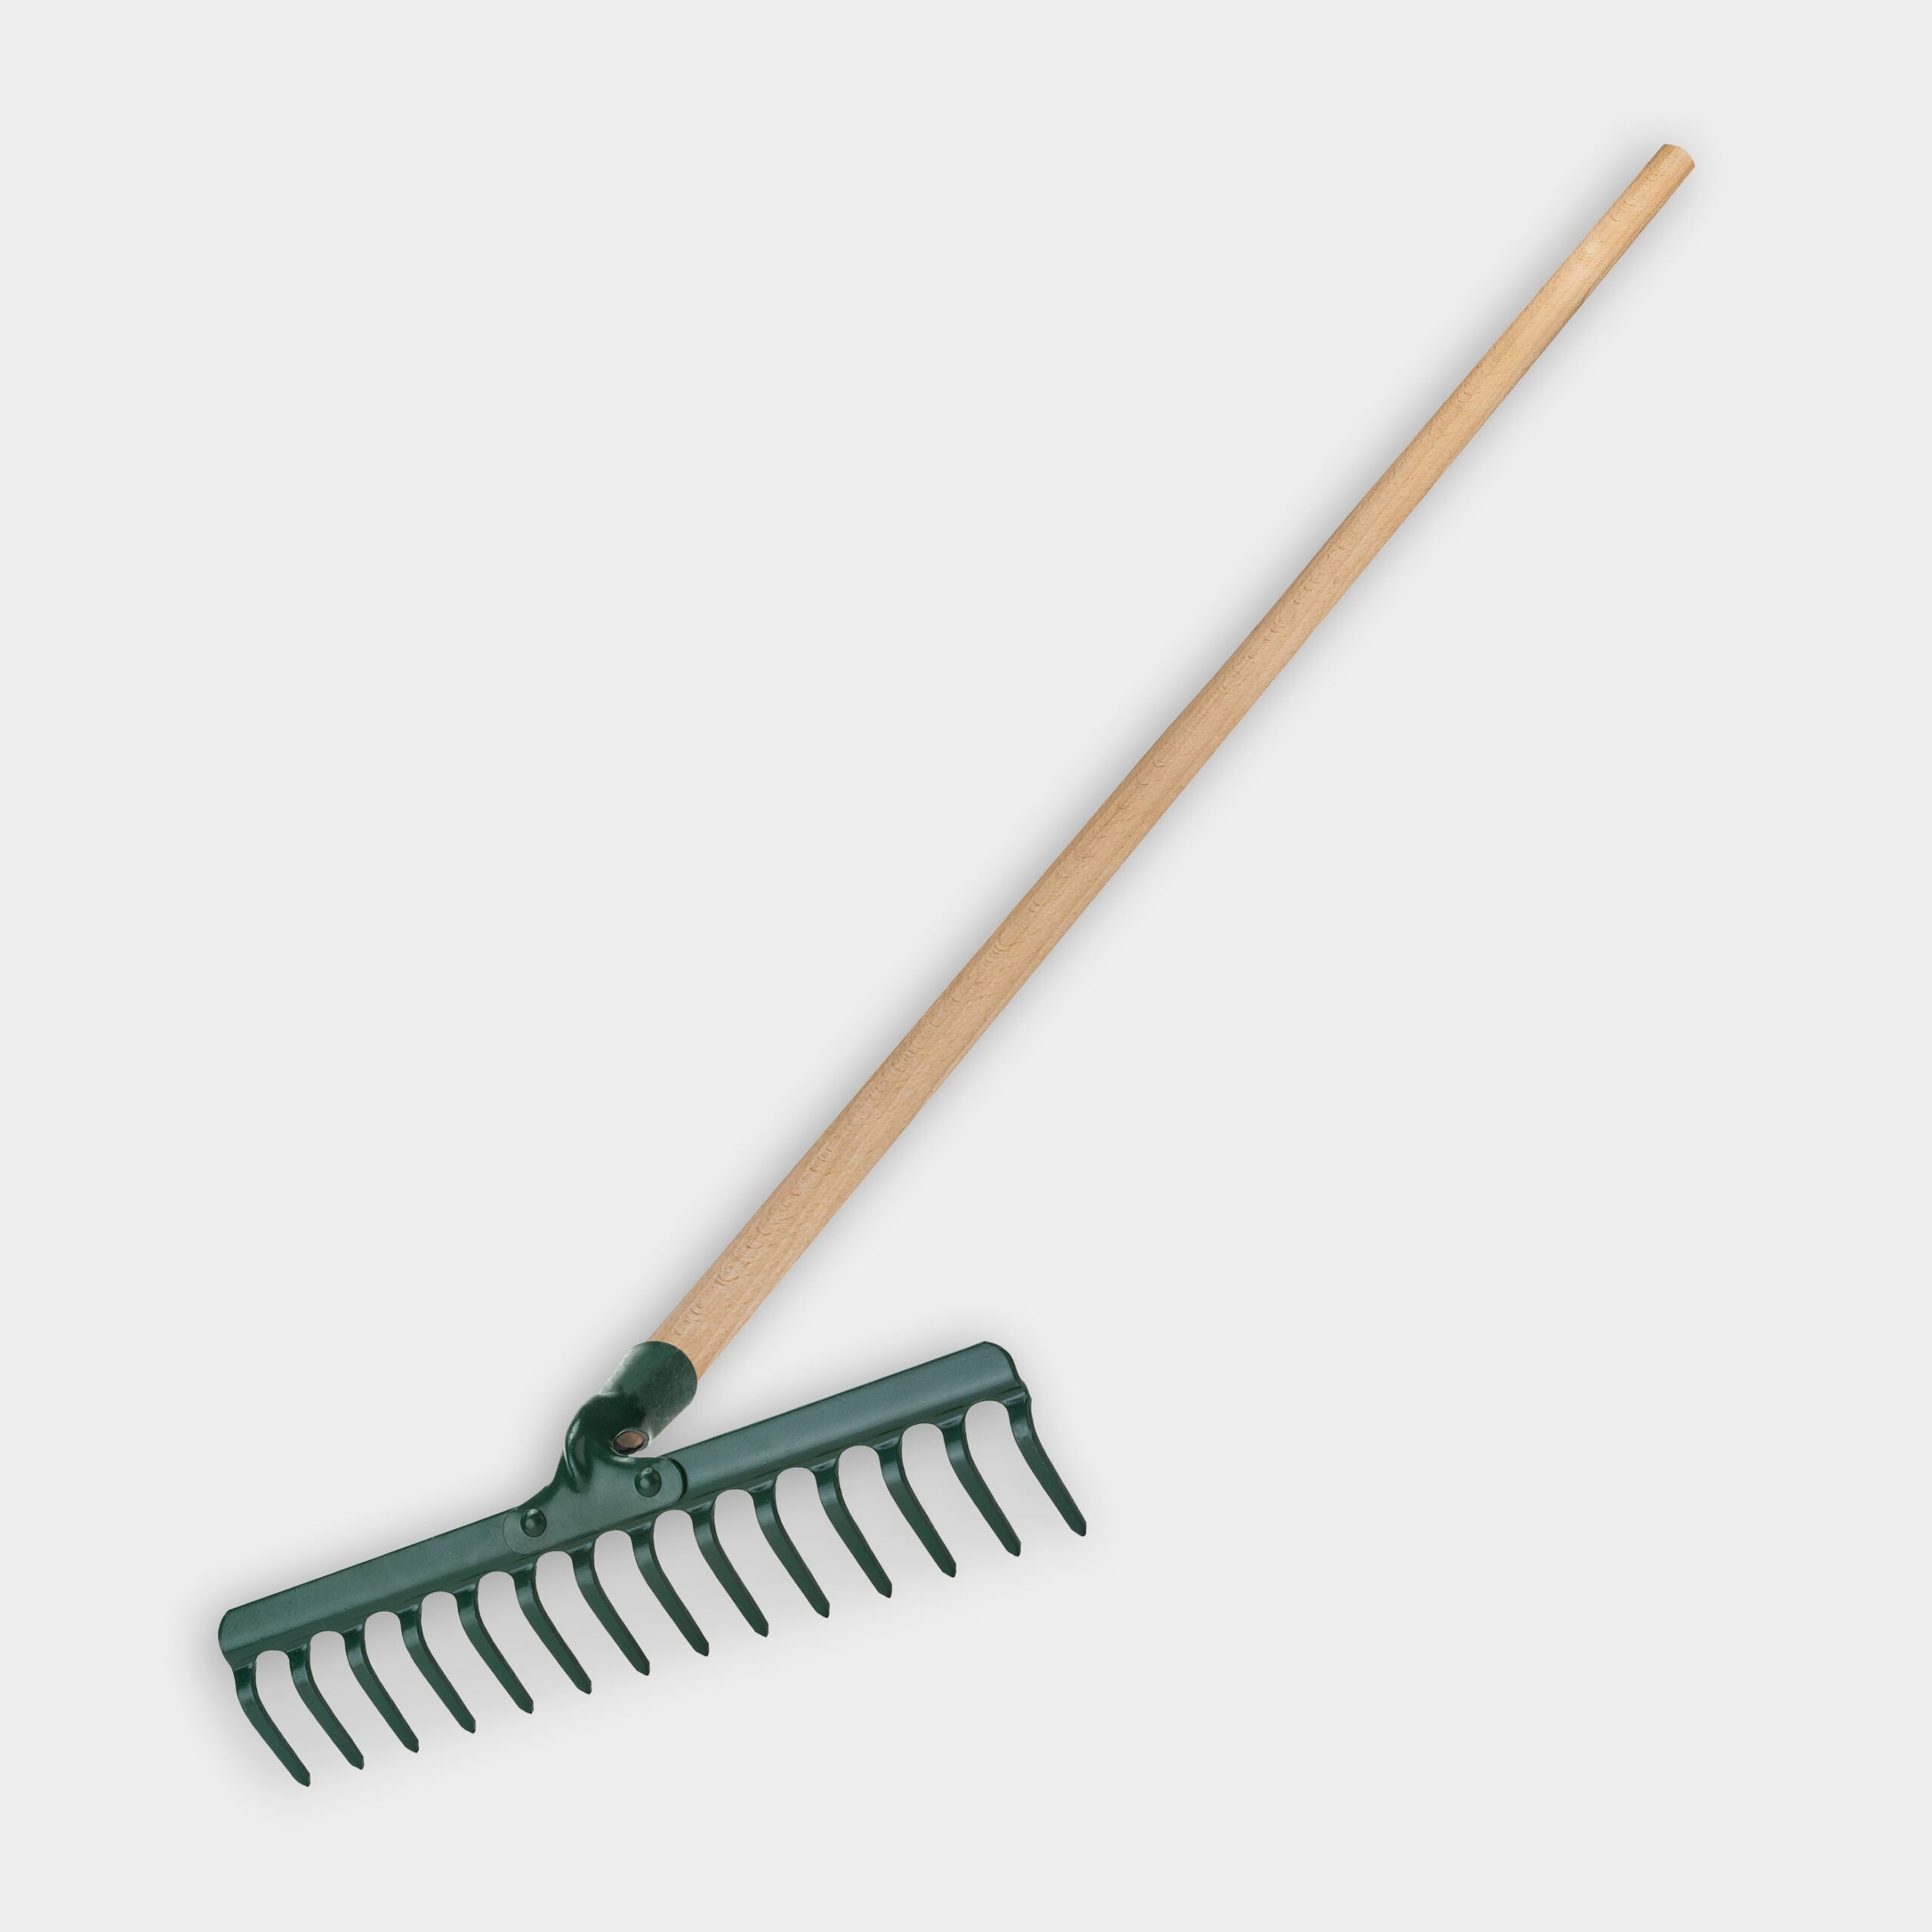
- Create your layout with the cut pieces and check that the ground is level. Soften the grade if necessary using a bowhead rake.
- Use an impact driver to secure the base with timber screws. Use a tape measure to check that the base is square.
- Lay down two layers of weed fabric to keep the play sand from mixing with the dirt. Attach the landscape fabric with a hammer tacker. Use a utility knife to remove the excess landscape fabric.
- Add the second course of lumber and secure with 6in. timber screws. To secure the first and second courses together use 8 in. timber screws vertically. Follow the same steps to secure the third and final course. Use a 1/2 in. roundover bit to ease the edges.
- Fill the sandbox with play sand.
- Excavator crane toy