Outdoor showers are great, but it’s hard to feel comfortable without at least some degree of privacy. When a couple decided to install an outdoor shower in their yard, the team at Ask This Old House wanted to give them a classy enclosure that fit the neighborhood and provided that privacy. To help, carpenter Nathan Gilbert picked up a rustic white cedar enclosure that will fit perfectly.
How to Install an Outdoor Shower Enclosure
- Start by placing the cleats on the wall according to the directions. Mark the cleats where they meet the high points on the shingles in three locations.
- Lay the cleats flat on a work surface and find the center of the board at each mark. Predrill at these locations.
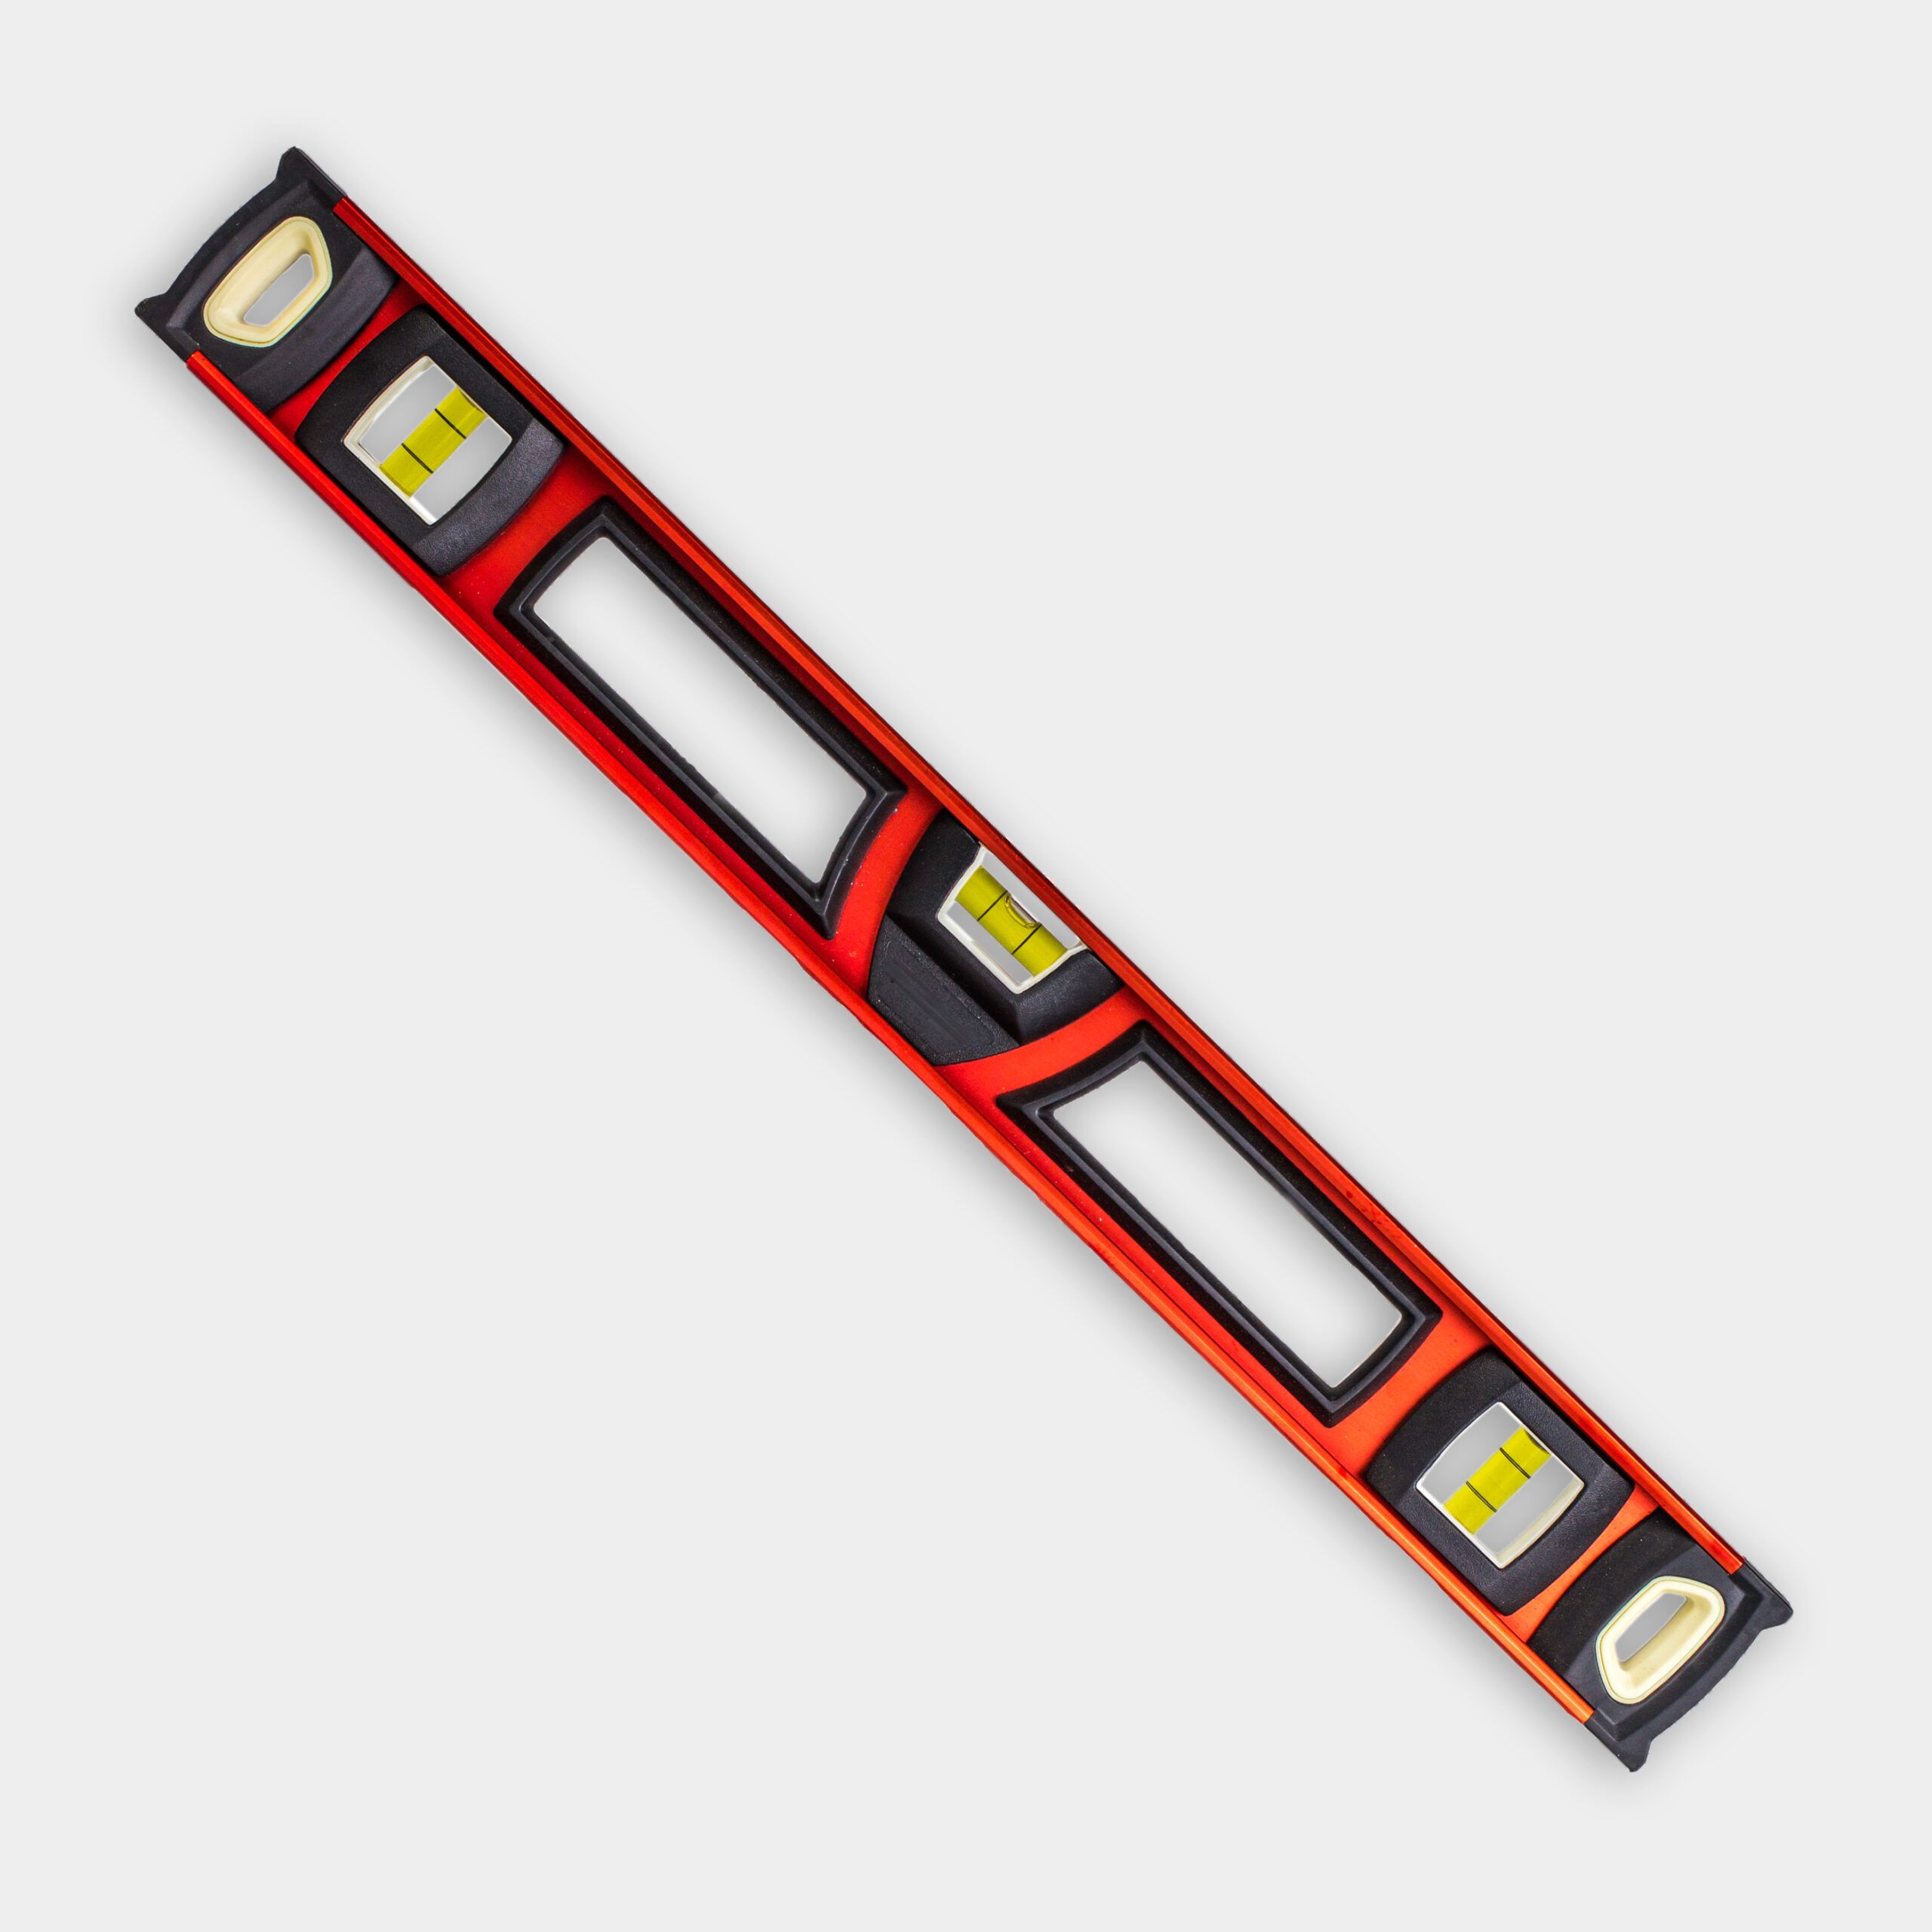
- Place the structural screws into the pre-drill holes and place a cleat on the wall. Use the level to ensure it’s plumb and drive the screws into the wall.
- Use the level to place the other cleat at the appropriate height and drive the screws into the wall, securing the cleat.
- Place each side panel into the mortises in the cleat. Secure them in place with a screw driven through the side of the cleat. Prop them up on scrap blocks from underneath to prevent them from pulling on the wall and coming out of level.
- Install one post by sliding it over the side panel’s rails and check it for plumb on both sides (it doesn’t have to be perfect at this point). Secure it to the rails with a screw. Repeat on the other side.
- Attach a scrap piece of wood to the top of the posts to stabilize them while you backfill the posts.
- Underneath the posts with the crushed bluestone and tamp it with scrap wood. Add a bit of water to help it pack in.
- Mix concrete in a wheelbarrow until it has an oatmeal-like consistency. Fill the around the posts with concrete. Tamp the concrete in as you fill.
- Place the front panel into the mortises in the post and place the gate post in place. Secure the panel in place with screws driven through the posts and then the post by attaching it to the temporary brace stretching between the posts. Fill around the post as in the previous step.
- Lay the gate on a flat surface and attach the hinges. Align them with the rails on the gate. Screws will hold the hinges in place, while carriage bolts will sandwich everything together securely.
- Attach the door to the hinge post with the included hardware.
- Trim the enclosure out with the door stops, post caps, and trim to finish the enclosure.
Resources
Nathan installed a white cedar outdoor shower kit from Walpole Outdoors. This shower kit came with all the accessories including post caps, hinges, bolts, and pre-built doors and panels.
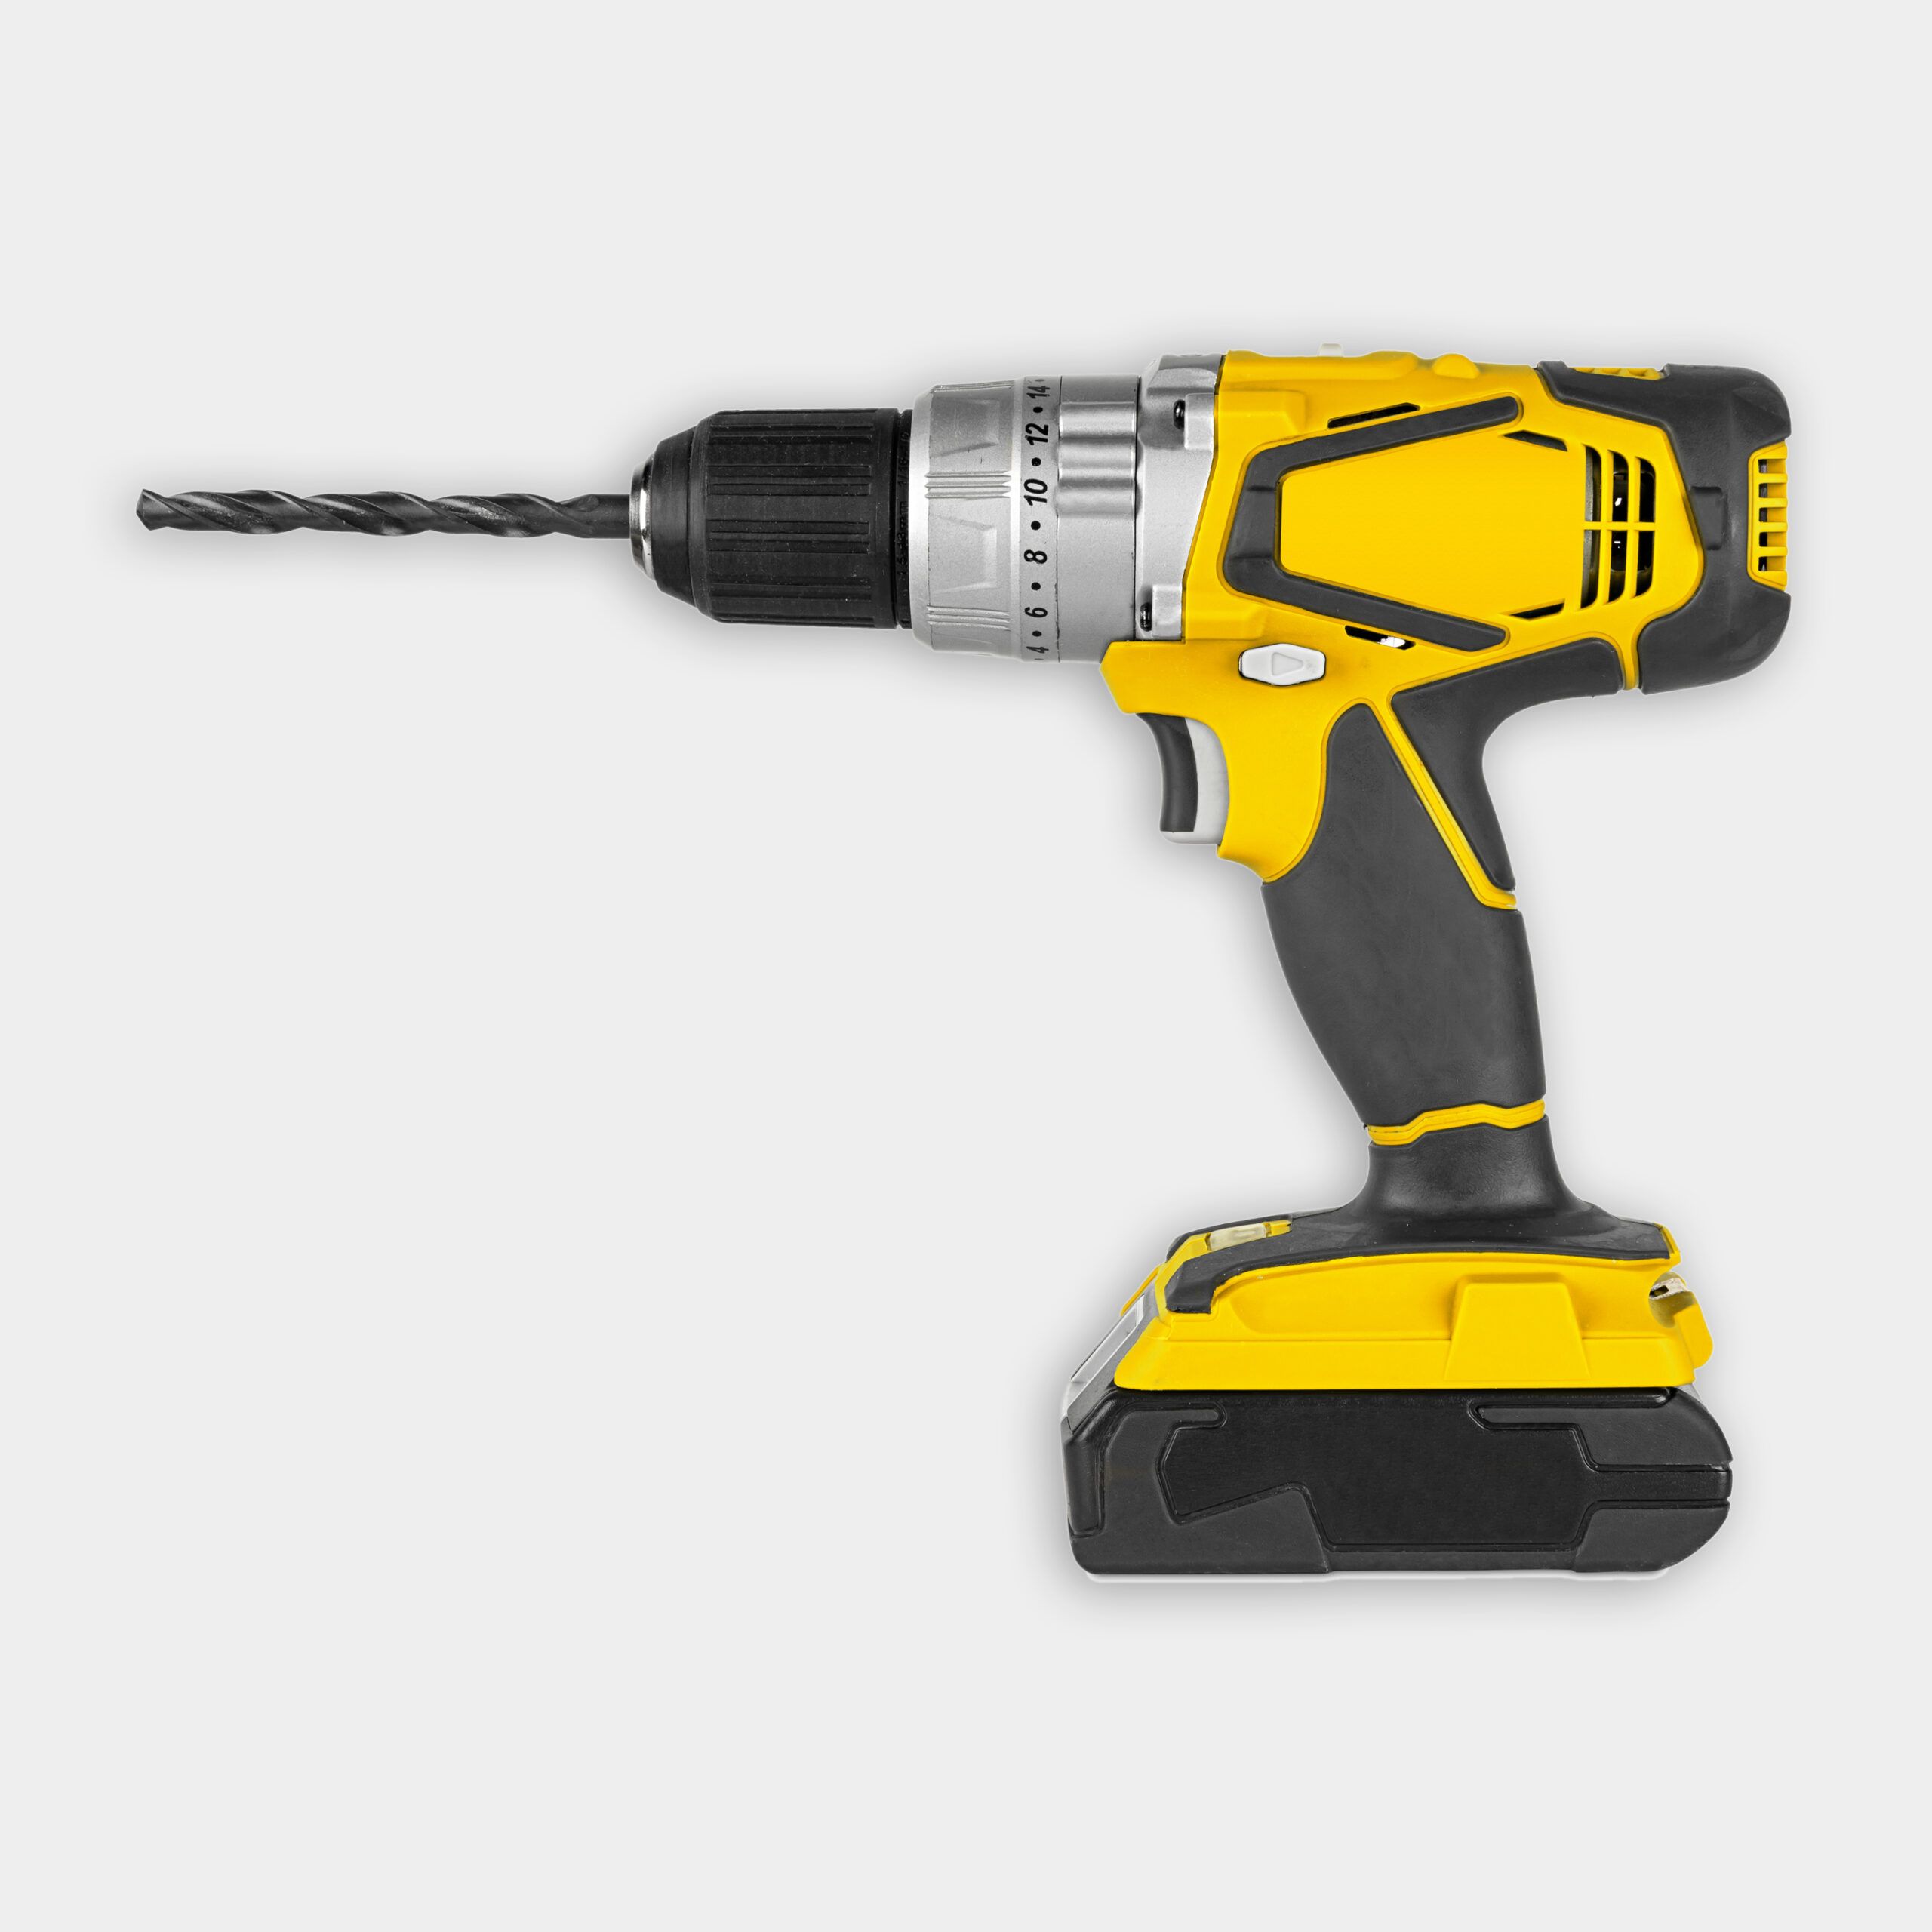
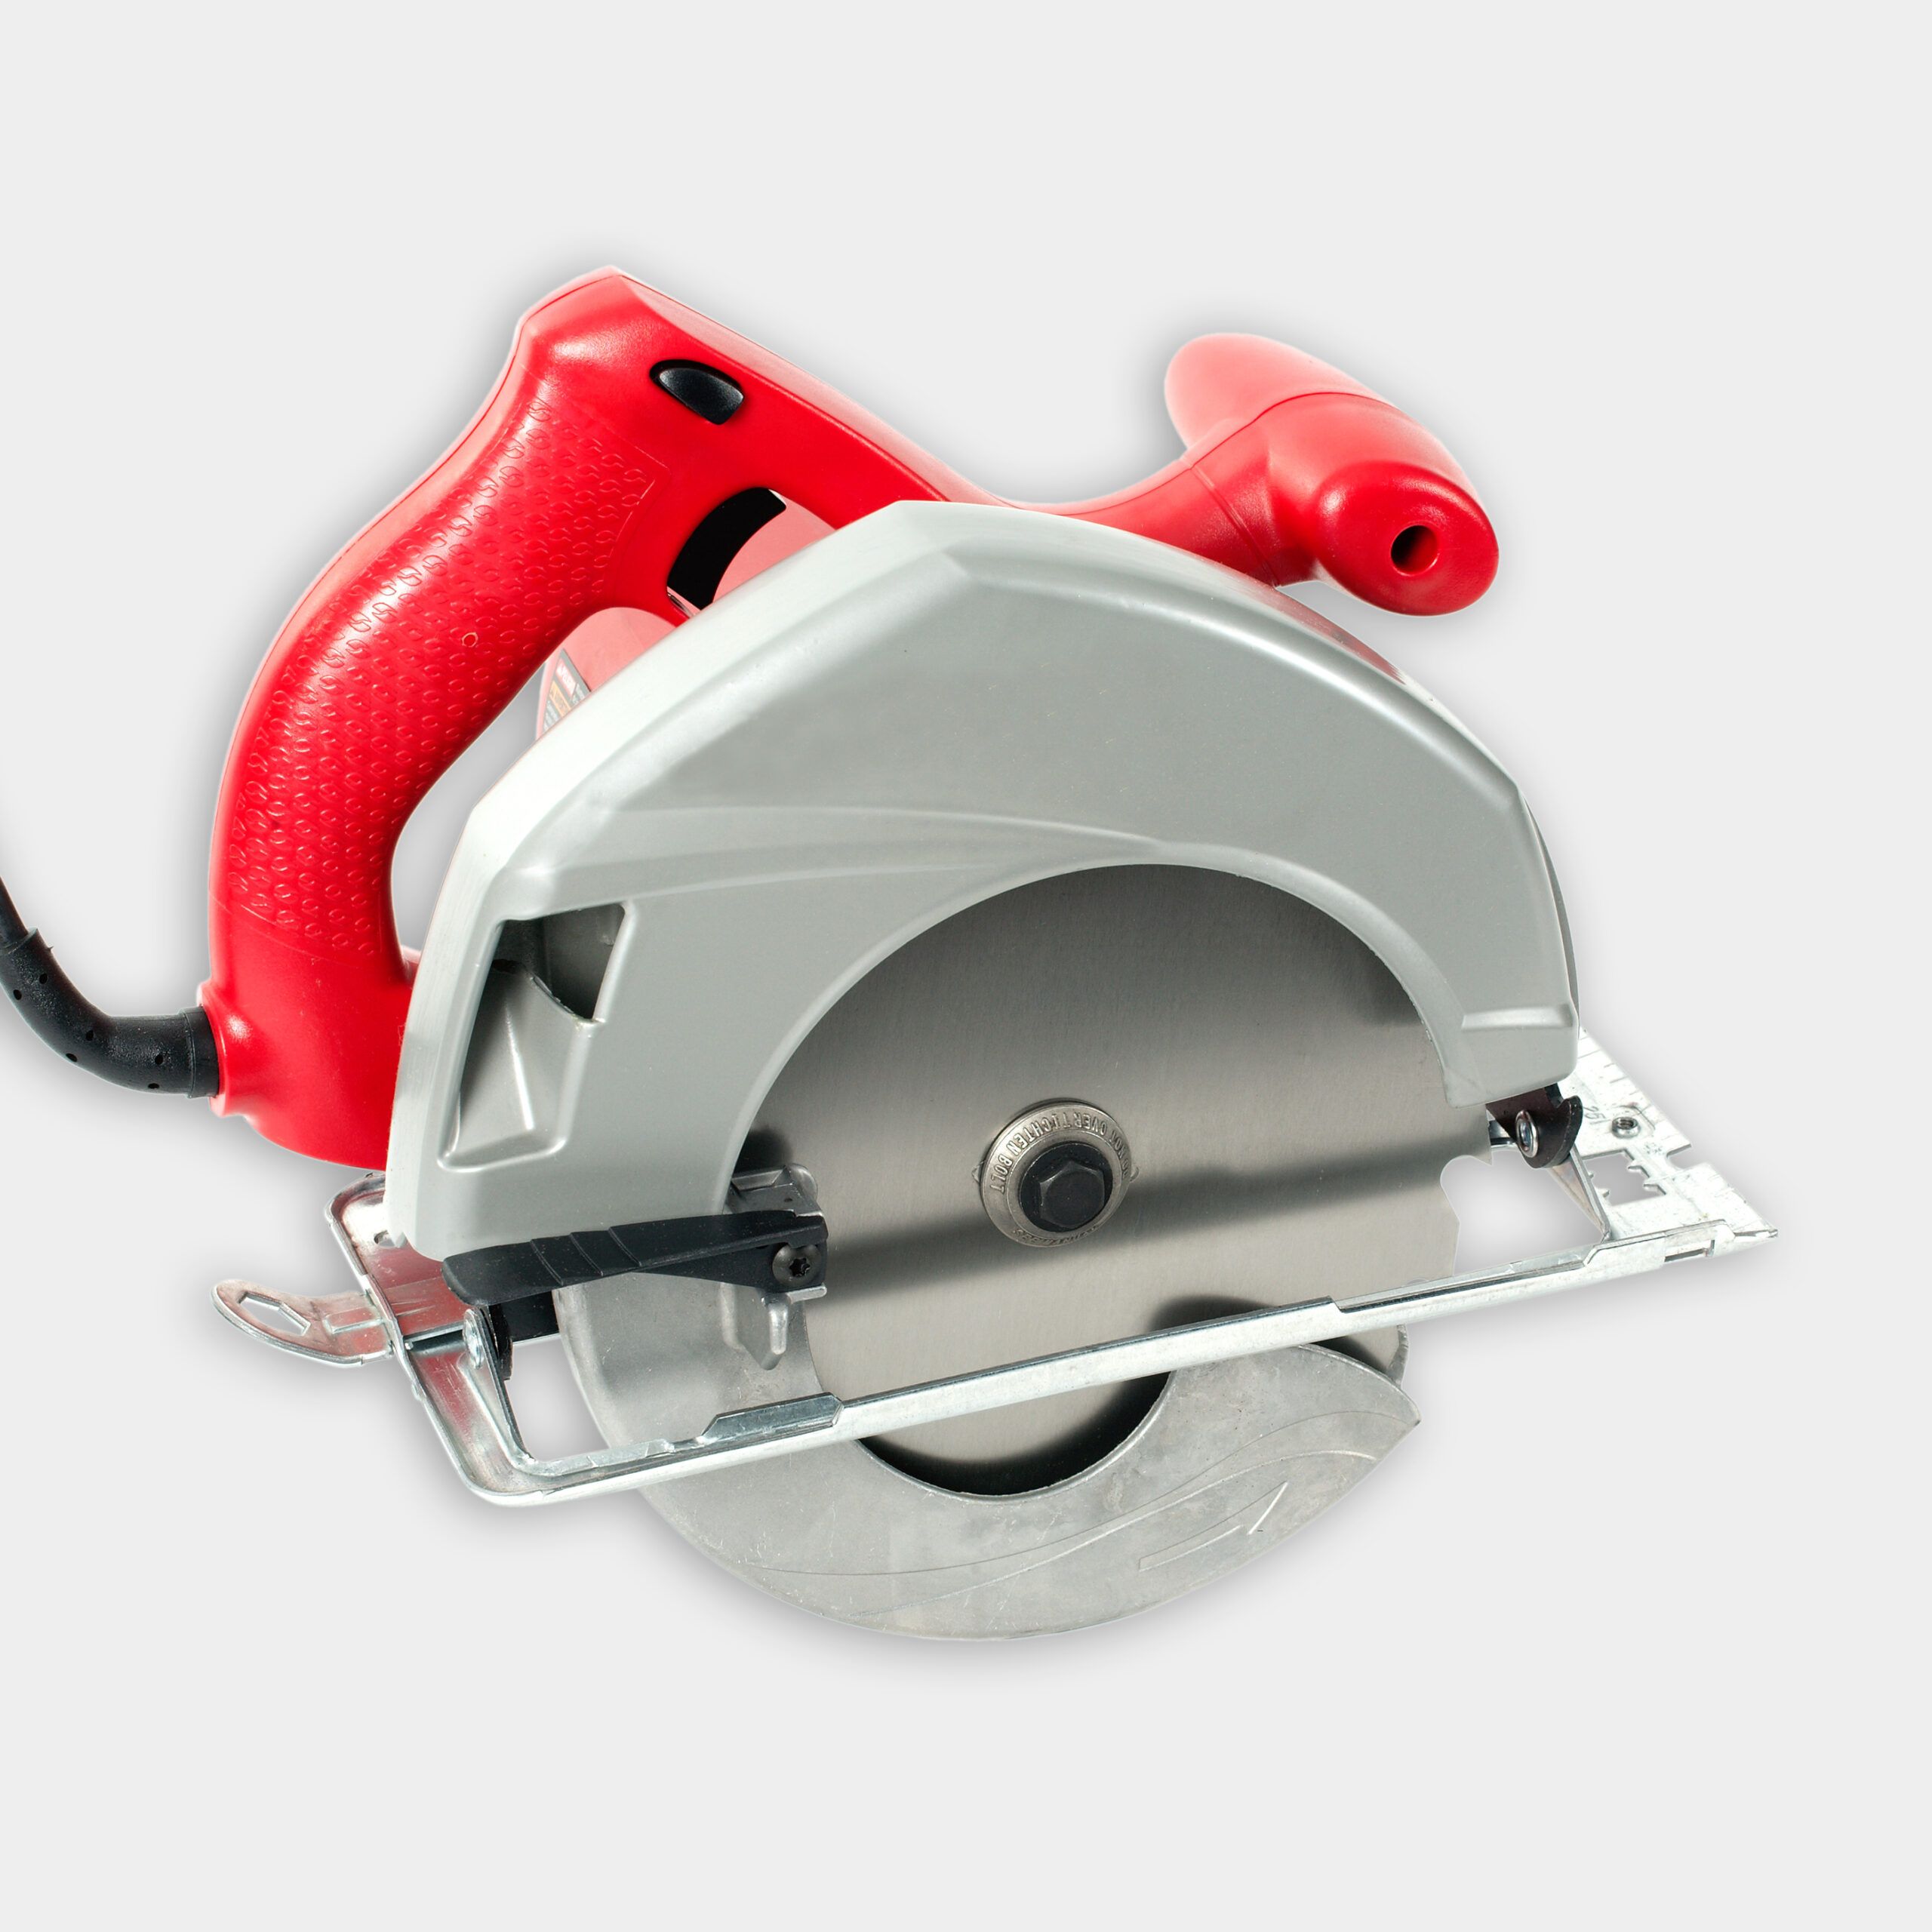
To mount the cleats on the side of the house, find the desired height and make marks on the high points of the shingles with a pencil. Wear safety glasses and drill three holes at the top, middle, and bottom of each cleat by using a drill and 4 inch structural wood screws. Use a level to make sure the cleats are plumb as you secure the screws in. Add the side panels into the pre-mortised holes on the cleats. A circular saw can be used to cut down rails of the panels if they need to be. Use a level to check the position of the panels and add shims to prop up the side that isn’t attached to the house. Secure with the wood screws.
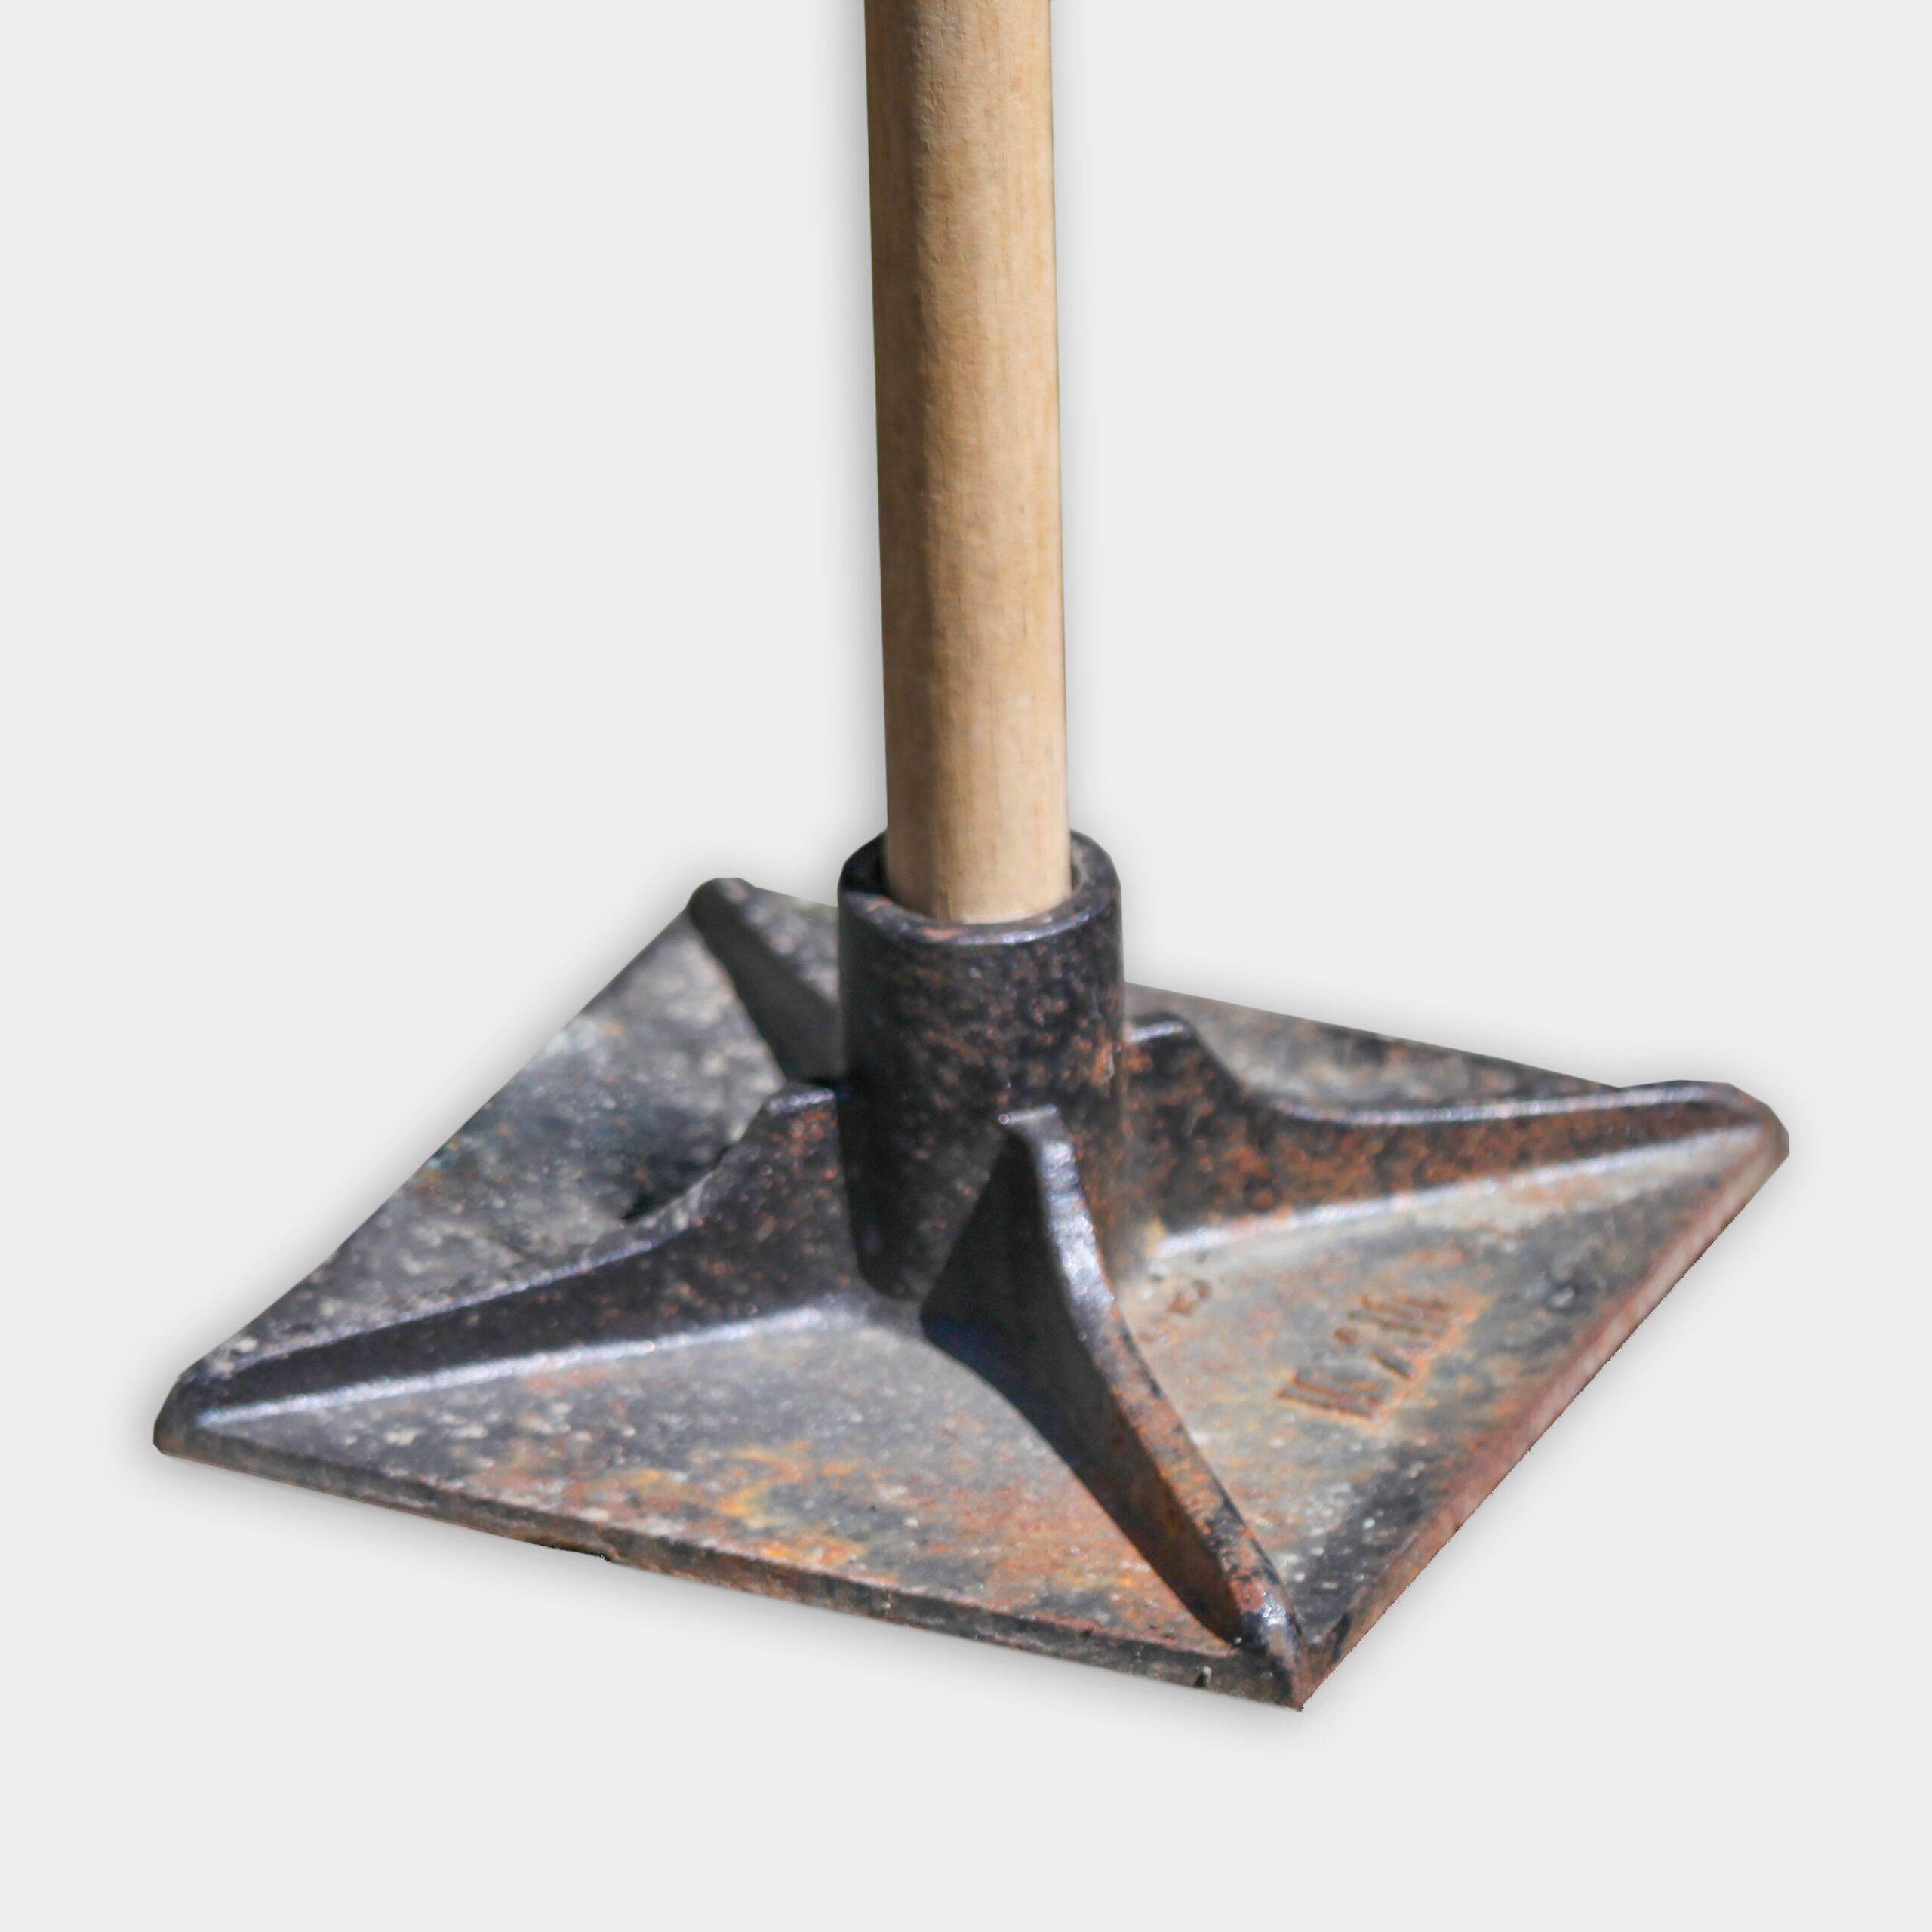
Dig holes for each post with a post hole digger. This kit had three posts, and the holes were dug to be about 30 inches deep. Add the outer posts. Add temporary braces with scrap 2×4’s. One that connects the top of the outer posts, diagonal, and near the bottom. This will provide extra stability and help install the middle post. The middle post and the outer post that will not have the hinges can be backfilled with blue stone dust. First, spray the hole with water then add a shovel full of stone dust. Spray water in between layers of stone dust. Tamp down the stone dust then spray lightly with water again. The other outer post on the hinge side will be bearing the weight of the door, so it can be filled in with concrete. Mix the concrete mix with water in a wheelbarrow.
Finish by adding the hinges, handles, trim, and end caps that came in the kit.