An outdoor shower is great, but just because it’s outside doesn’t mean it has to be cold. When a young couple installed an outdoor shower at their Cape Cod home, they wanted high-end fixtures and the ability to use hot and cold water. Plumbing and heating expert Richard Trethewey showed them how by installing an outdoor showerhead and water that breaks down easily for the winter months.
Resources
Richard installed a Prier P-118 TrueTemp hot/cold single control valve where the homeowners originally had their hose spigot. He also installed a Pulse 5-spray shower system that has a dual showerhead.
To do this he had to bring in a hot water connection. After Richard shut off the water, he removed a small portion of the hot water supply pipe using a pipe cutter and a bucket to catch any remaining water. A Copper and PEX compatible ½” push-to-connect tee fitting was added to the missing section of copper pipe.
He also mounted a service shutoff to the ceiling. To run the hot water to the outdoor shower valve, Richard used PEX-A ½” starting at the tee fitting. To connect the PEX, Richard added PEX-A expansion sleeves using a PEX-A expander. He used a PEX tube cutter to cut the PEX where necessary. To mount the PEX to the ceiling, Richard used ½” half pipe clamps.
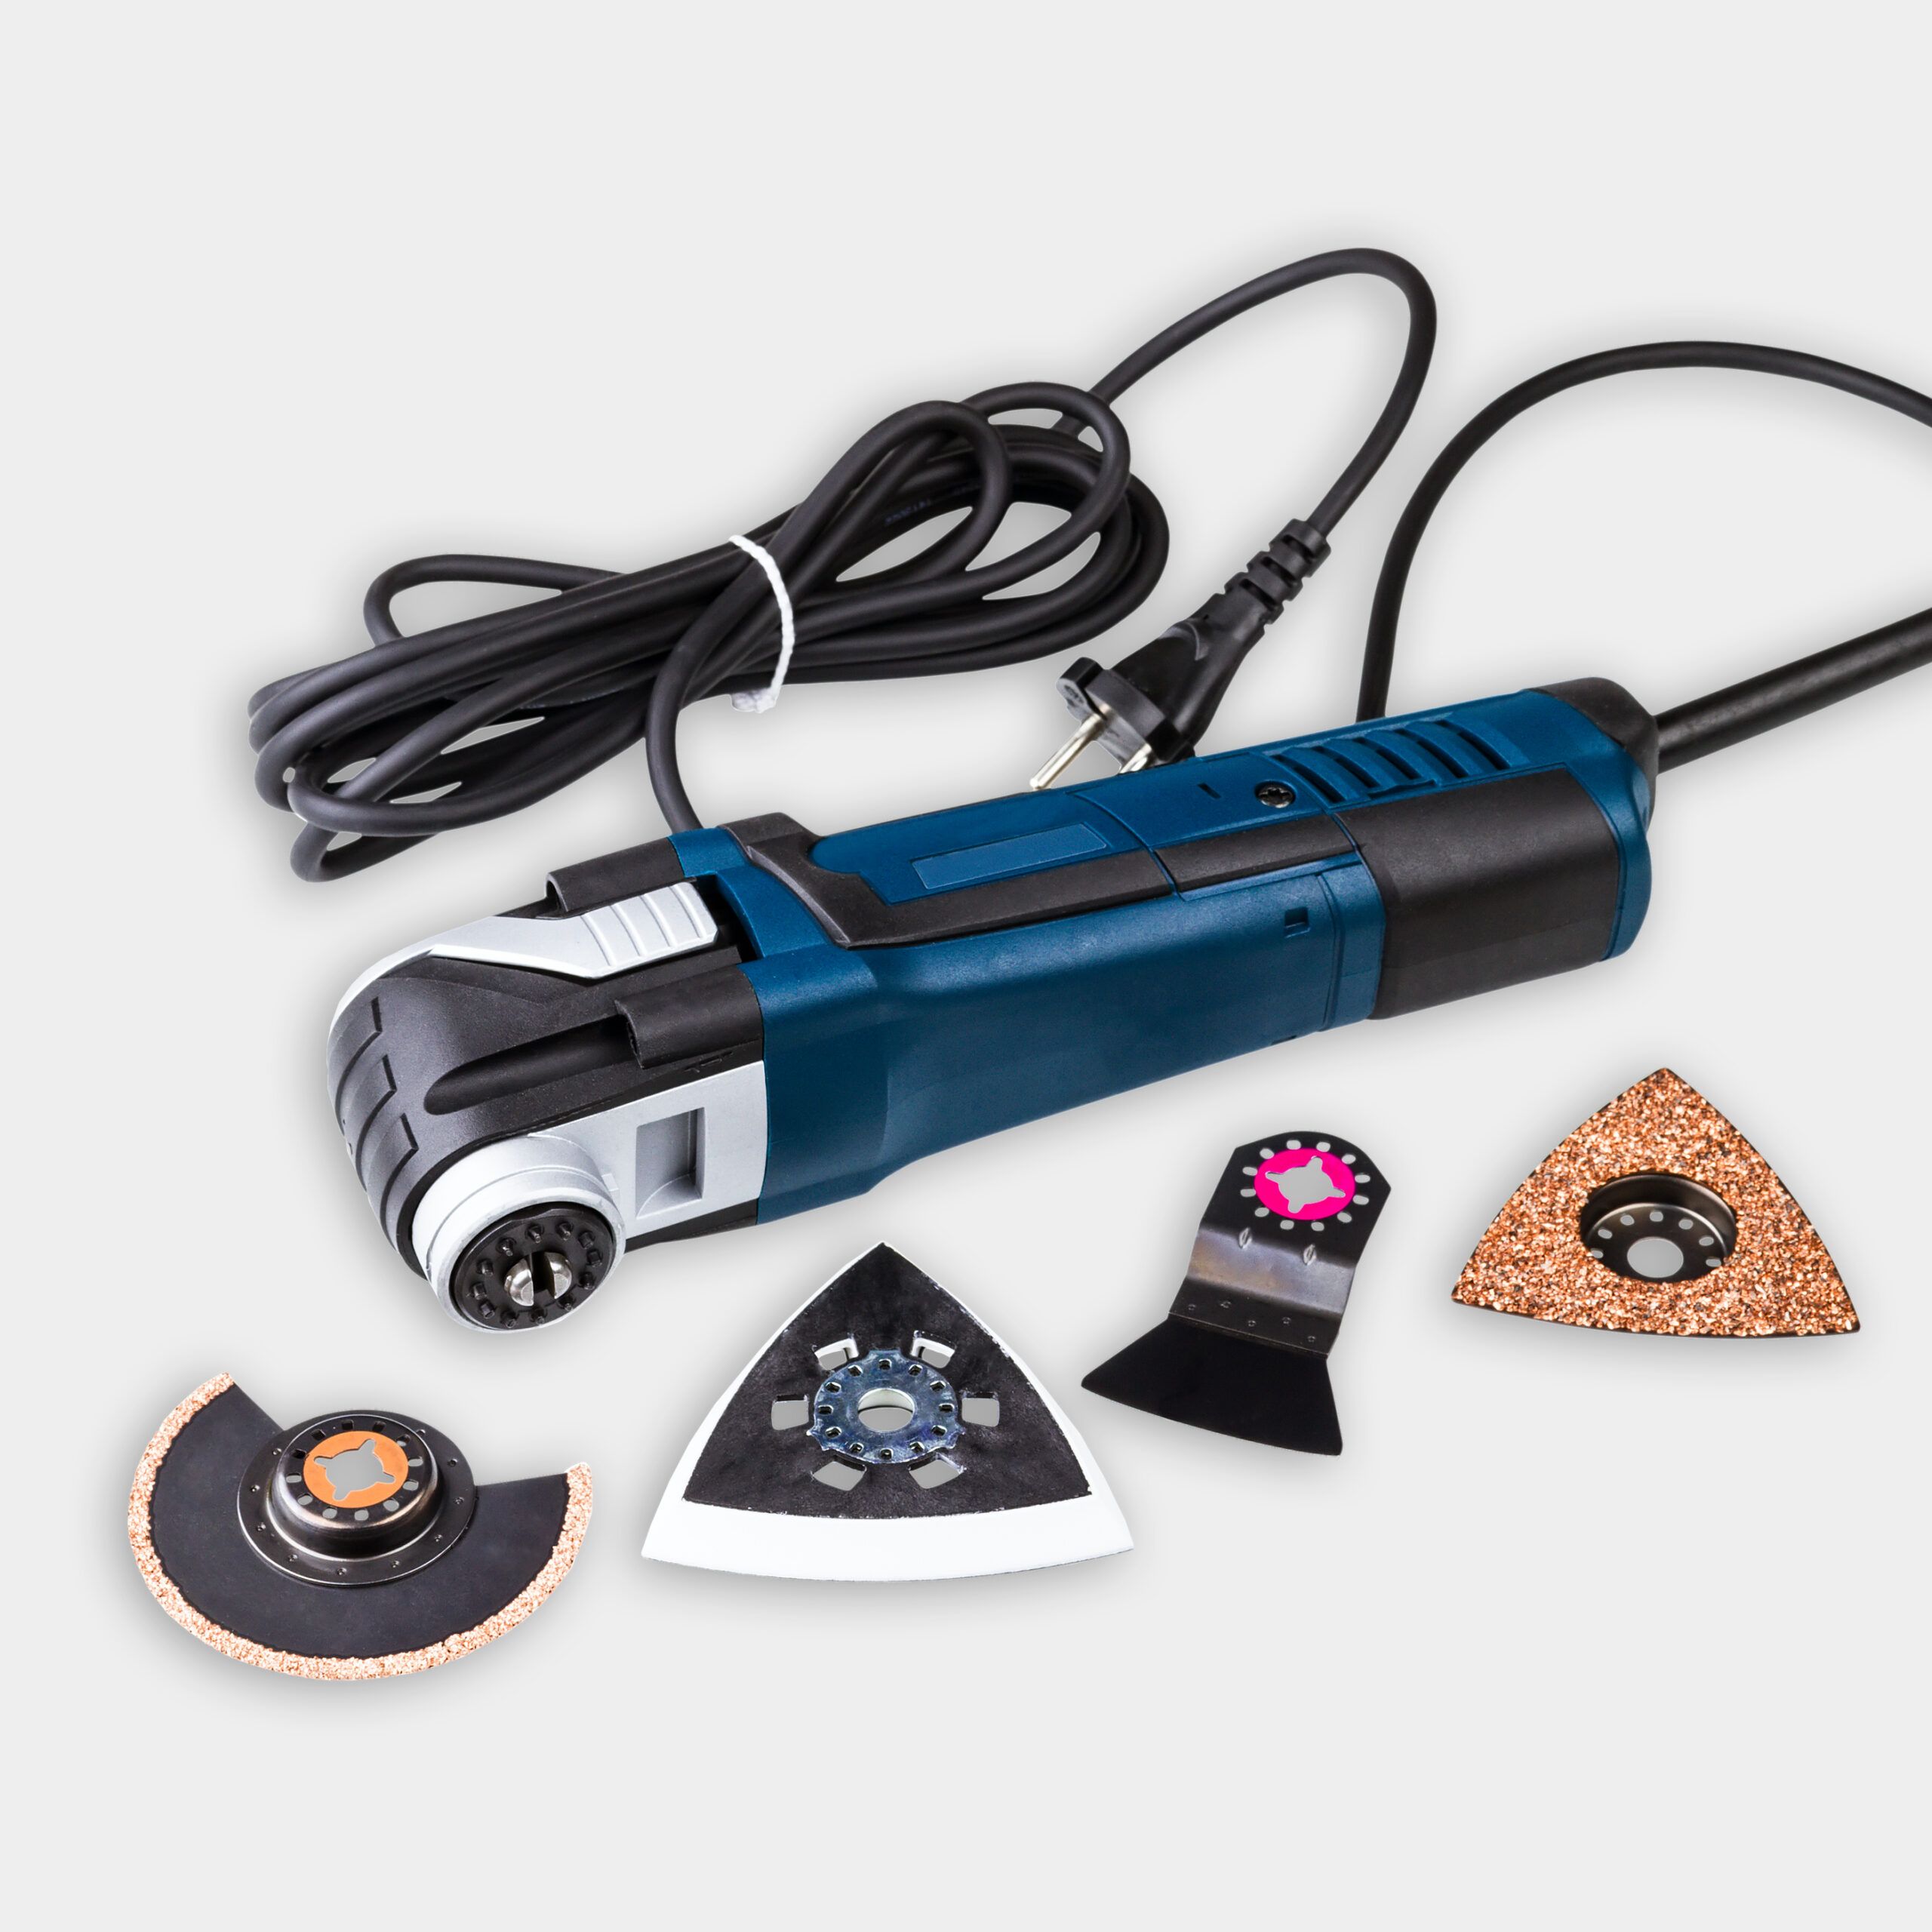
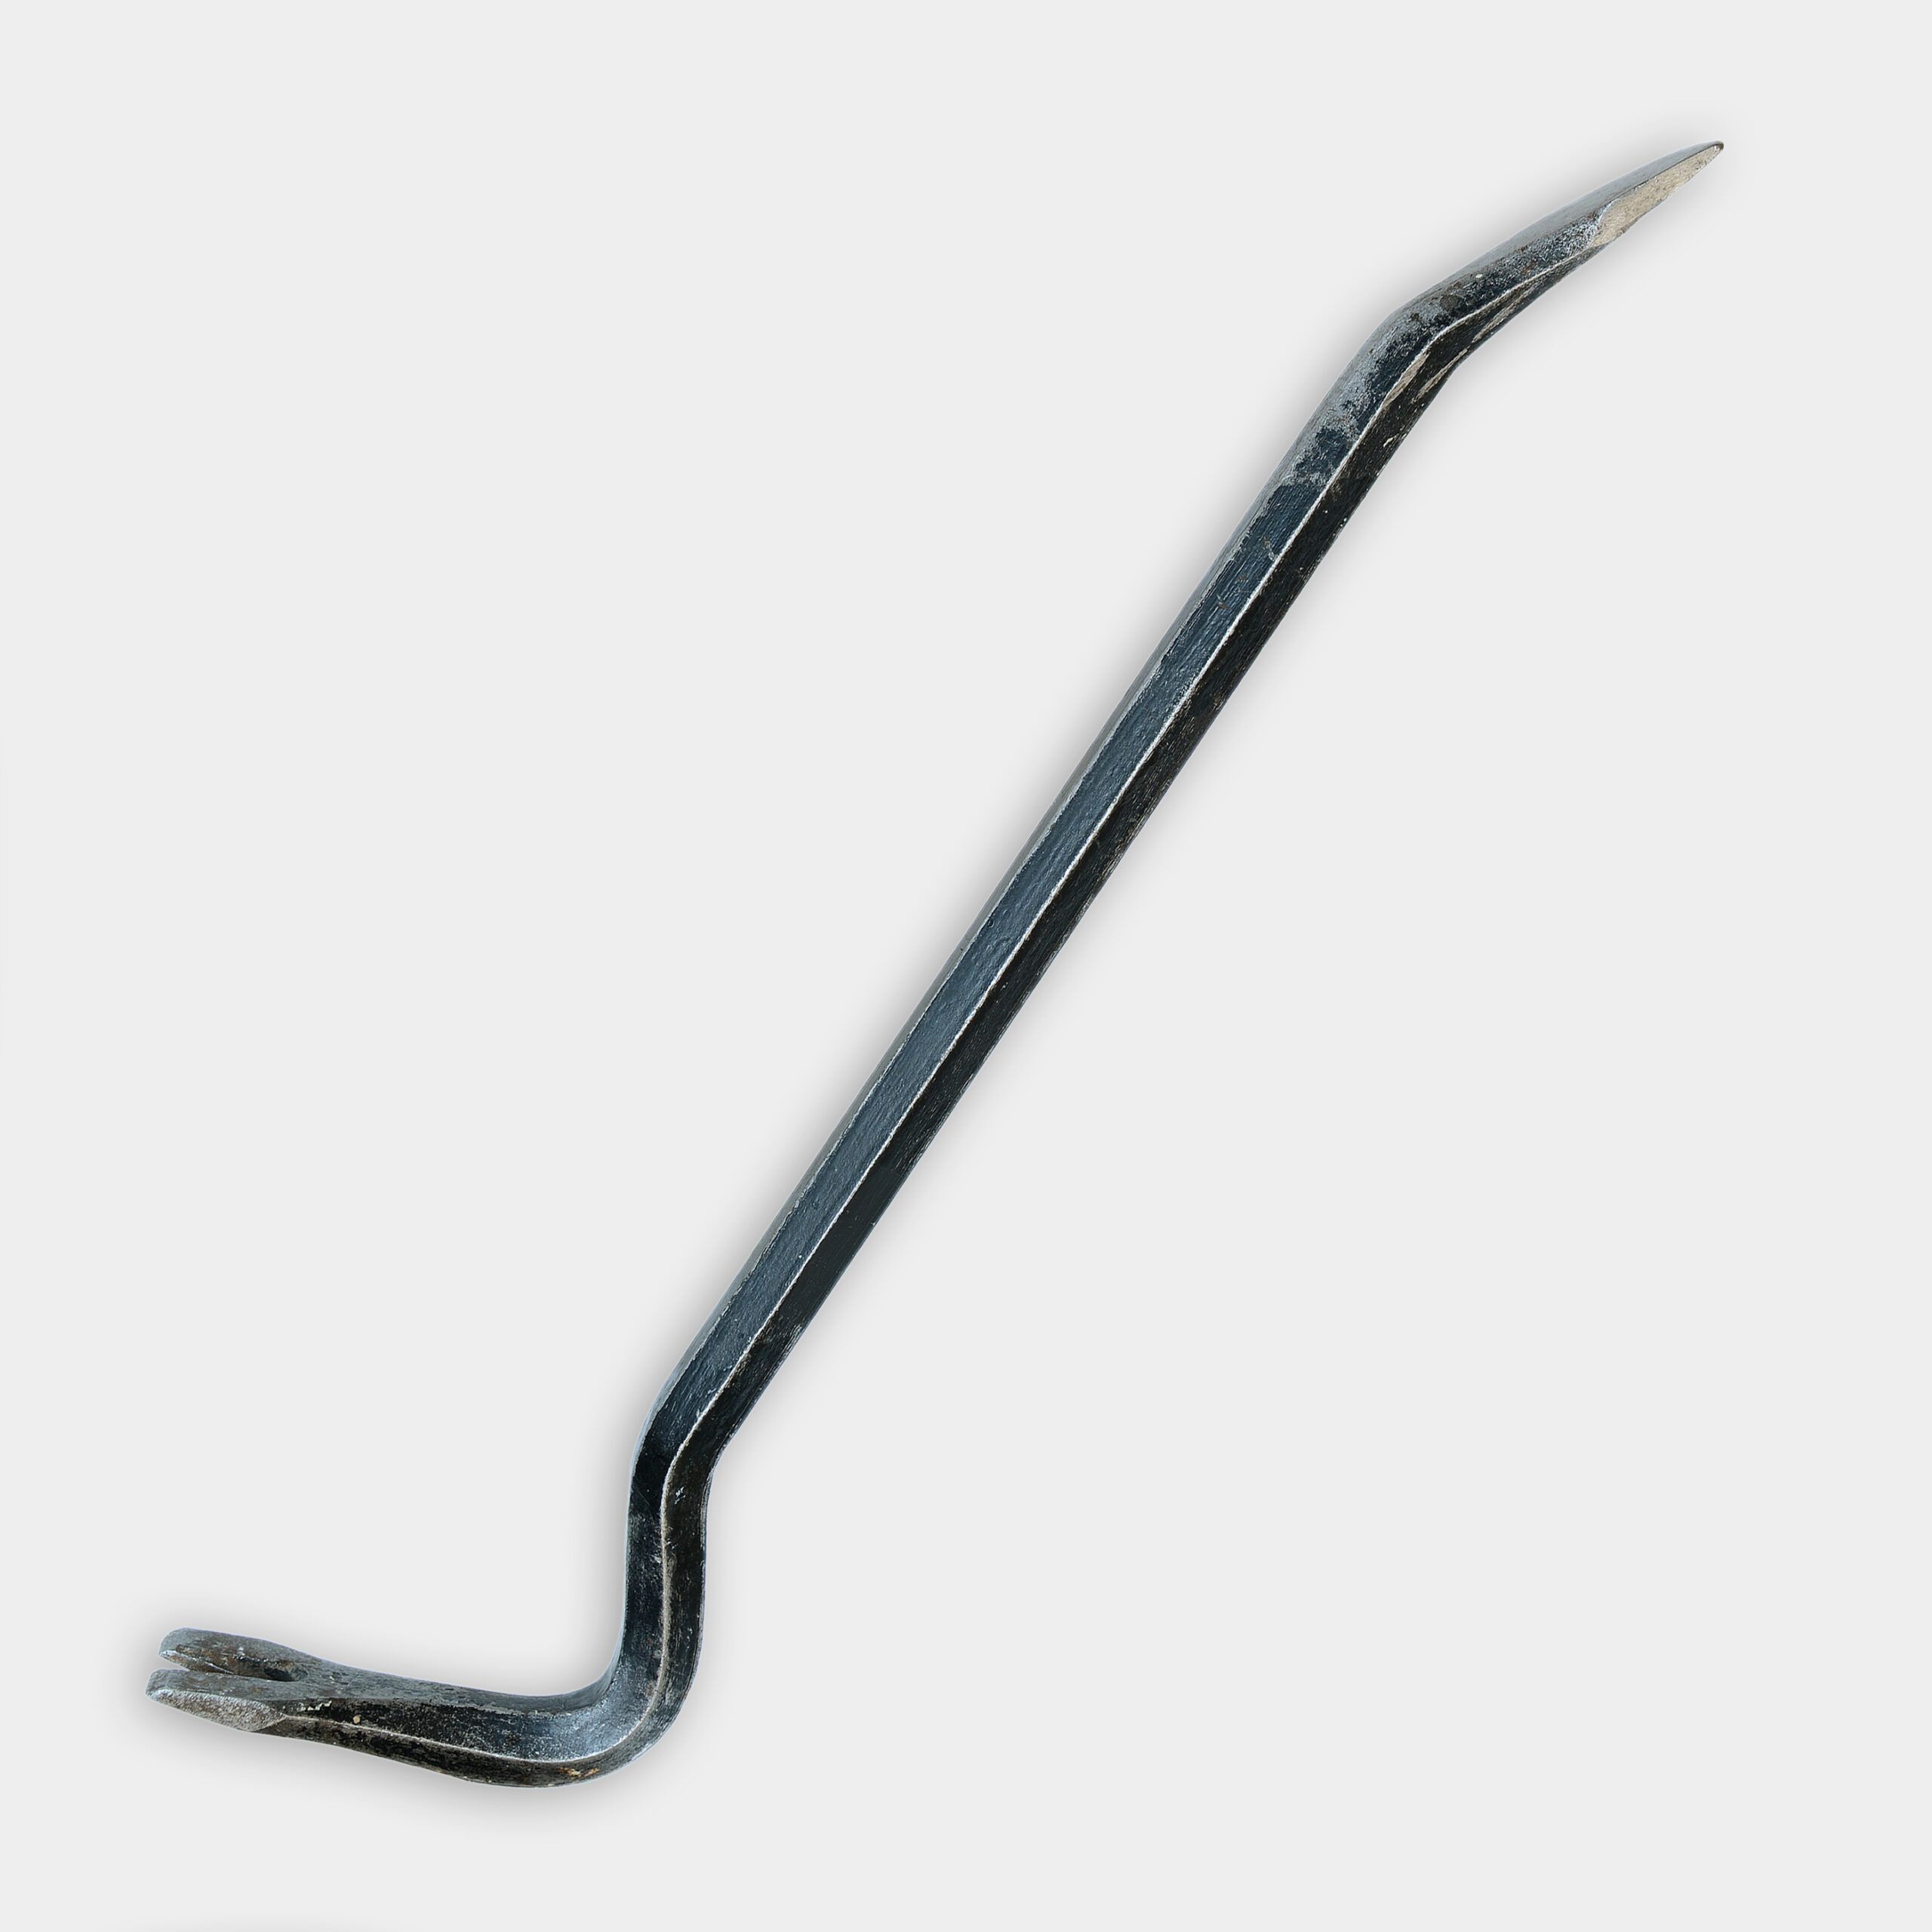
Richard cut the existing copper pipe to the hose spigot so Nathan could remove the spigot from the outside. Nathan used a cedar block with a 2 inch hole to mount the valve to the house and to use as an outline to cut the shingles from the house. Wearing safety glasses and ear protection, he used an oscillating tool and a pry bar to remove the shingles and remaining wood and nails. Nathan added flashing tape to the cut-out area and a bead of exterior caulk sealant to the perimeter. He added a piece of cap flashing to the top and placed the cedar block in the square. He screwed the block in using stainless steel screws. Then, Nathan drilled a hole using a 2’ hole saw.
Richard installed the hot and cold valve according to the manufacturer’s directions. The shower system was attached to a custom wood surfboard-shaped mount. Nathan added French cleats to hang the mount so it could be easily taken down during winter. Nathan also added cedar boards to cover the foundation walls.
Landscaping
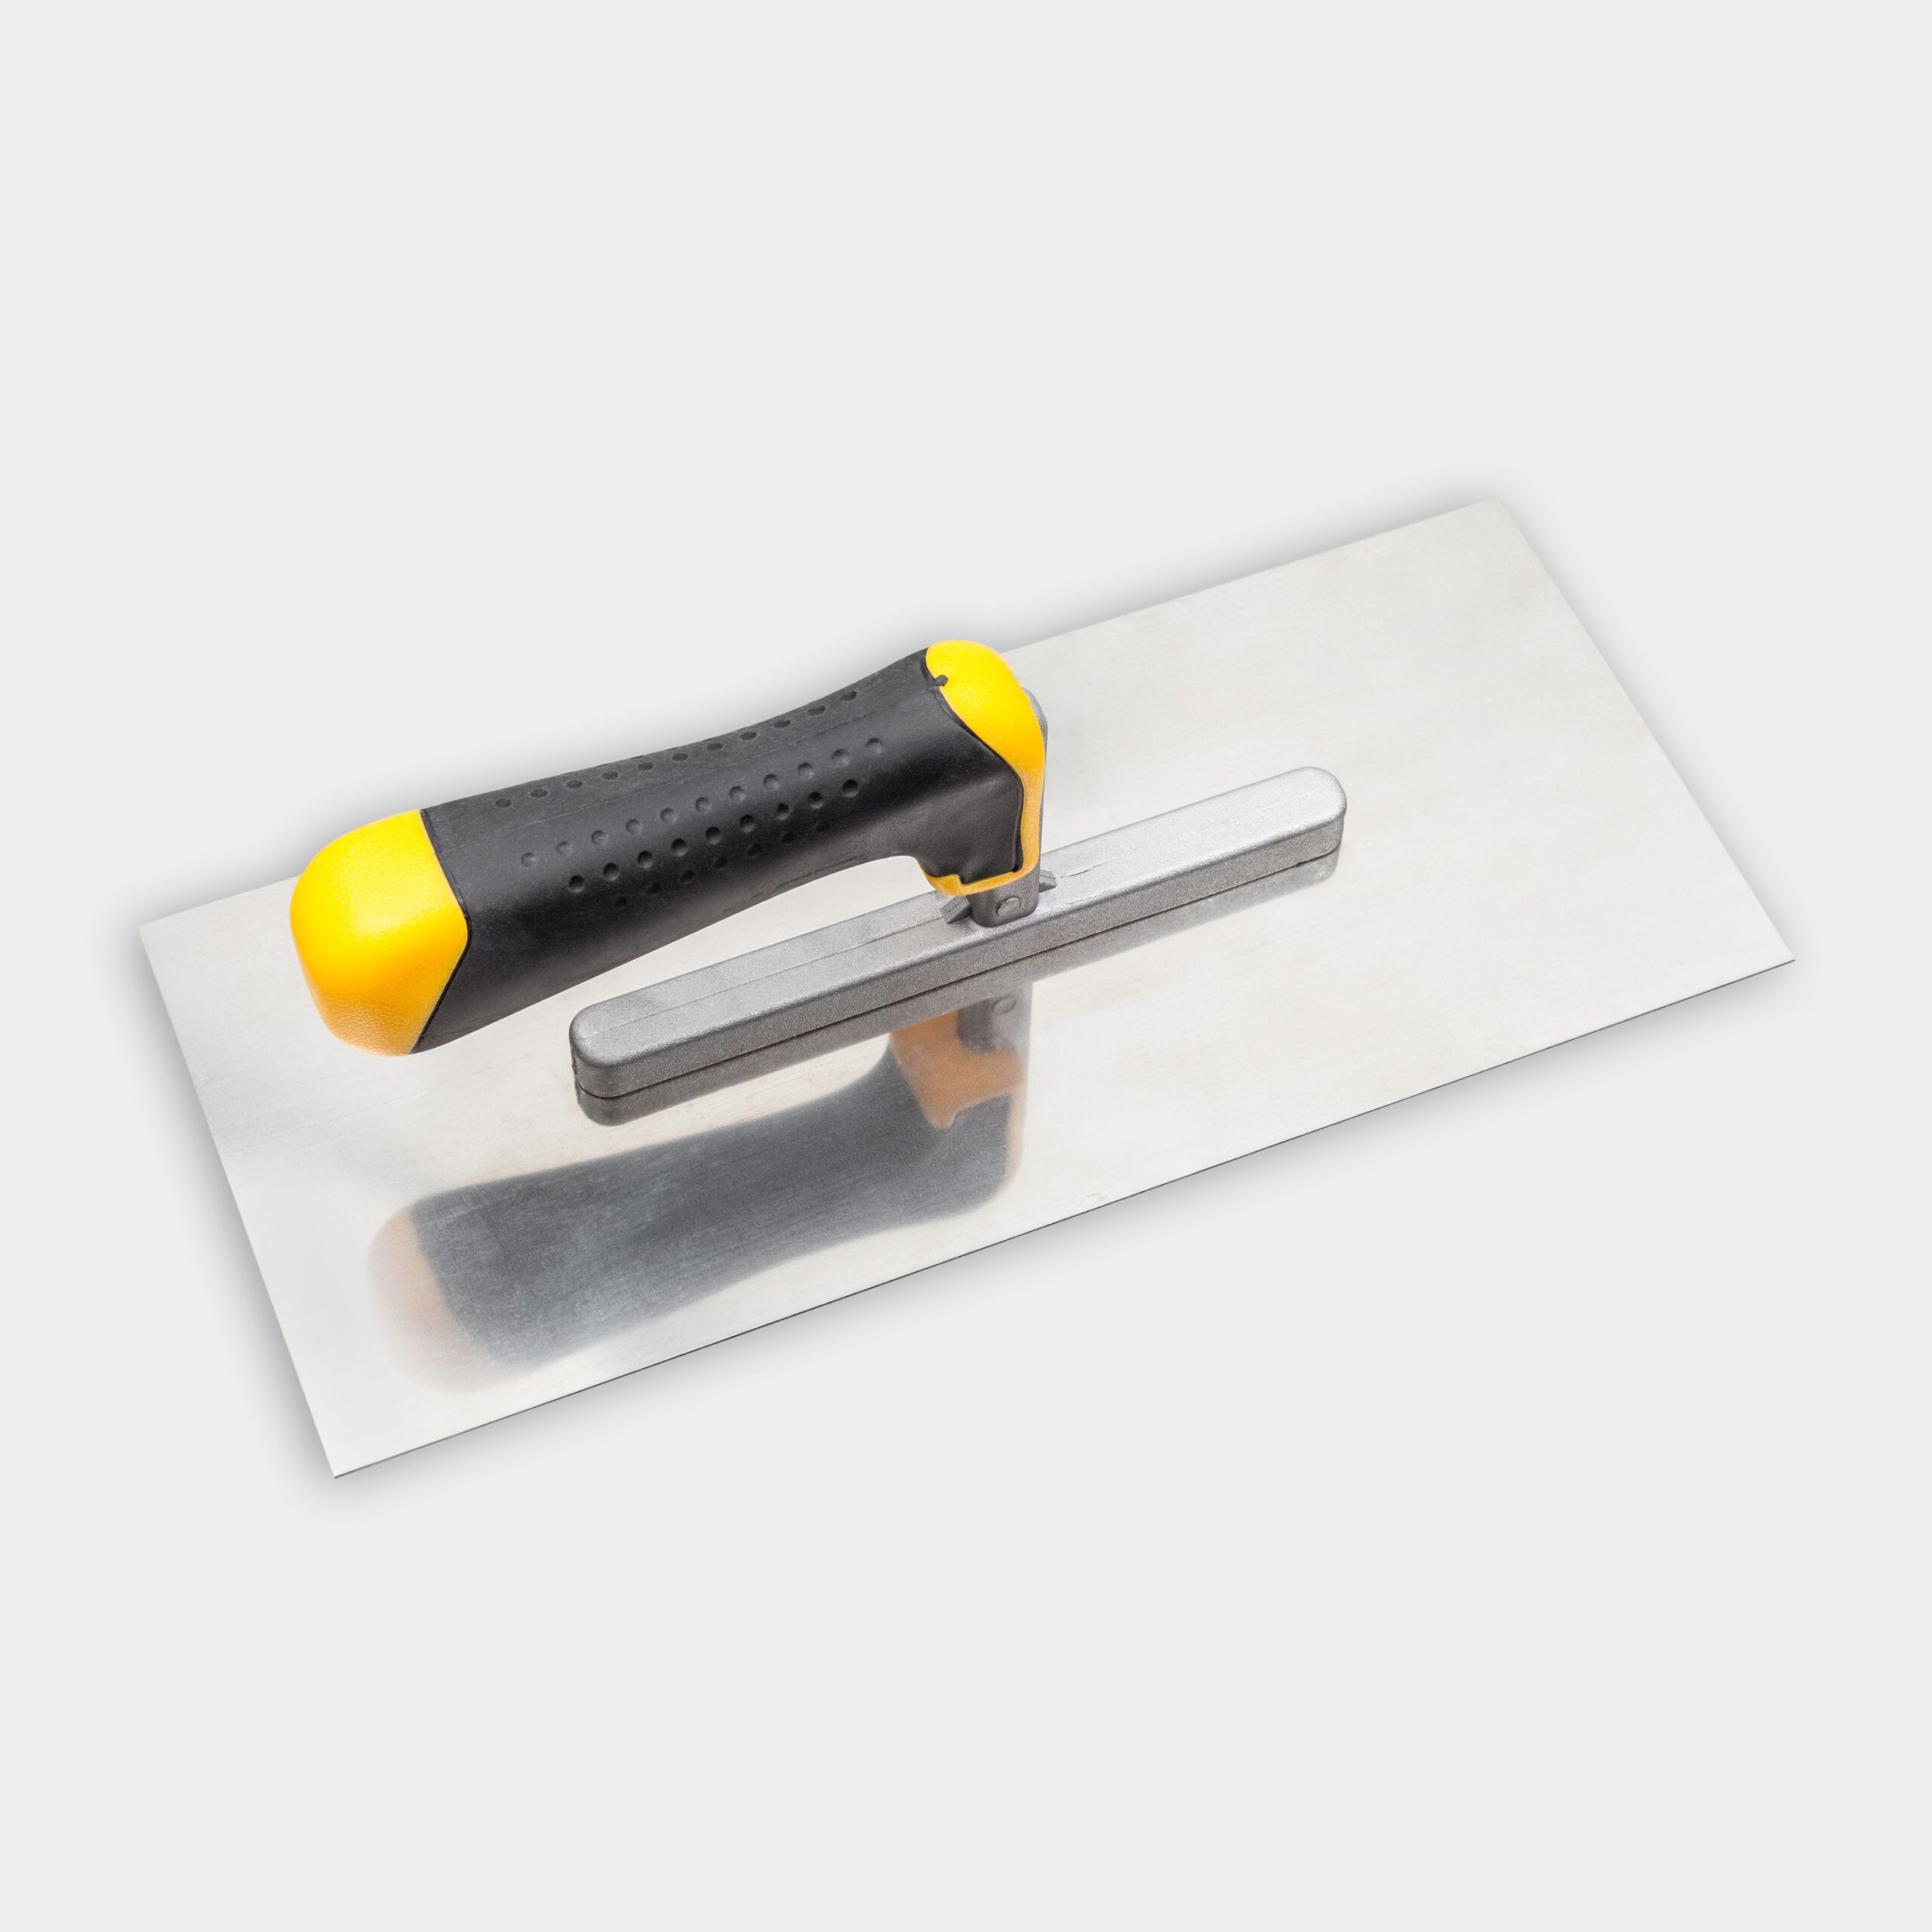
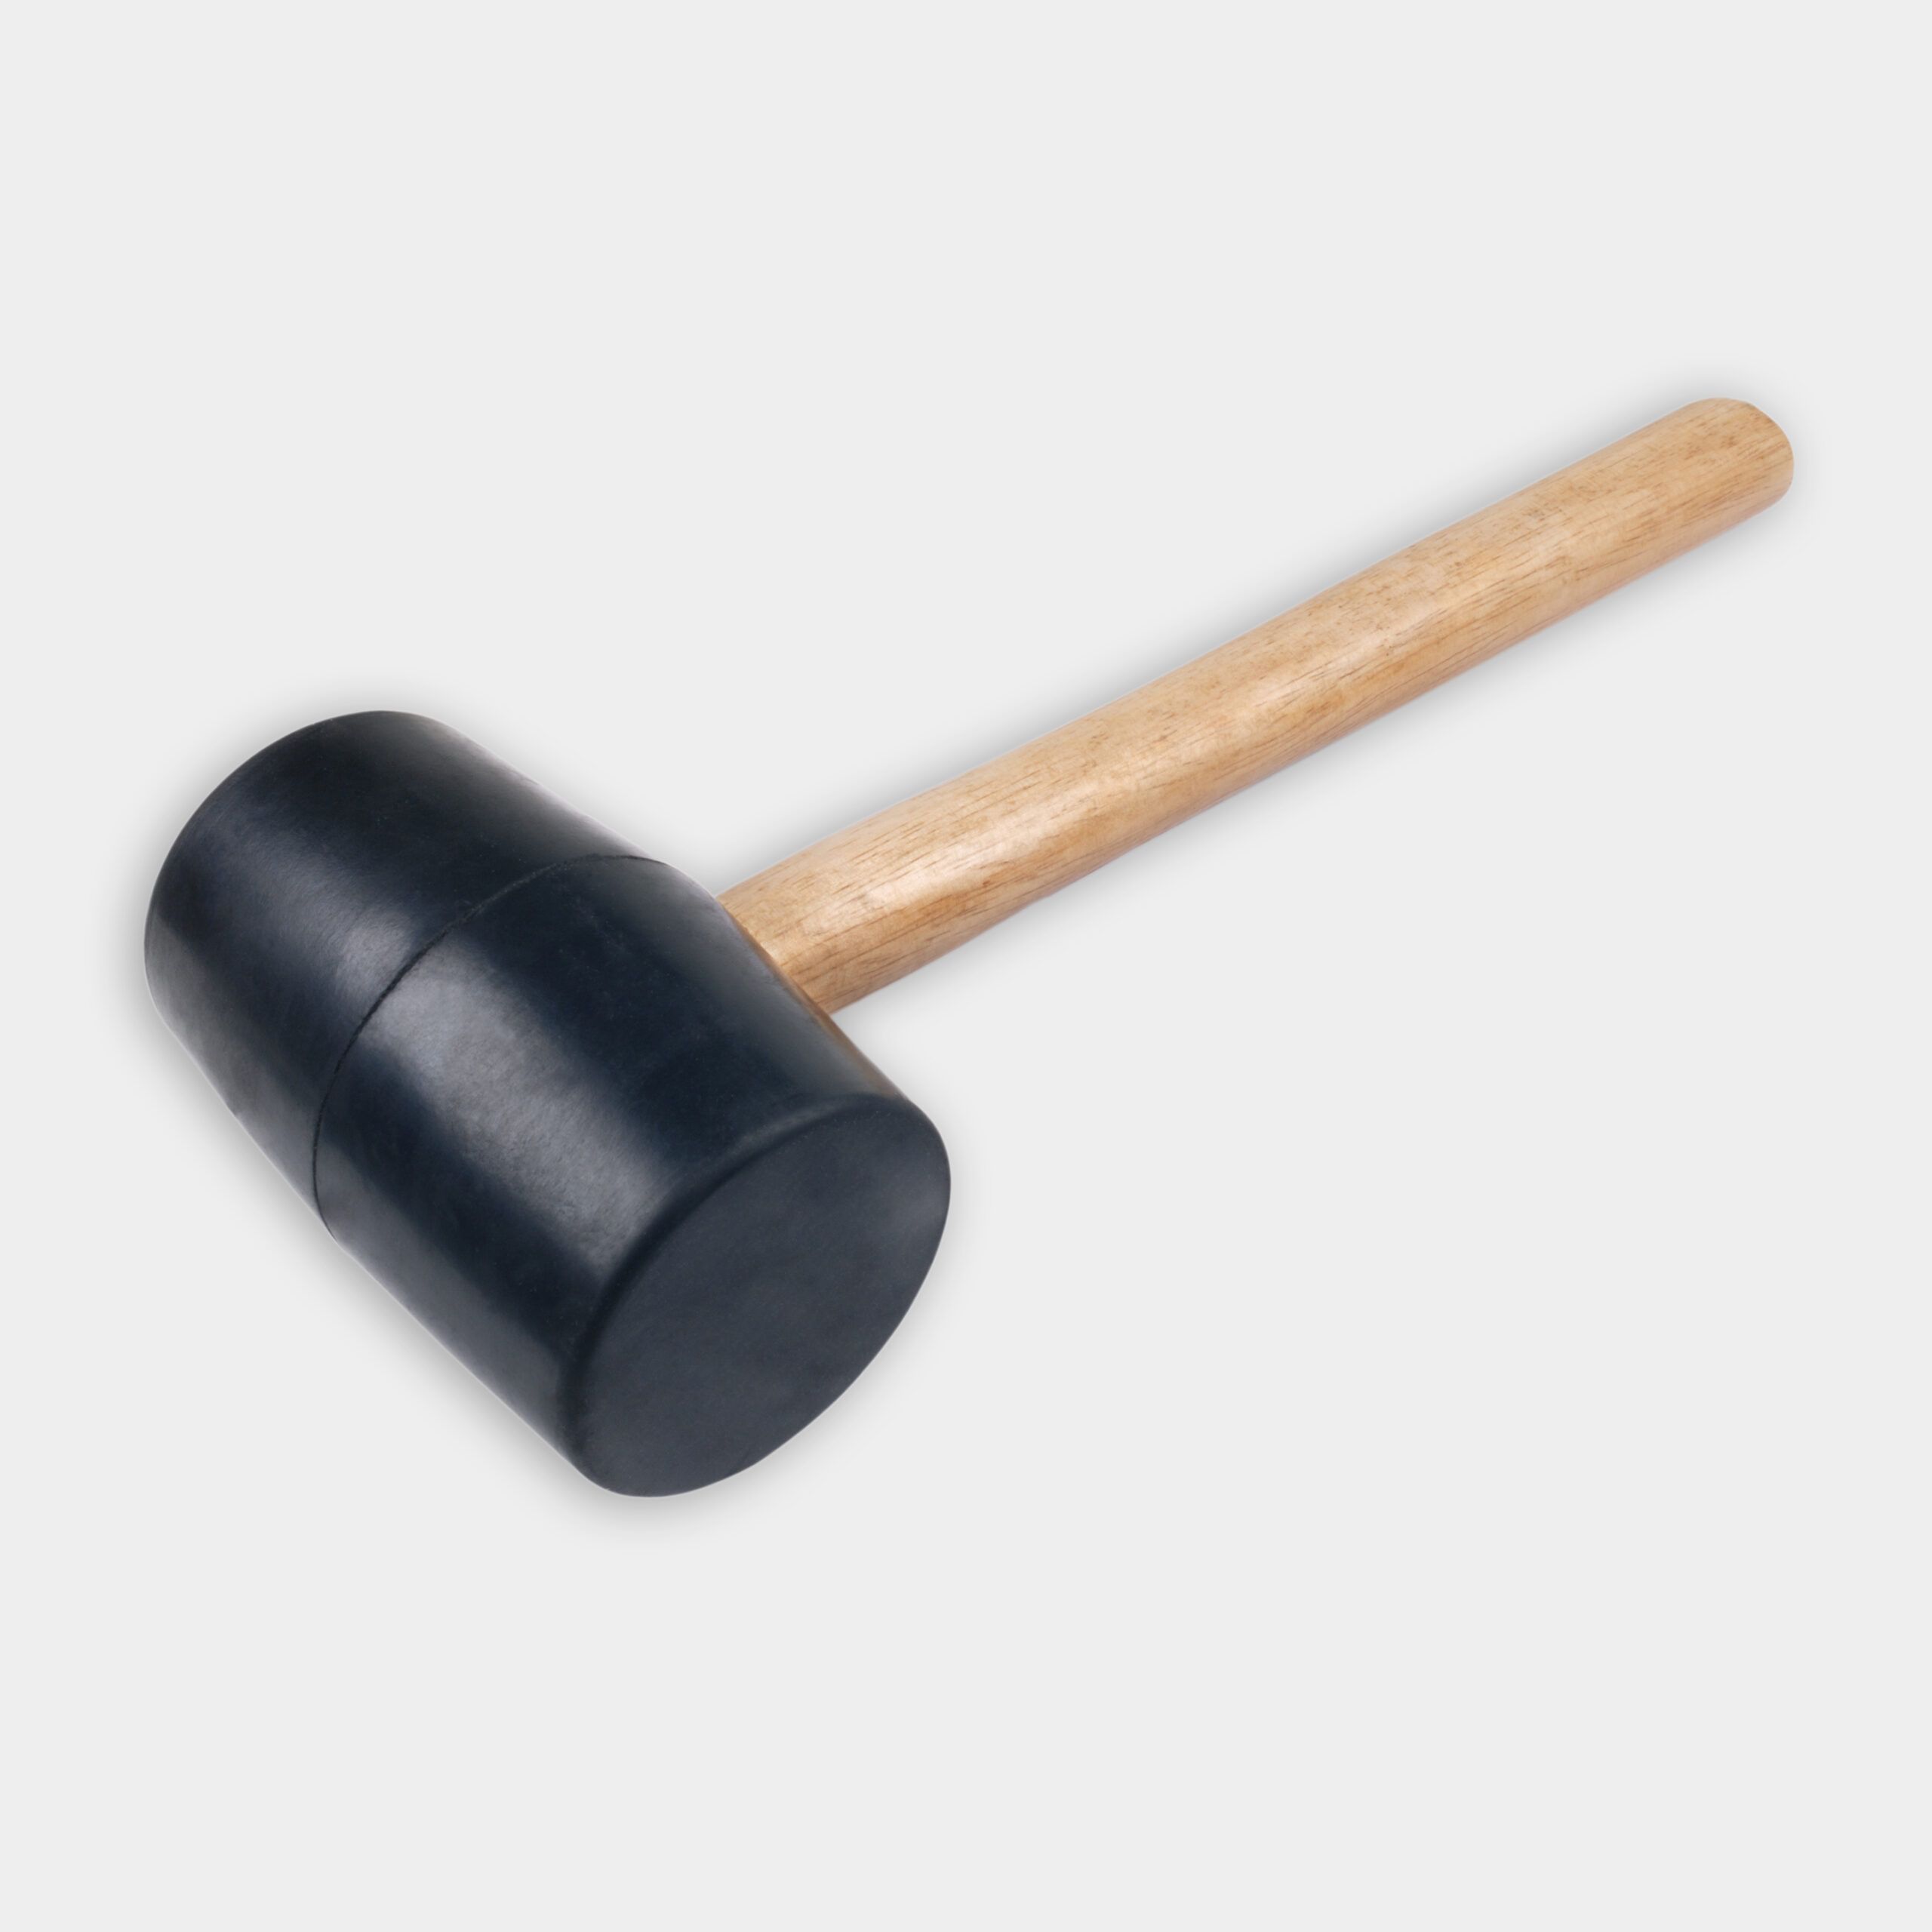
Jenn and Mark finished up the landscaping of the shower. They laid bluestone for the shower floor and steps. They cut drain slits into a slab of bluestone using a circular saw with a diamond blade. Stone dust mixed with water was put down before the slabs to act as glue. Mark spread and flattened the dust using a finishing trowel. Plastic 8” landscape anchoring stakes were used to find placement and to keep the slabs evenly spread out. The slabs were tapped into place with a rubber mallet.
For plants, Jenn added a lilac plant to the side of the shower. Before planting she added Coast of Maine organic compost blend and mixed it with the existing soil. To the side of the shower, Jenn used Pink Chintz thyme. And in between the bluestone steps, Irish moss was planted. Then, Coast of Maine dark bark mulch was spread over the rest of the area.
Materials
- PEX tubing
- Copper-to-PEX tee fitting
- Expansion sleeves
- PEX-A expansion tool kit
- Shower system kit
- Control valve
- Shutoff valve
- Half pipe clamps
- Board for system installation
- Caulk sealant
- Stainless steel screws
- Bluestone slab
- Landscaping stakes
- Compost blend
- Mulch