While the yard sloping away from a home is great for the foundation, but it can create landscaping issues. Severely sloped grades make garden beds look sloppy and bare, especially if there’s a downspout nearby. When a homeowner struggled with her sloped garden, she called mason Mark McCullough and landscape contractor Jenn Nawada for the solution: a garden retaining wall.
How to Build a Garden Retaining Wall
Before you start digging, make sure to call 8-1-1. This is a free service and they’ll help you find any underground utilities such as electrical lines or natural gas to prevent any accidents.
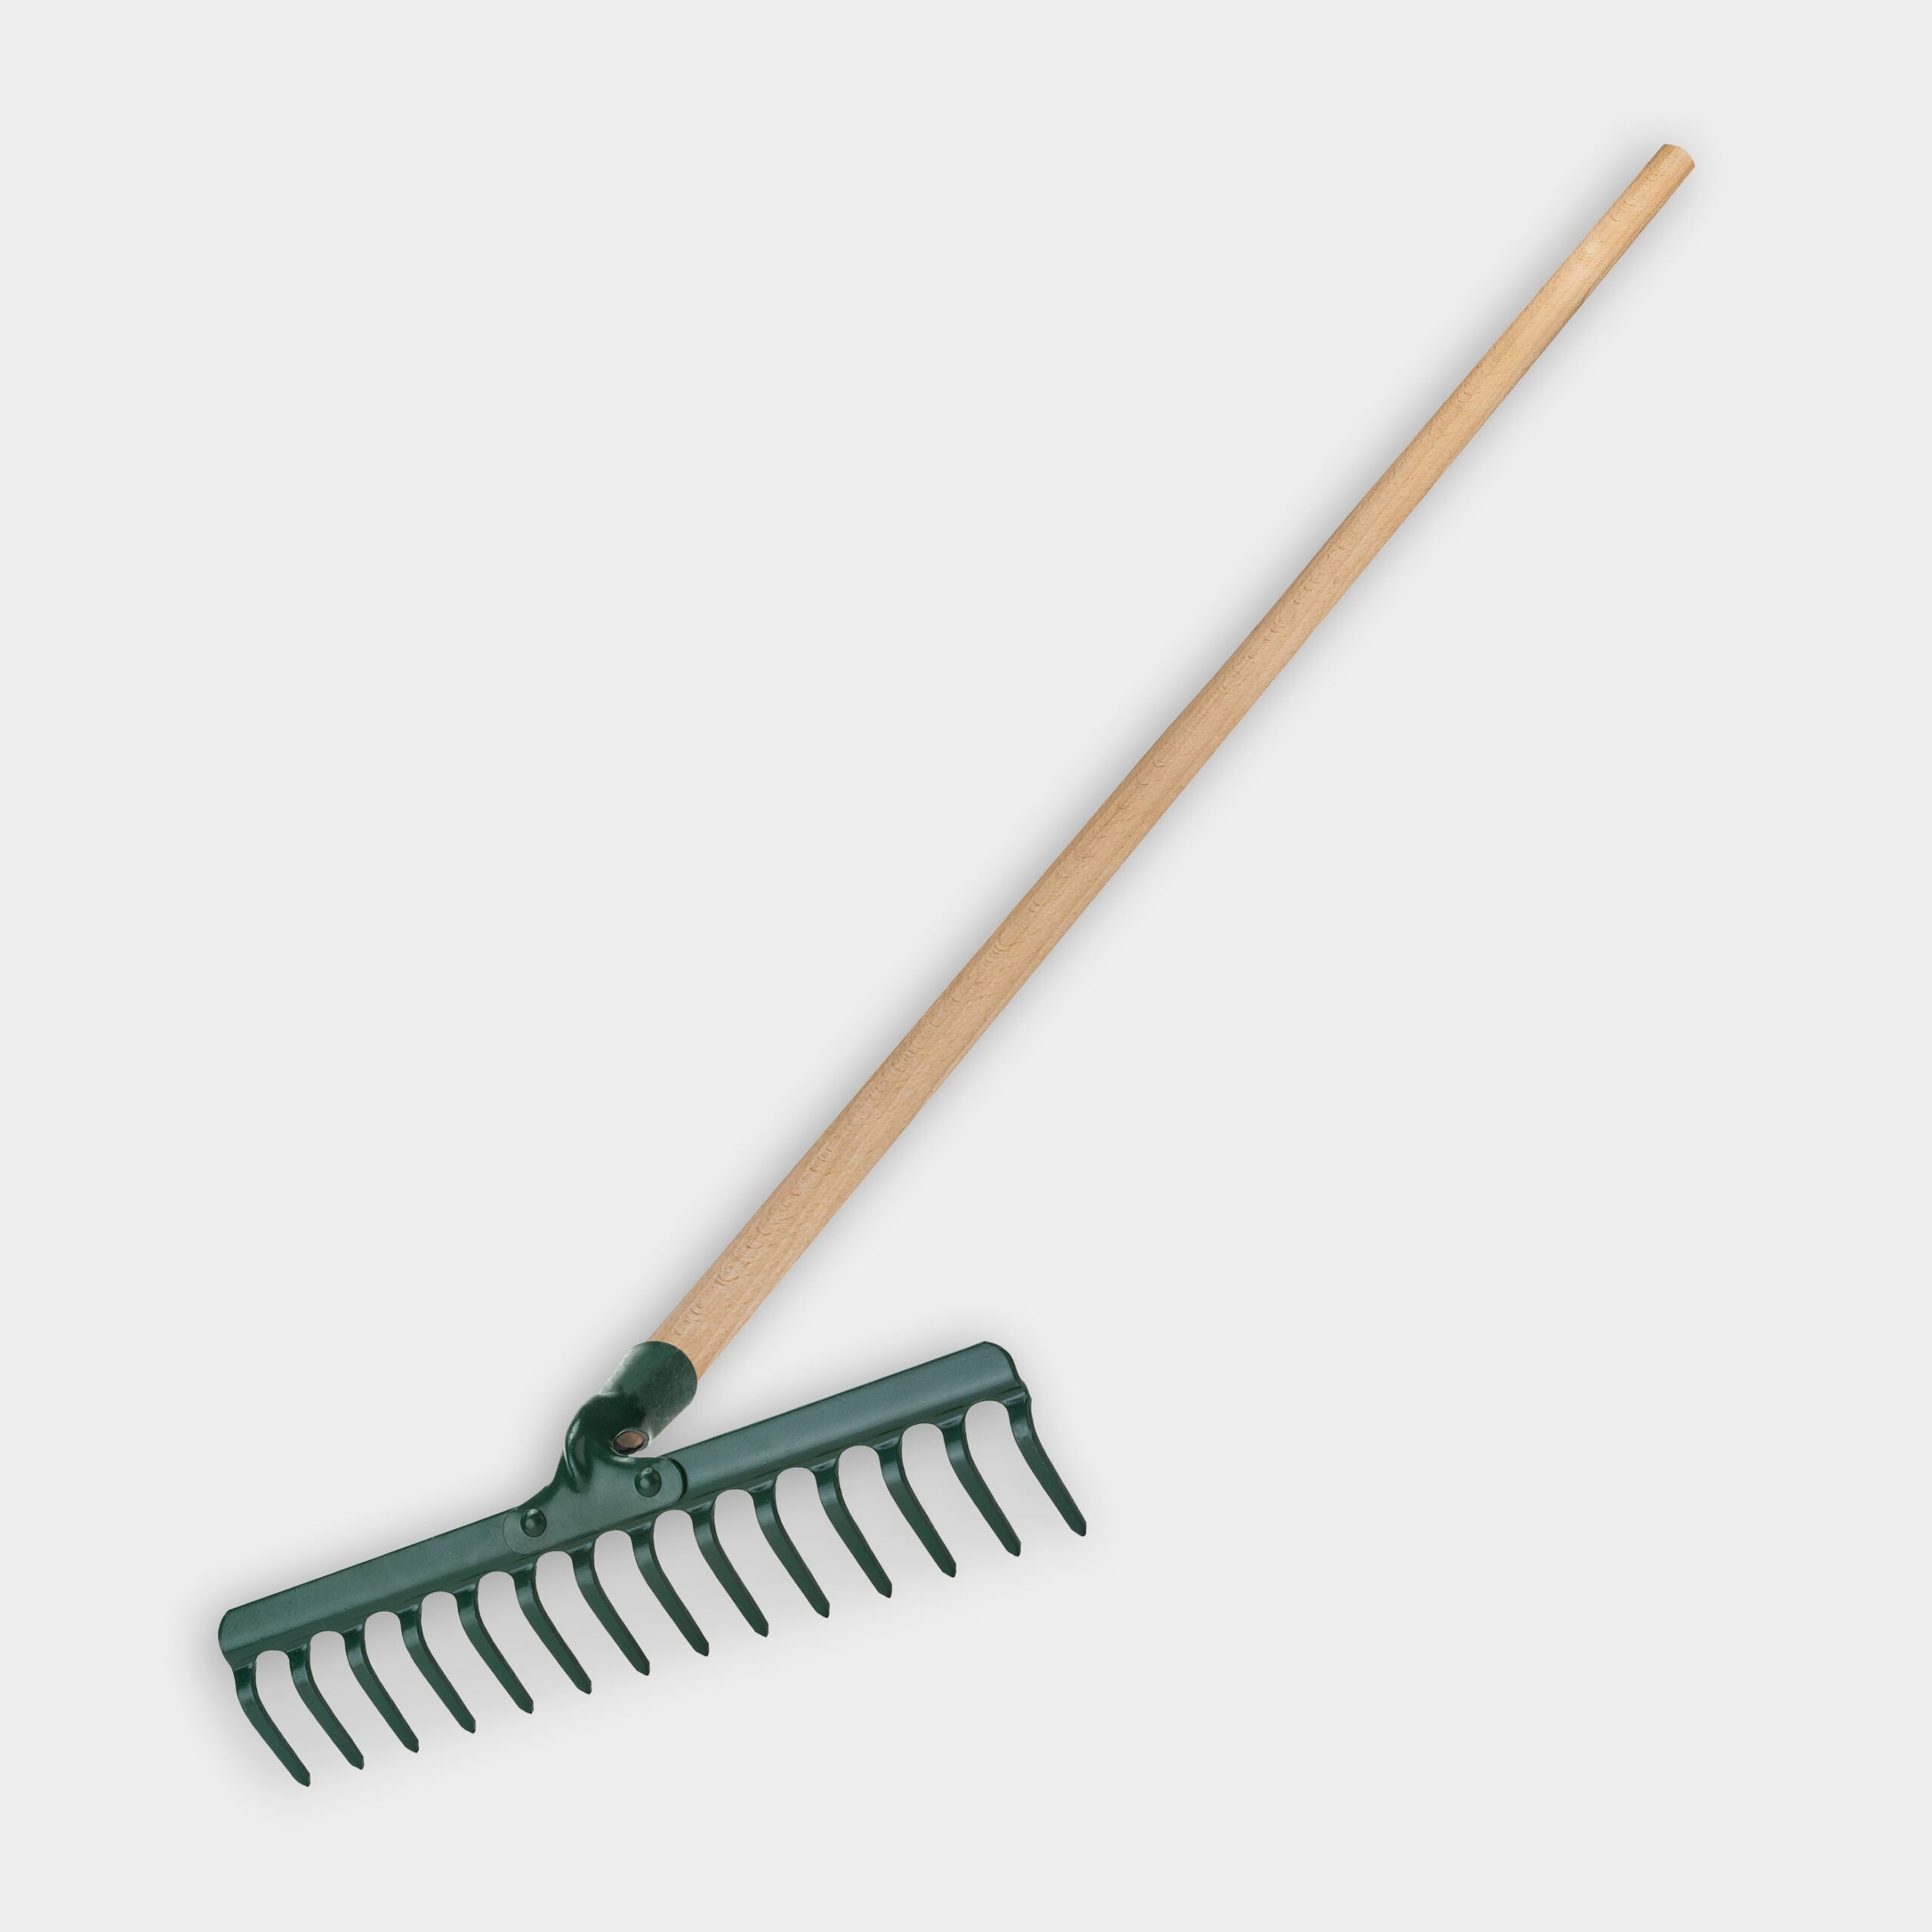
- Start by removing any existing garden blocks or edging. A pick axe makes the process faster.
- Locate two anchor points for the wall to start and stop. This may be the edge of a neighboring structure, the corner of the home, or another point.
- Use marking paint to mark the ground for the footing.
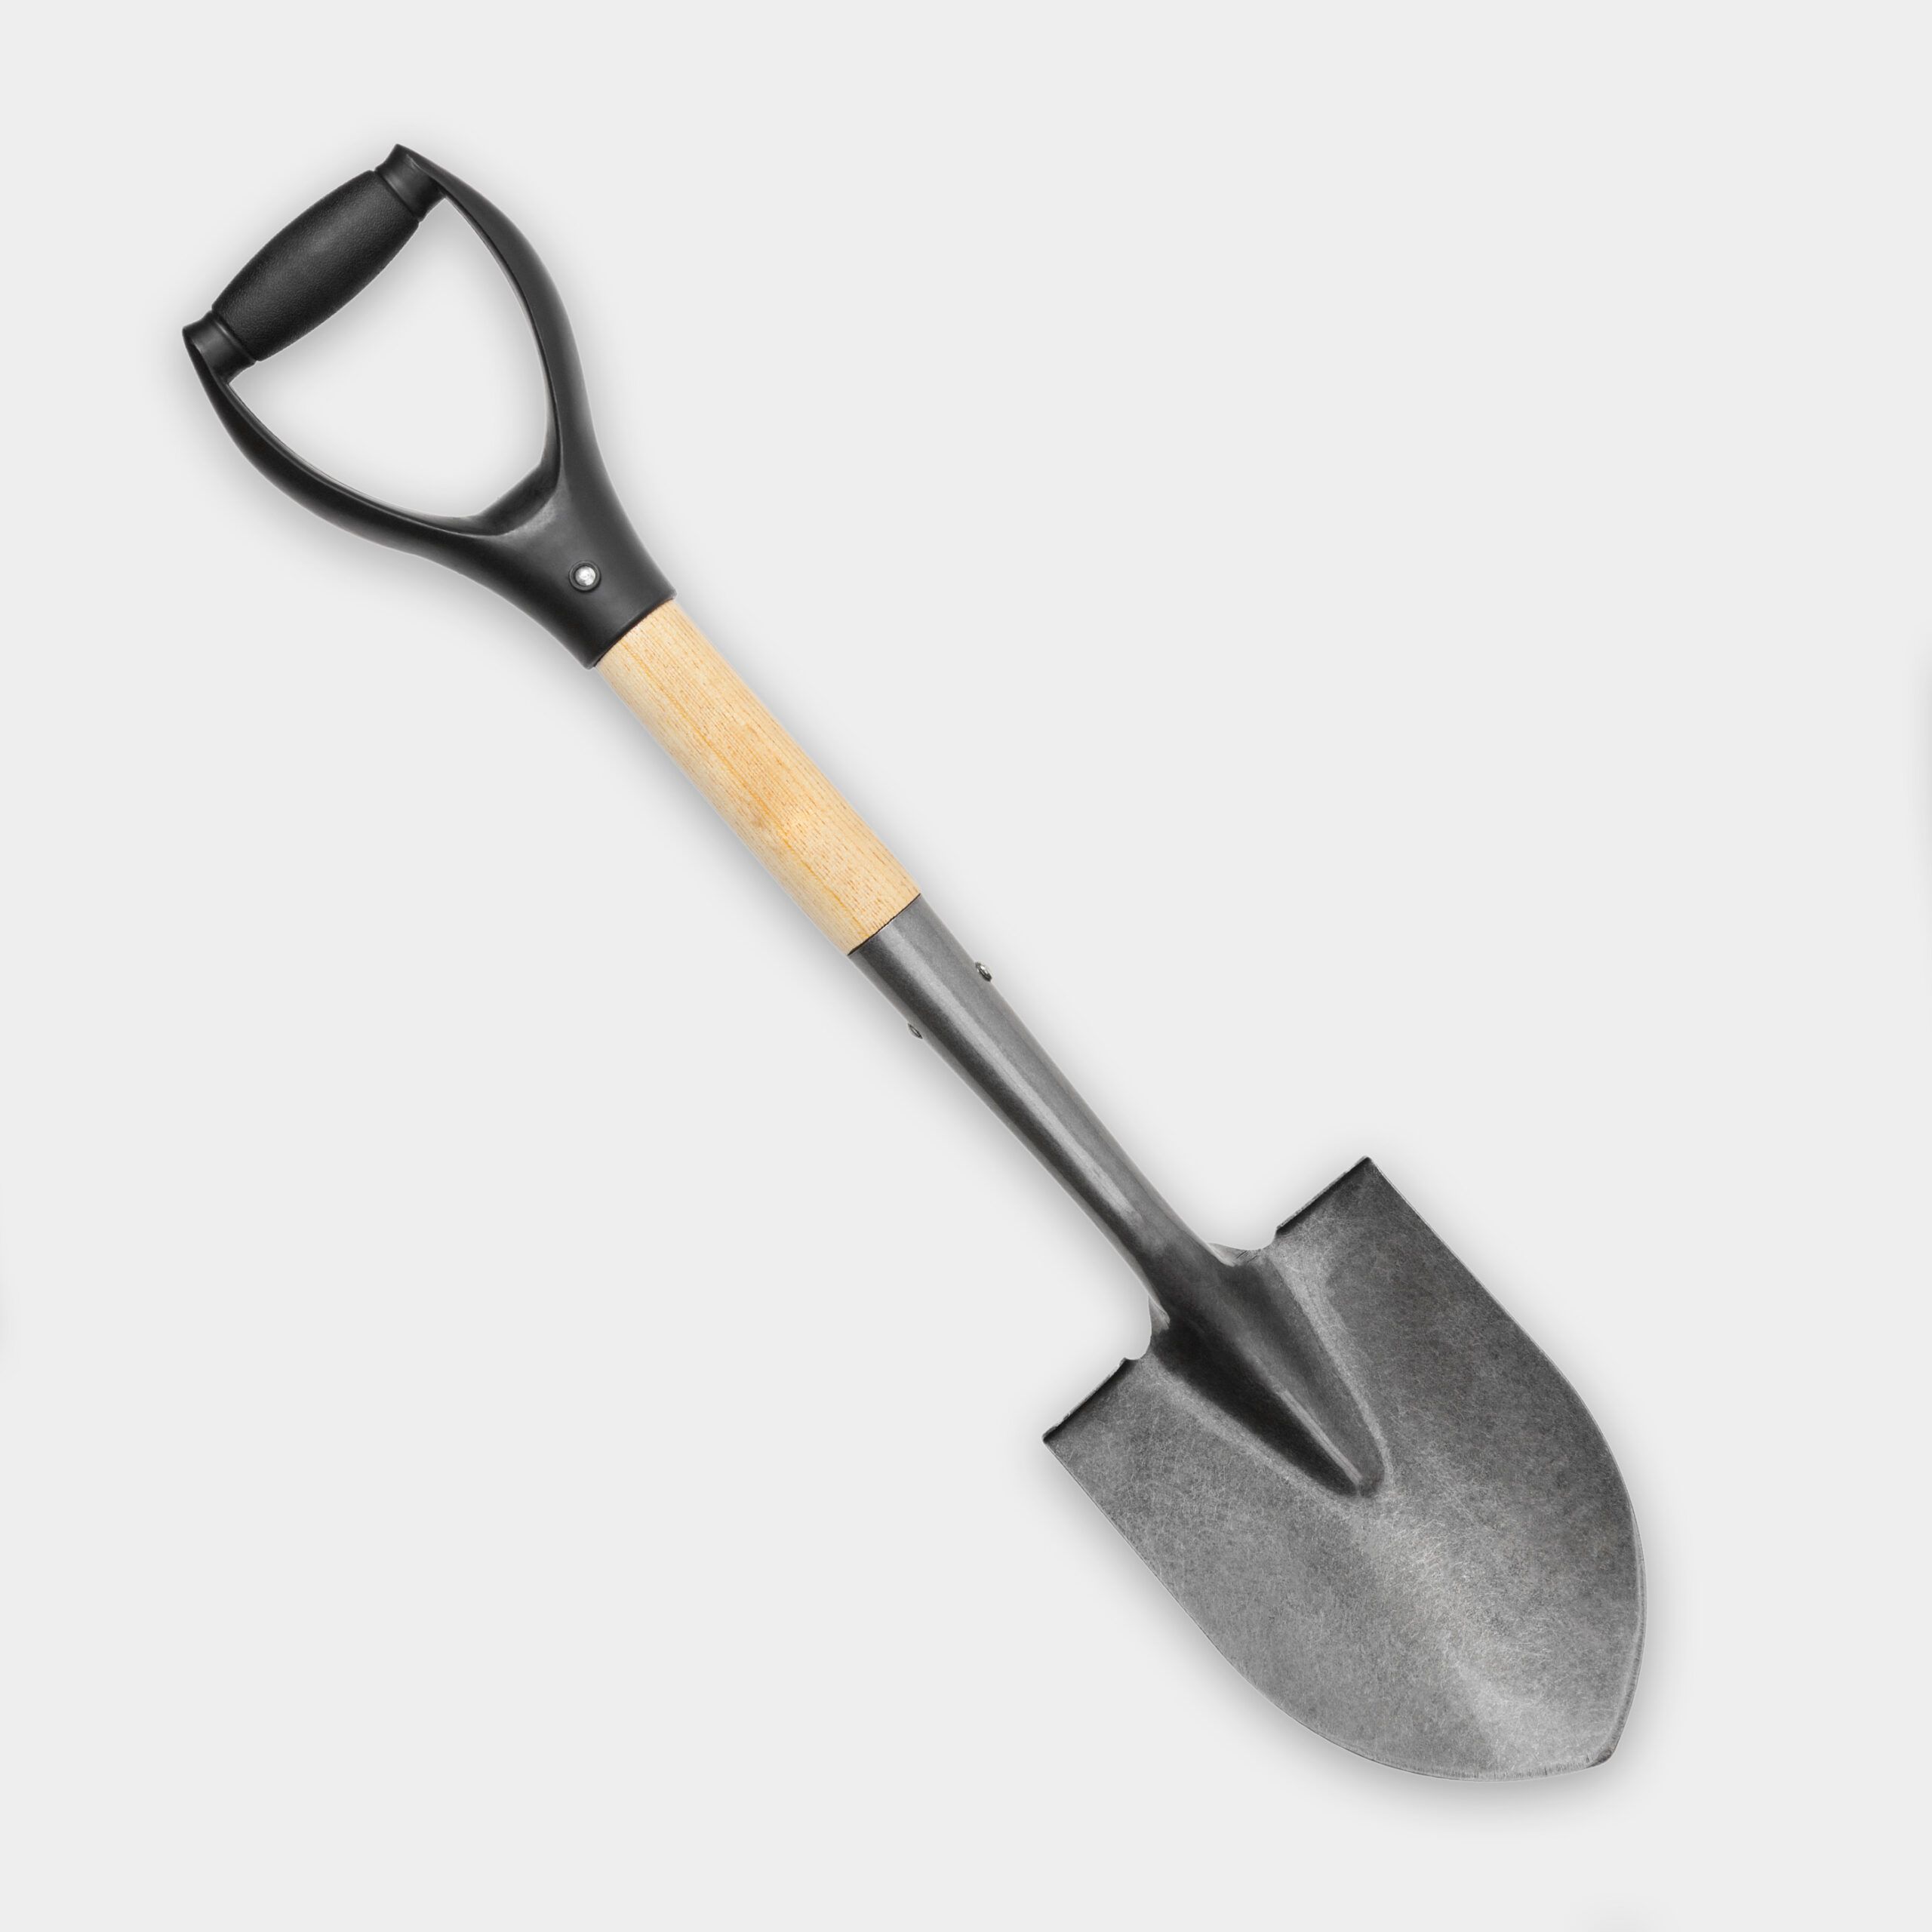
- Using a shovel or a mini excavator, dig a trench that is about two feet wide and 8 inches deep, though the actual dimensions may vary based on the manufacturer and block sizes.
- Pour roughly 6 inches of gravel into the trench and use the tamper to compact it to create a stable base for the first course of block.
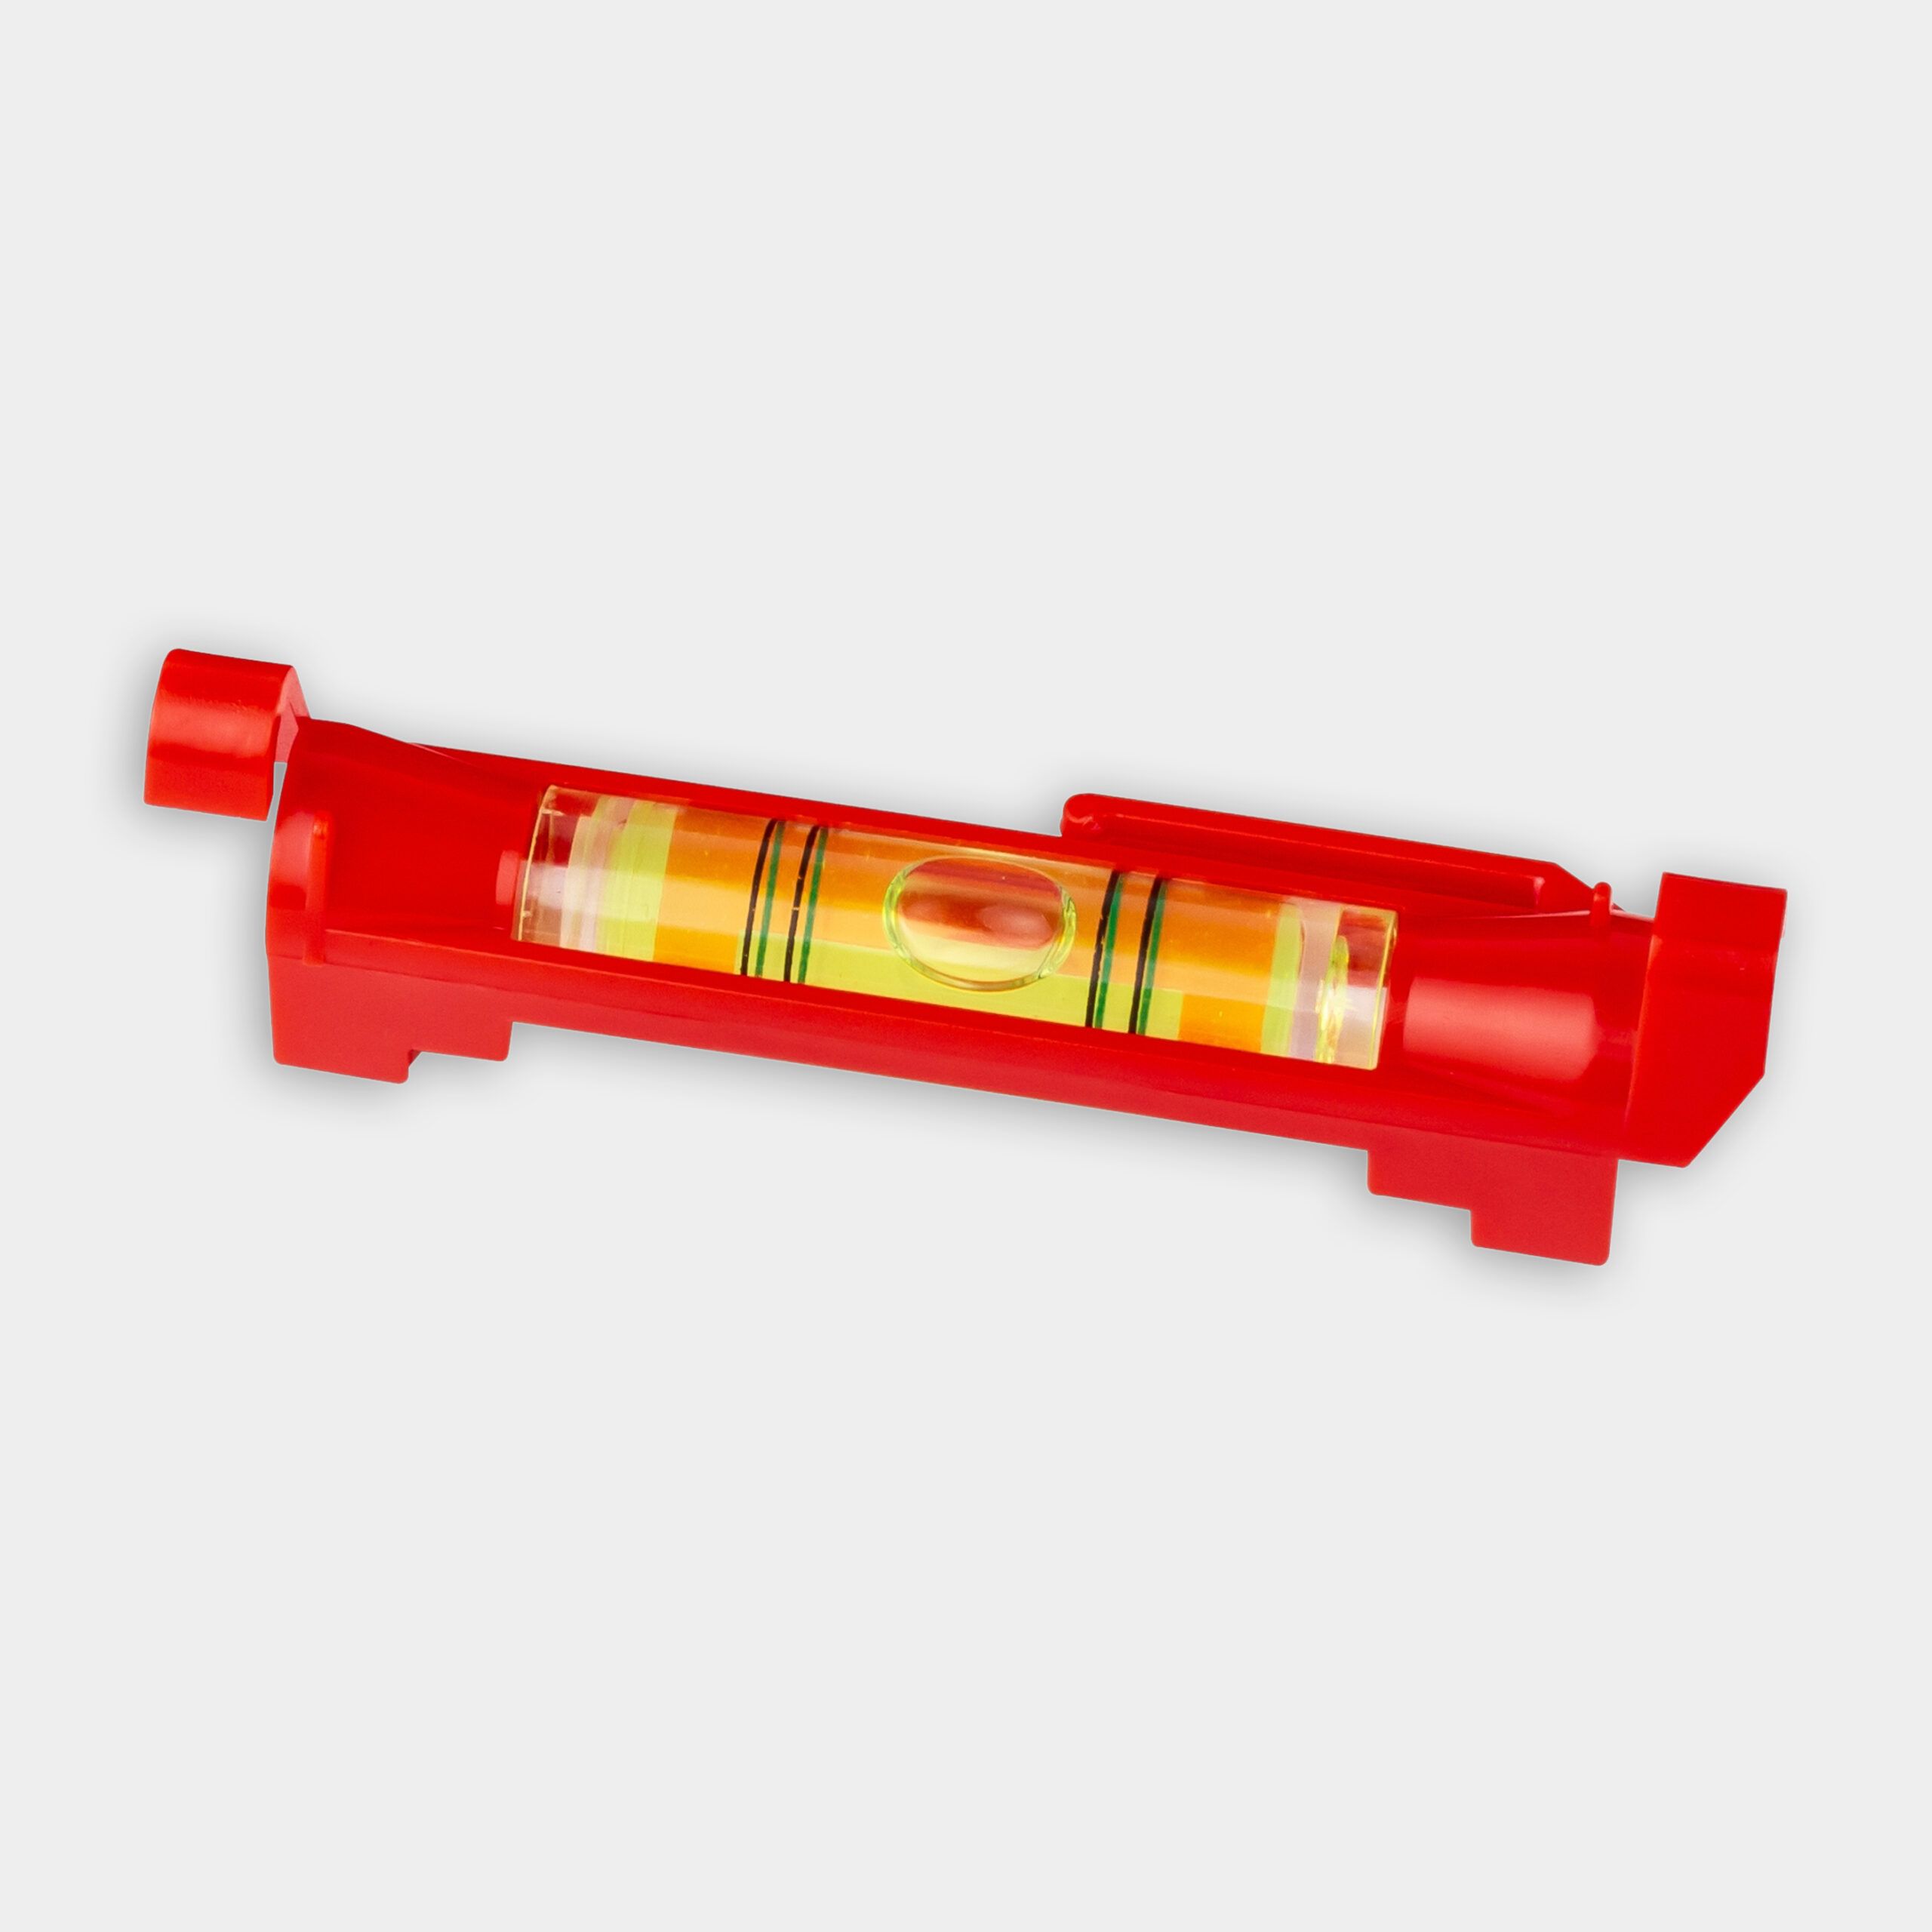
- Place a stake in the ground just past the start of the wall and another just past the end of the wall. Run a string between them and adjust the height from the gravel footing so it’s equal to the height of the blocks.
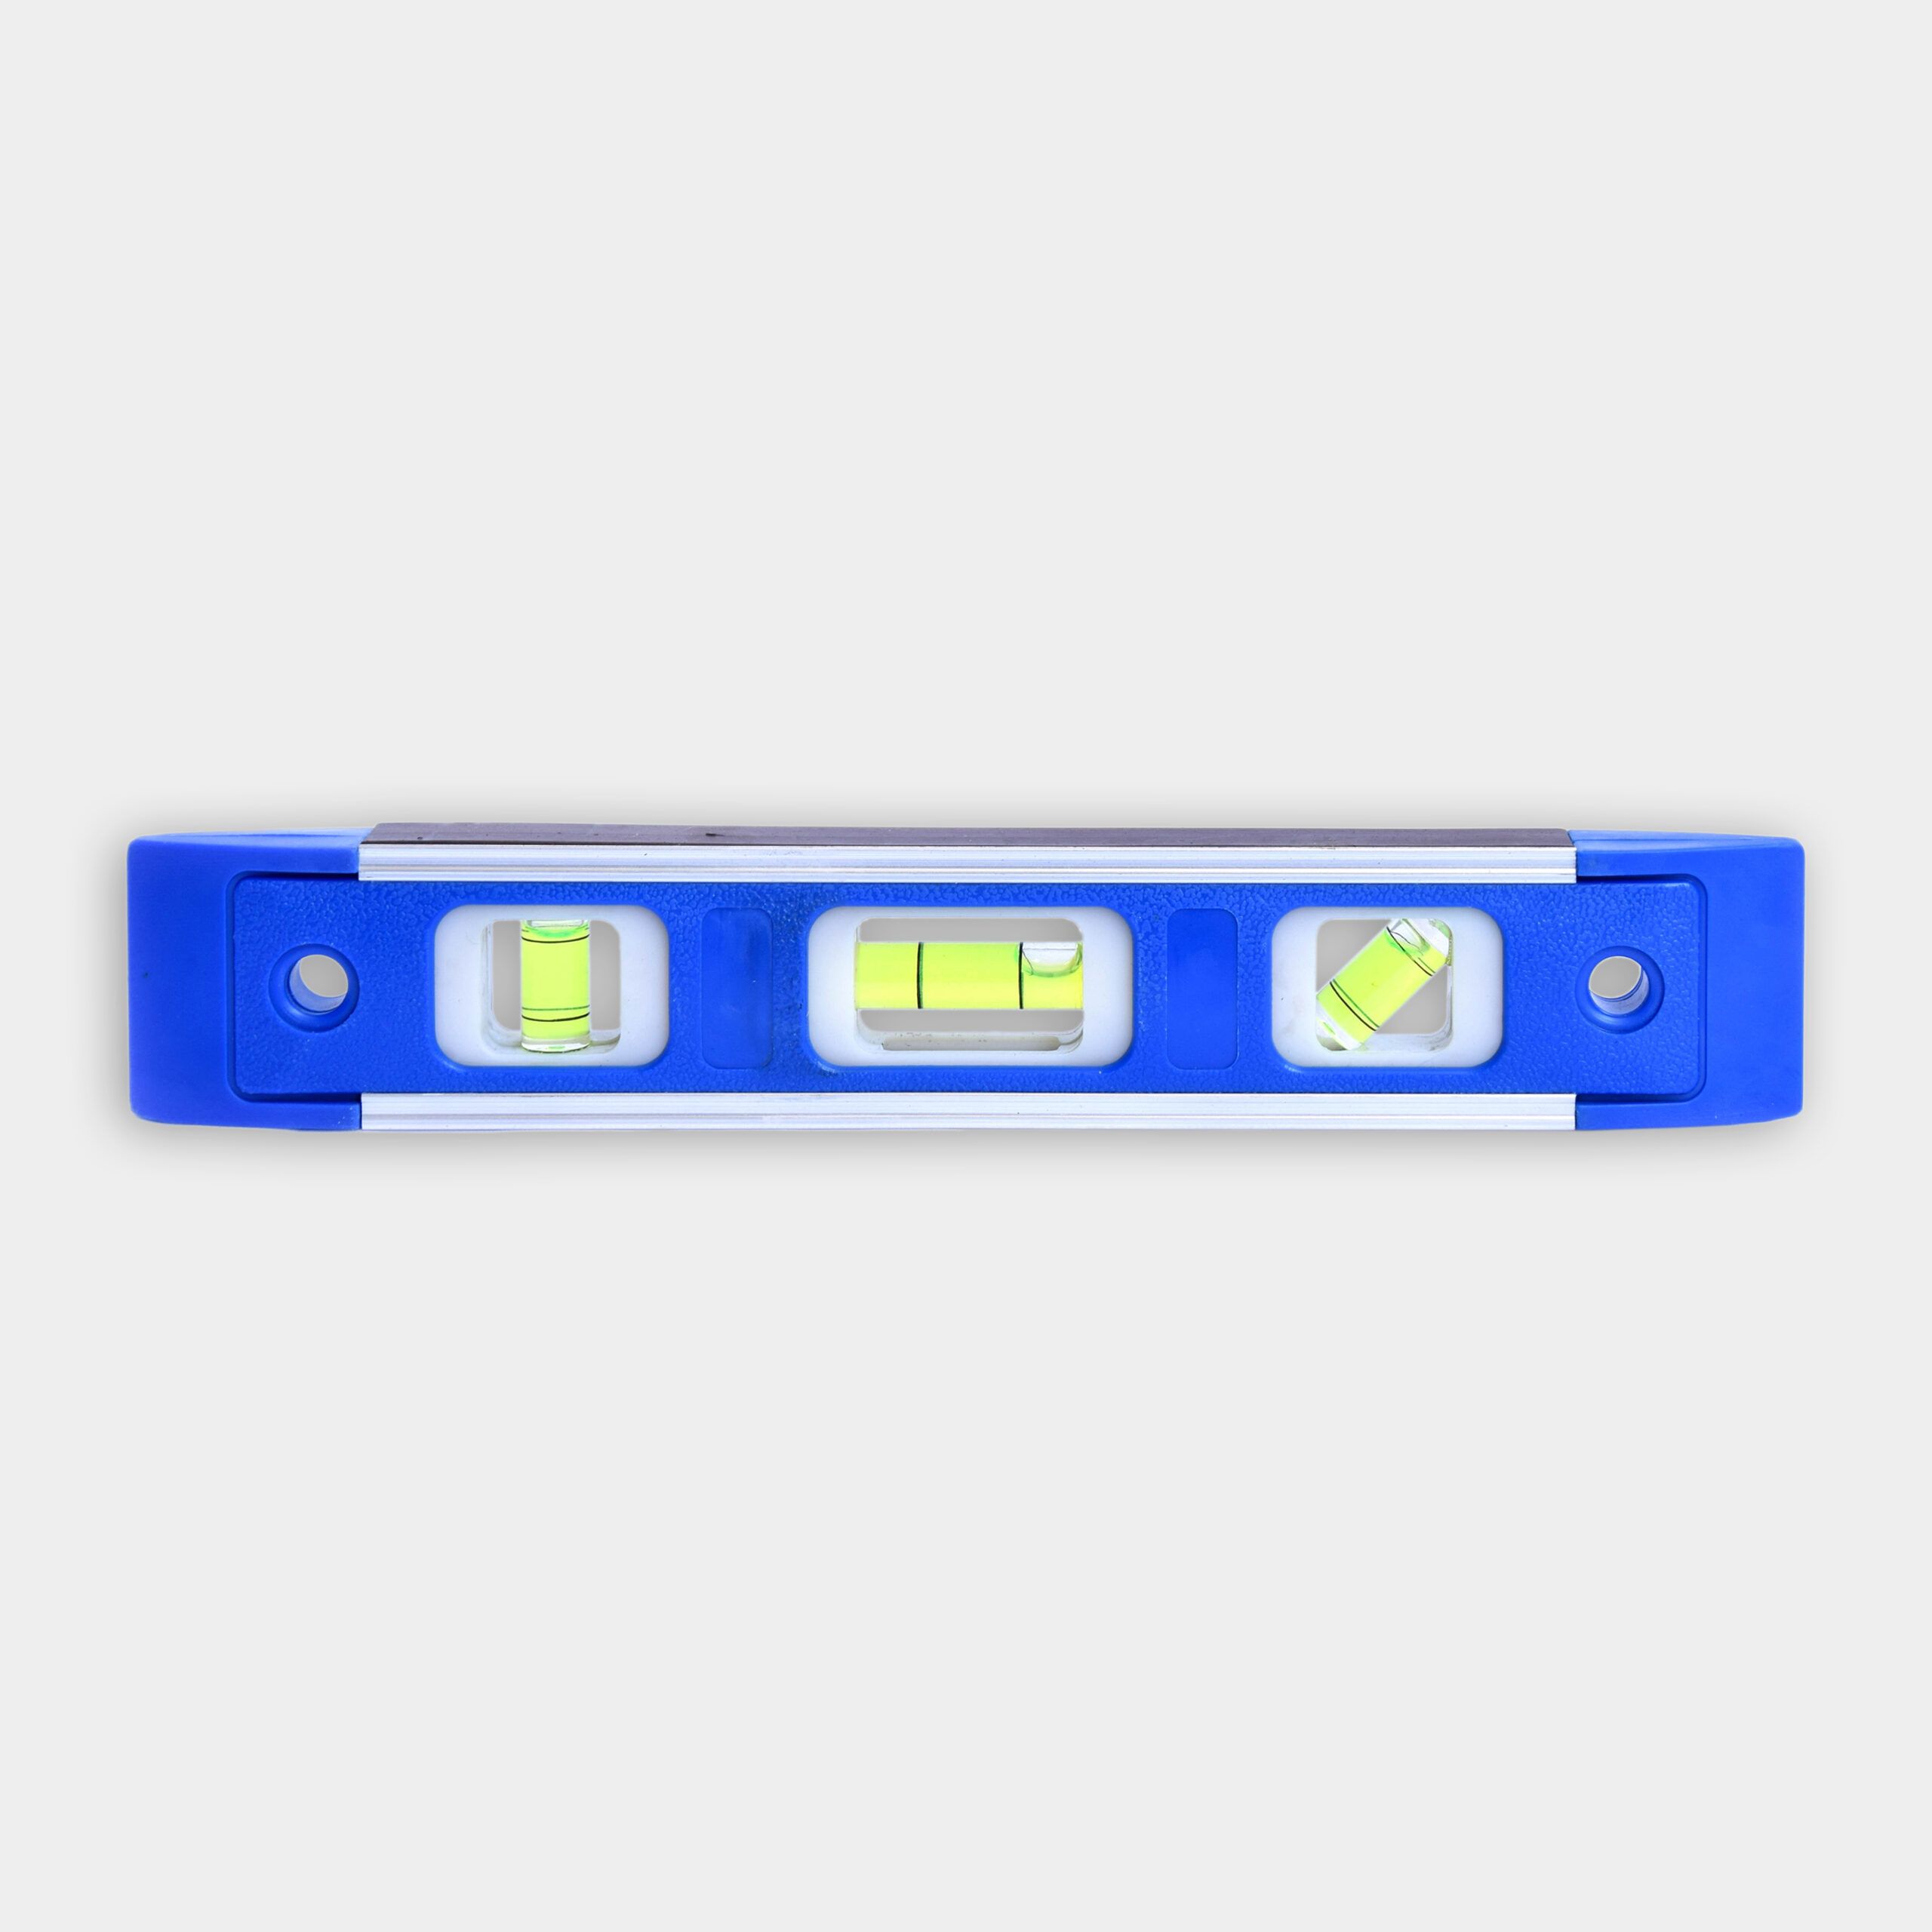
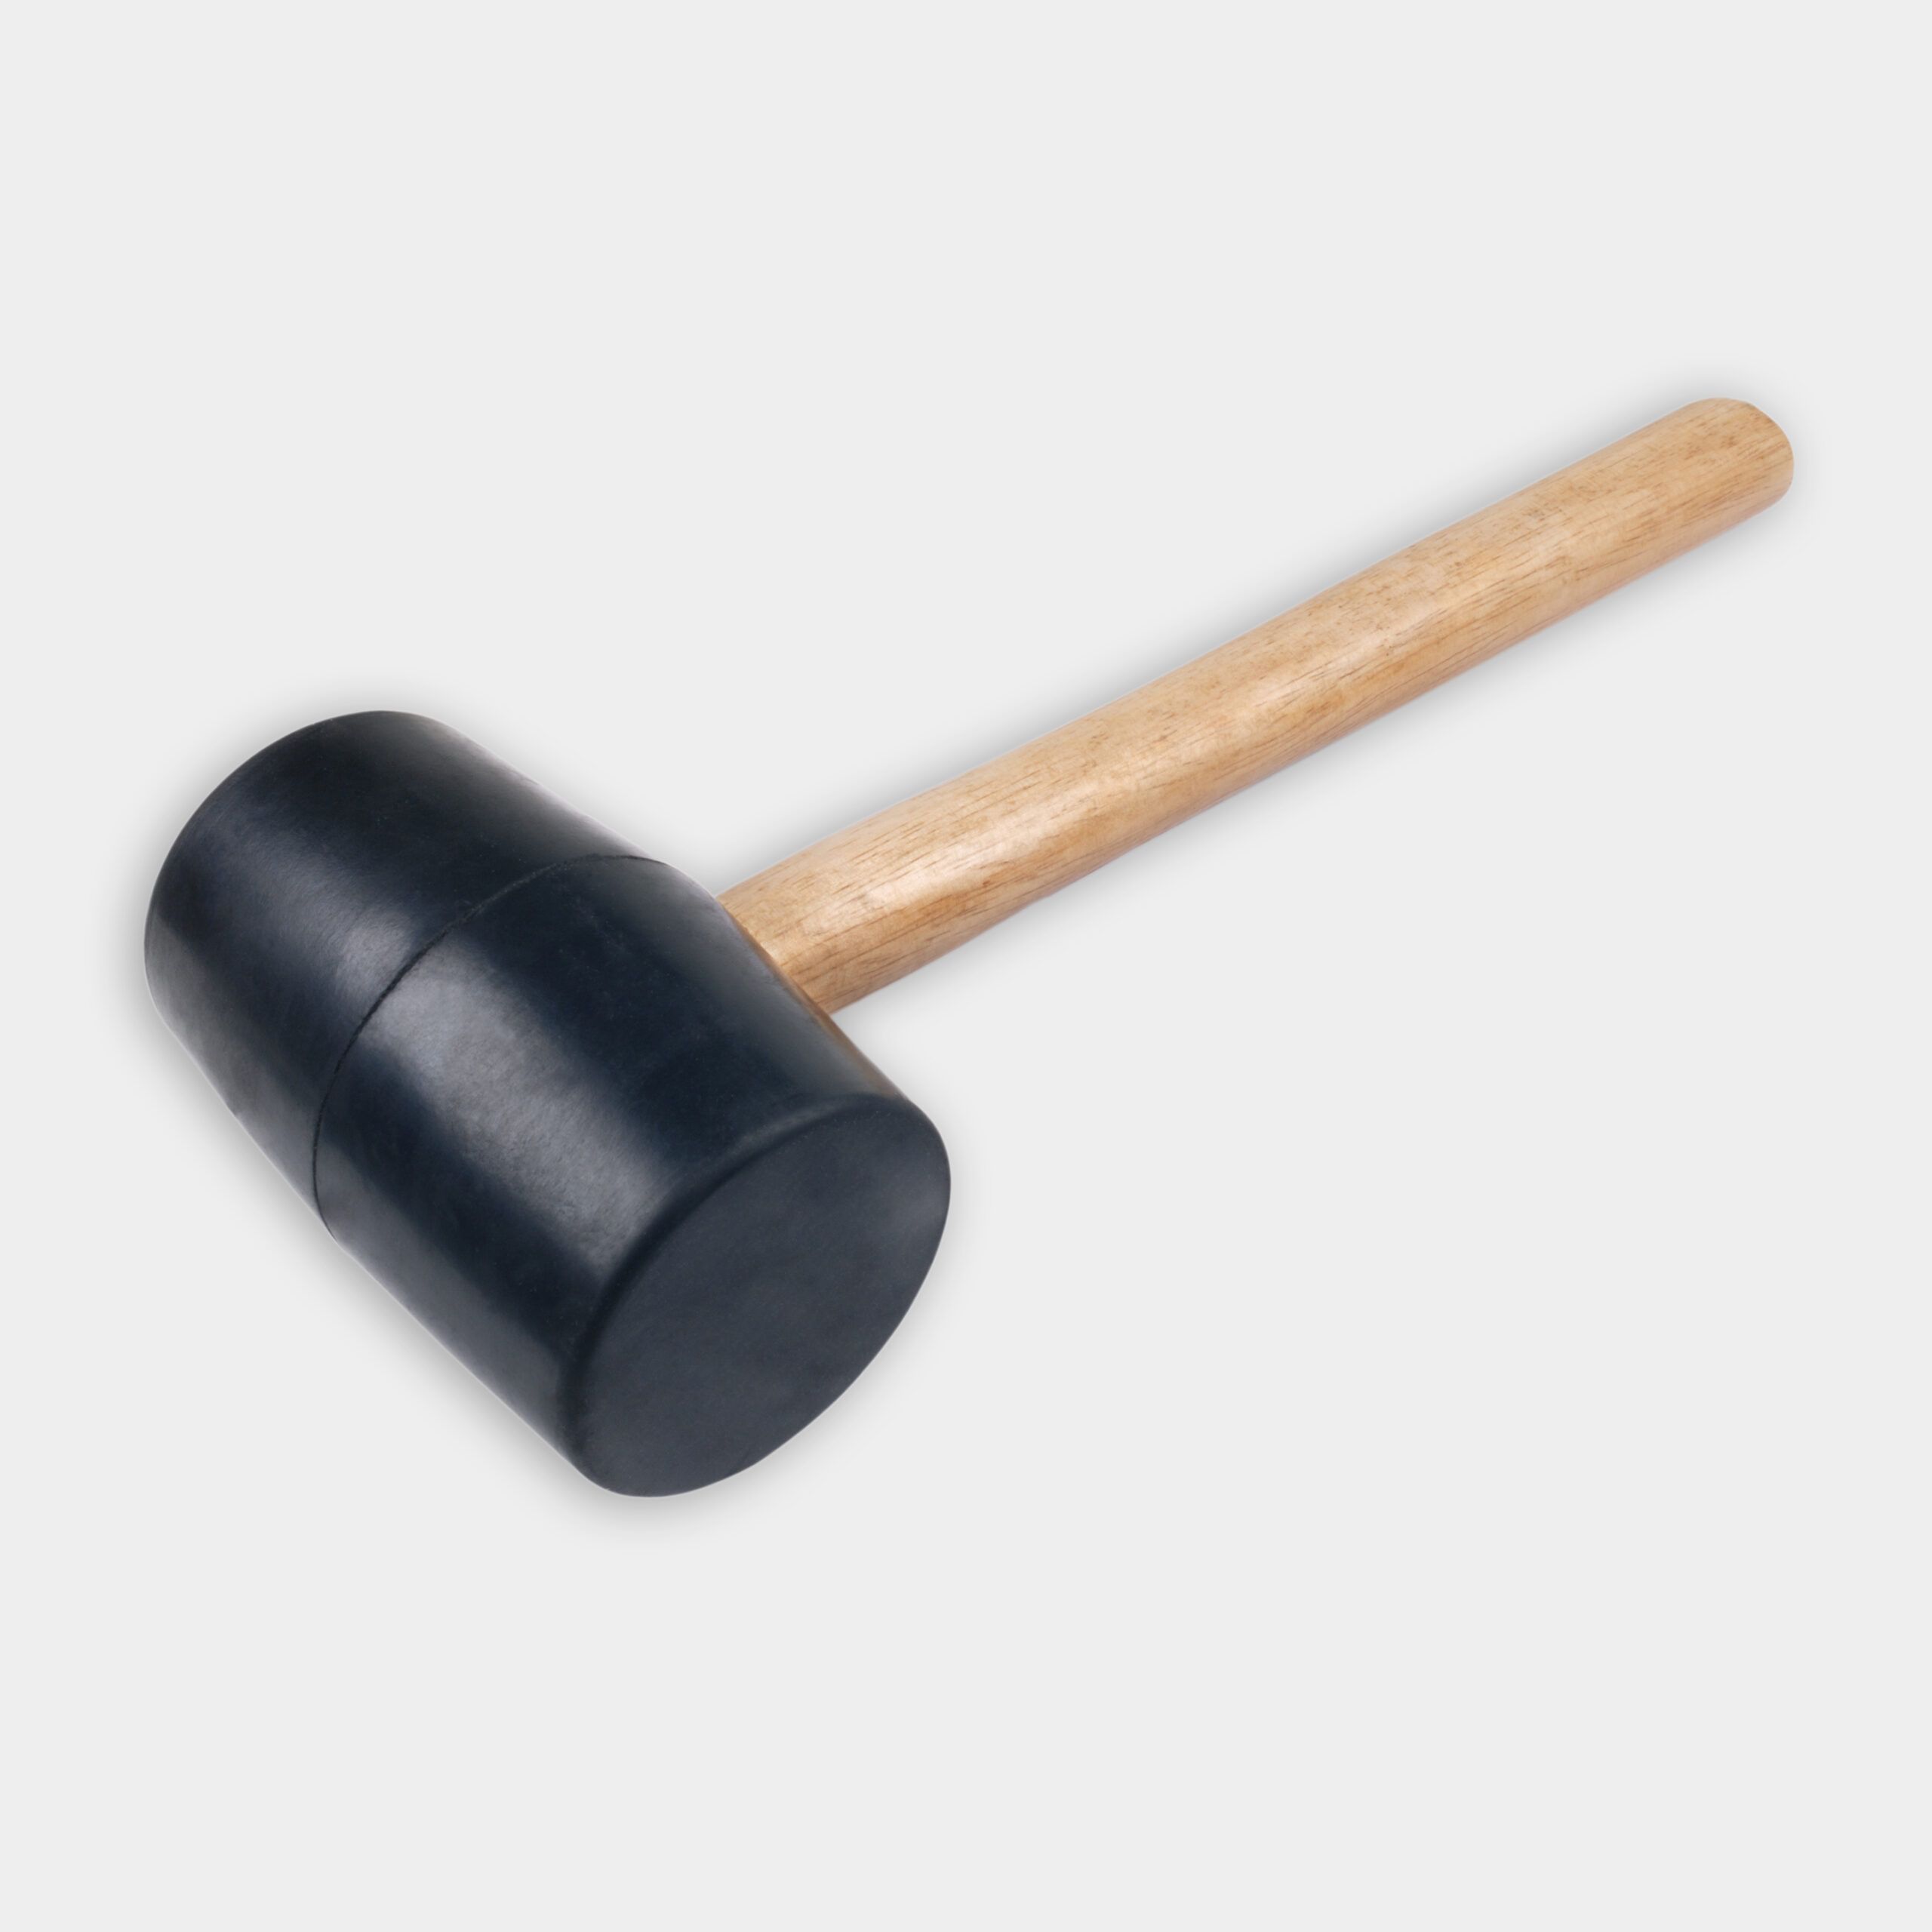
- Place a block at the beginning of the wall. Use the level and dead blow mallet to adjust its position. It has to be level from side to side and front to back.
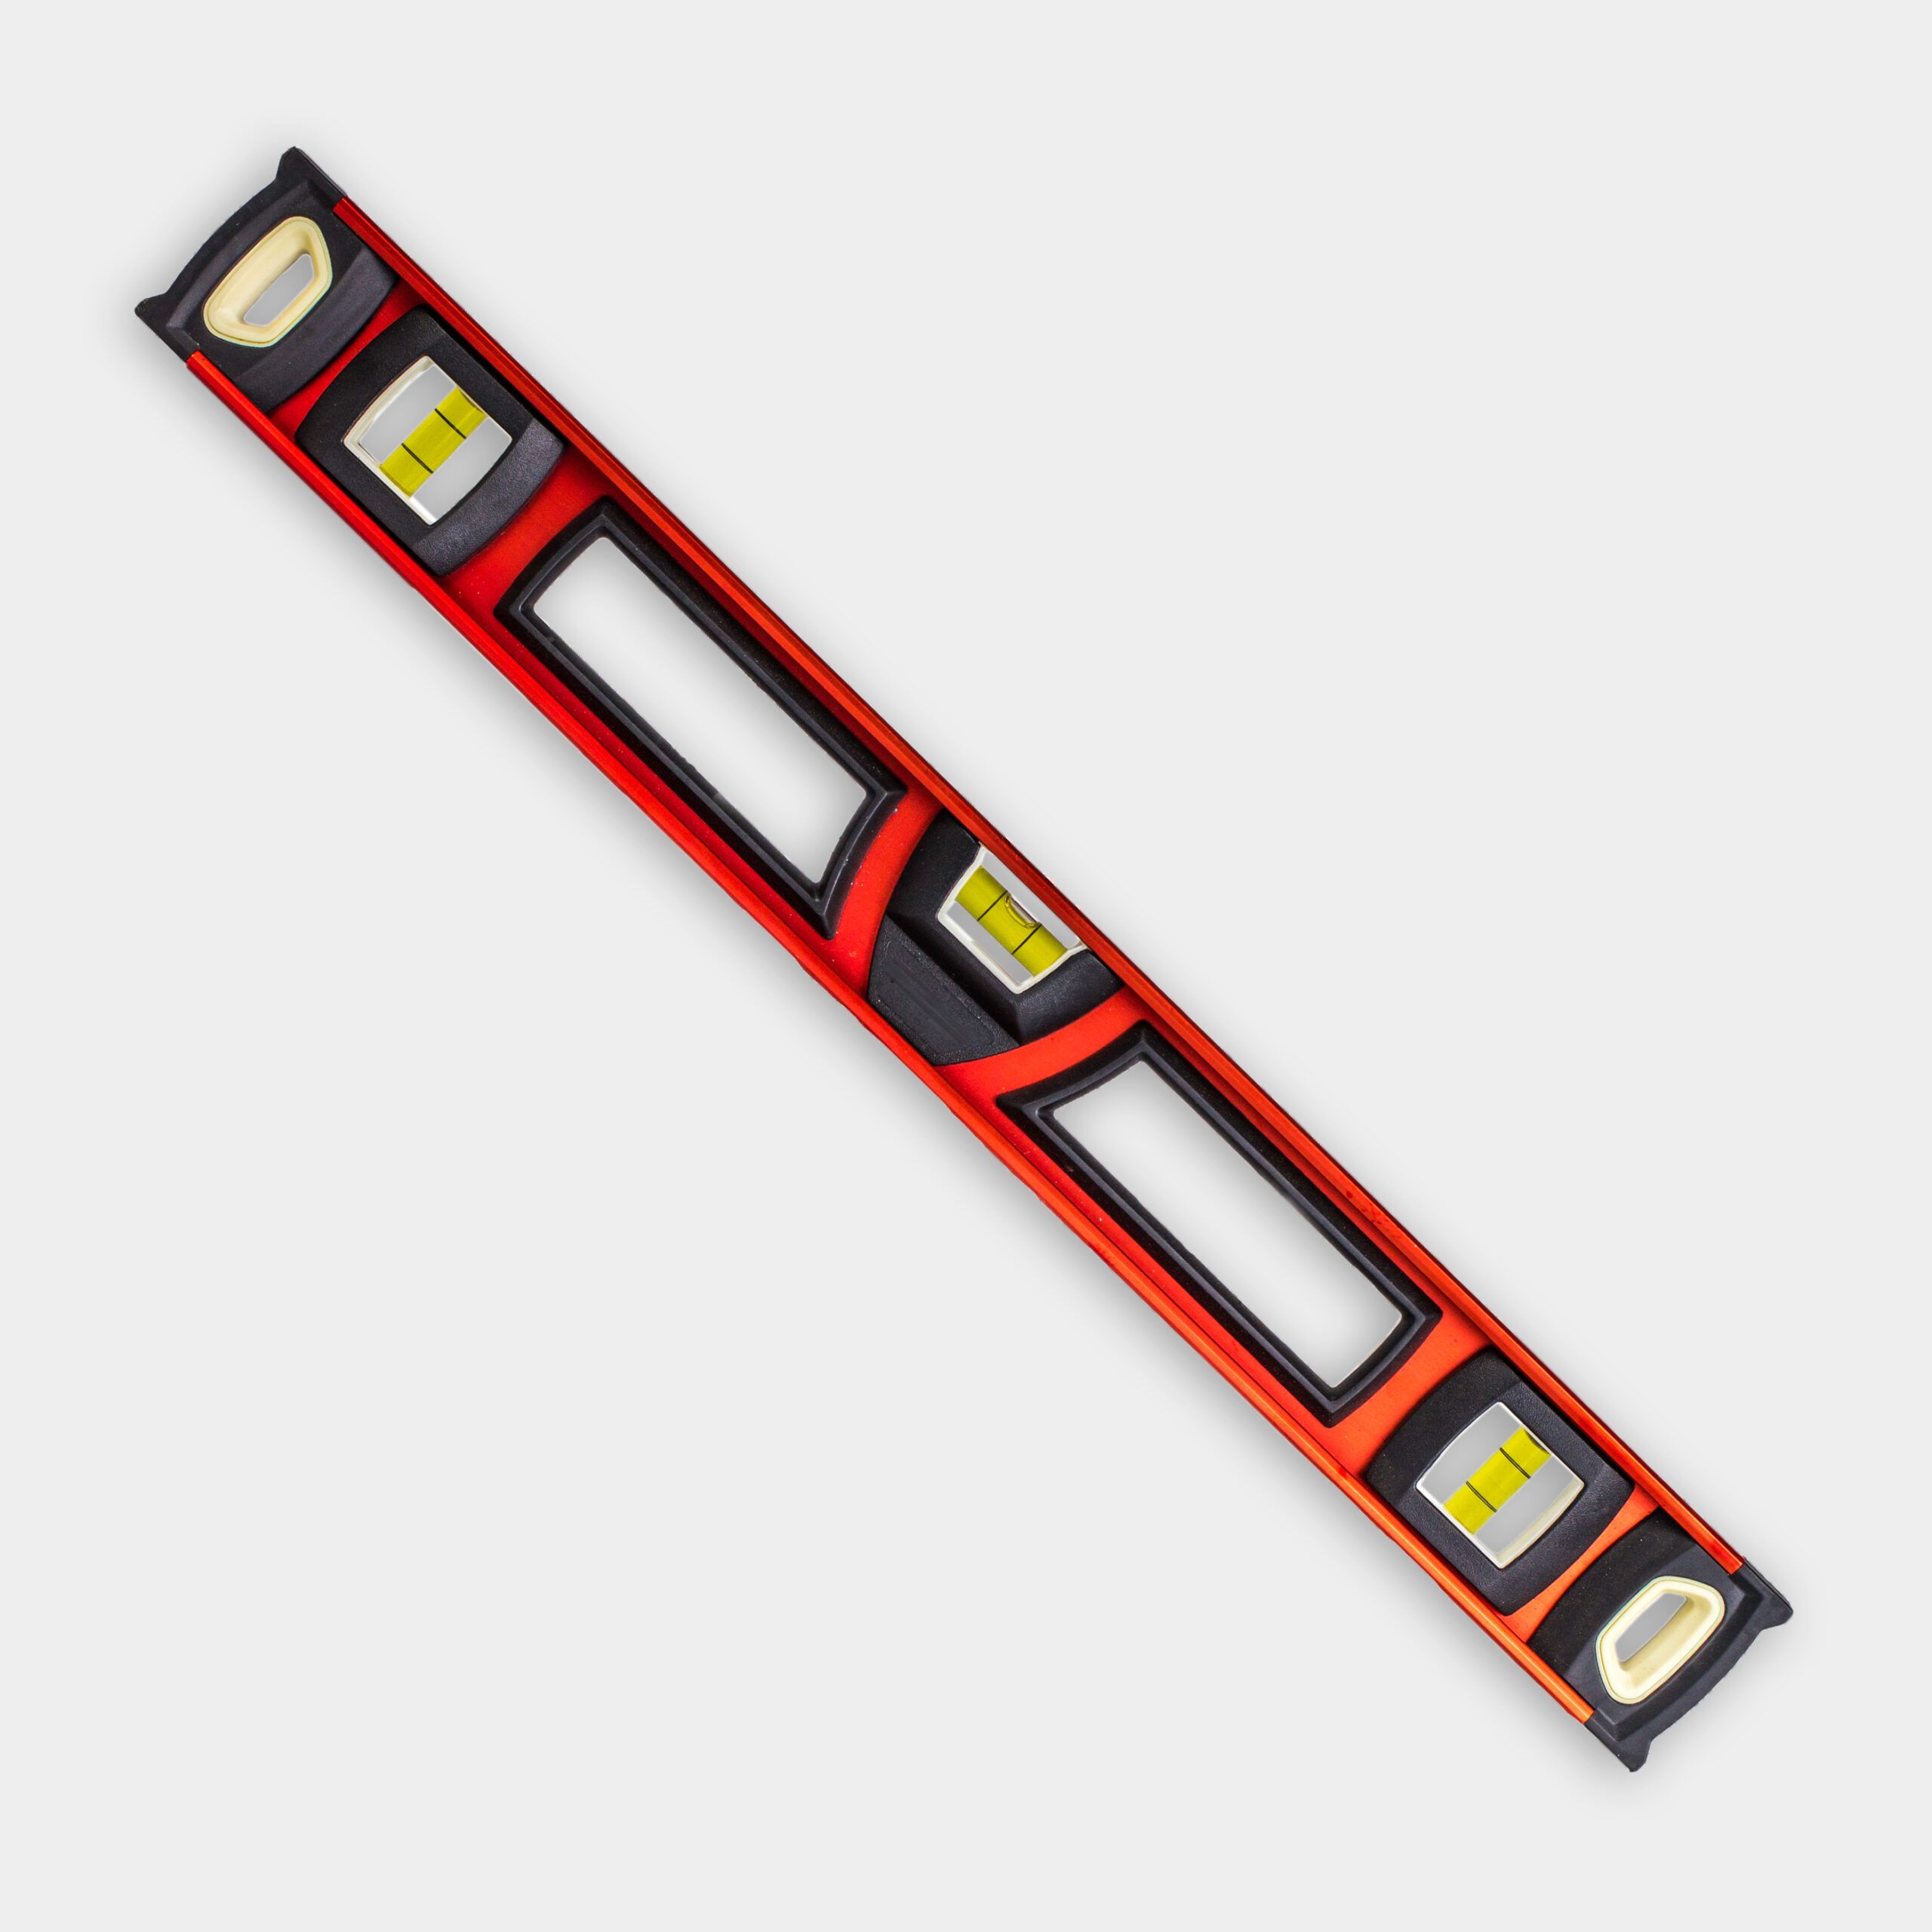
- Place another block six feet (or another number evenly divisible by your chosen block type). Level it with the mallet and torpedo level, and then check that it’s level with the first block. Repeat this process down the length of the wall, and then fill in the rest of the blocks to finish the first course.
- Fill the core cavities between the blocks with gravel.
- Start the next course. As you build, hold the front of the block back about ¼-inch from the course below it.
- Use construction adhesive for corner blocks to ensure they’re stable and long-lasting.
- Glue the cap block to the wall blocks, squeezing a bead of construction adhesive along the block in front of the tongue and back of the tongue. Place the cap blocks on top.
- Connect the downspouts to a perforated pipe wrapped with landscape paper. Run them to the back of the wall and install a tee on the end. Run perforated pipe from the tee to the edges of the wall and backfill with gravel to promote drainage.
- Backfill the wall with the existing soil, grading a slight slope toward the wall to provide drainage.
- Fill the wall garden with plants, keeping them from being too close to the foundation. Lower plants, such as Oakleaf hydrangea, Green Mountain boxwoods, Delaware Valley azalea, Quickfire hydrangea, and Cunningham’s White rhododendron make excellent options.
- Apply mulch to the garden bed and enjoy.
Resources
Wall blocks provided by Unilock
Wall Blocks: Unilock’s Concord Wall Smooth
811 “Call Before You Dig” was contacted before any work was done.
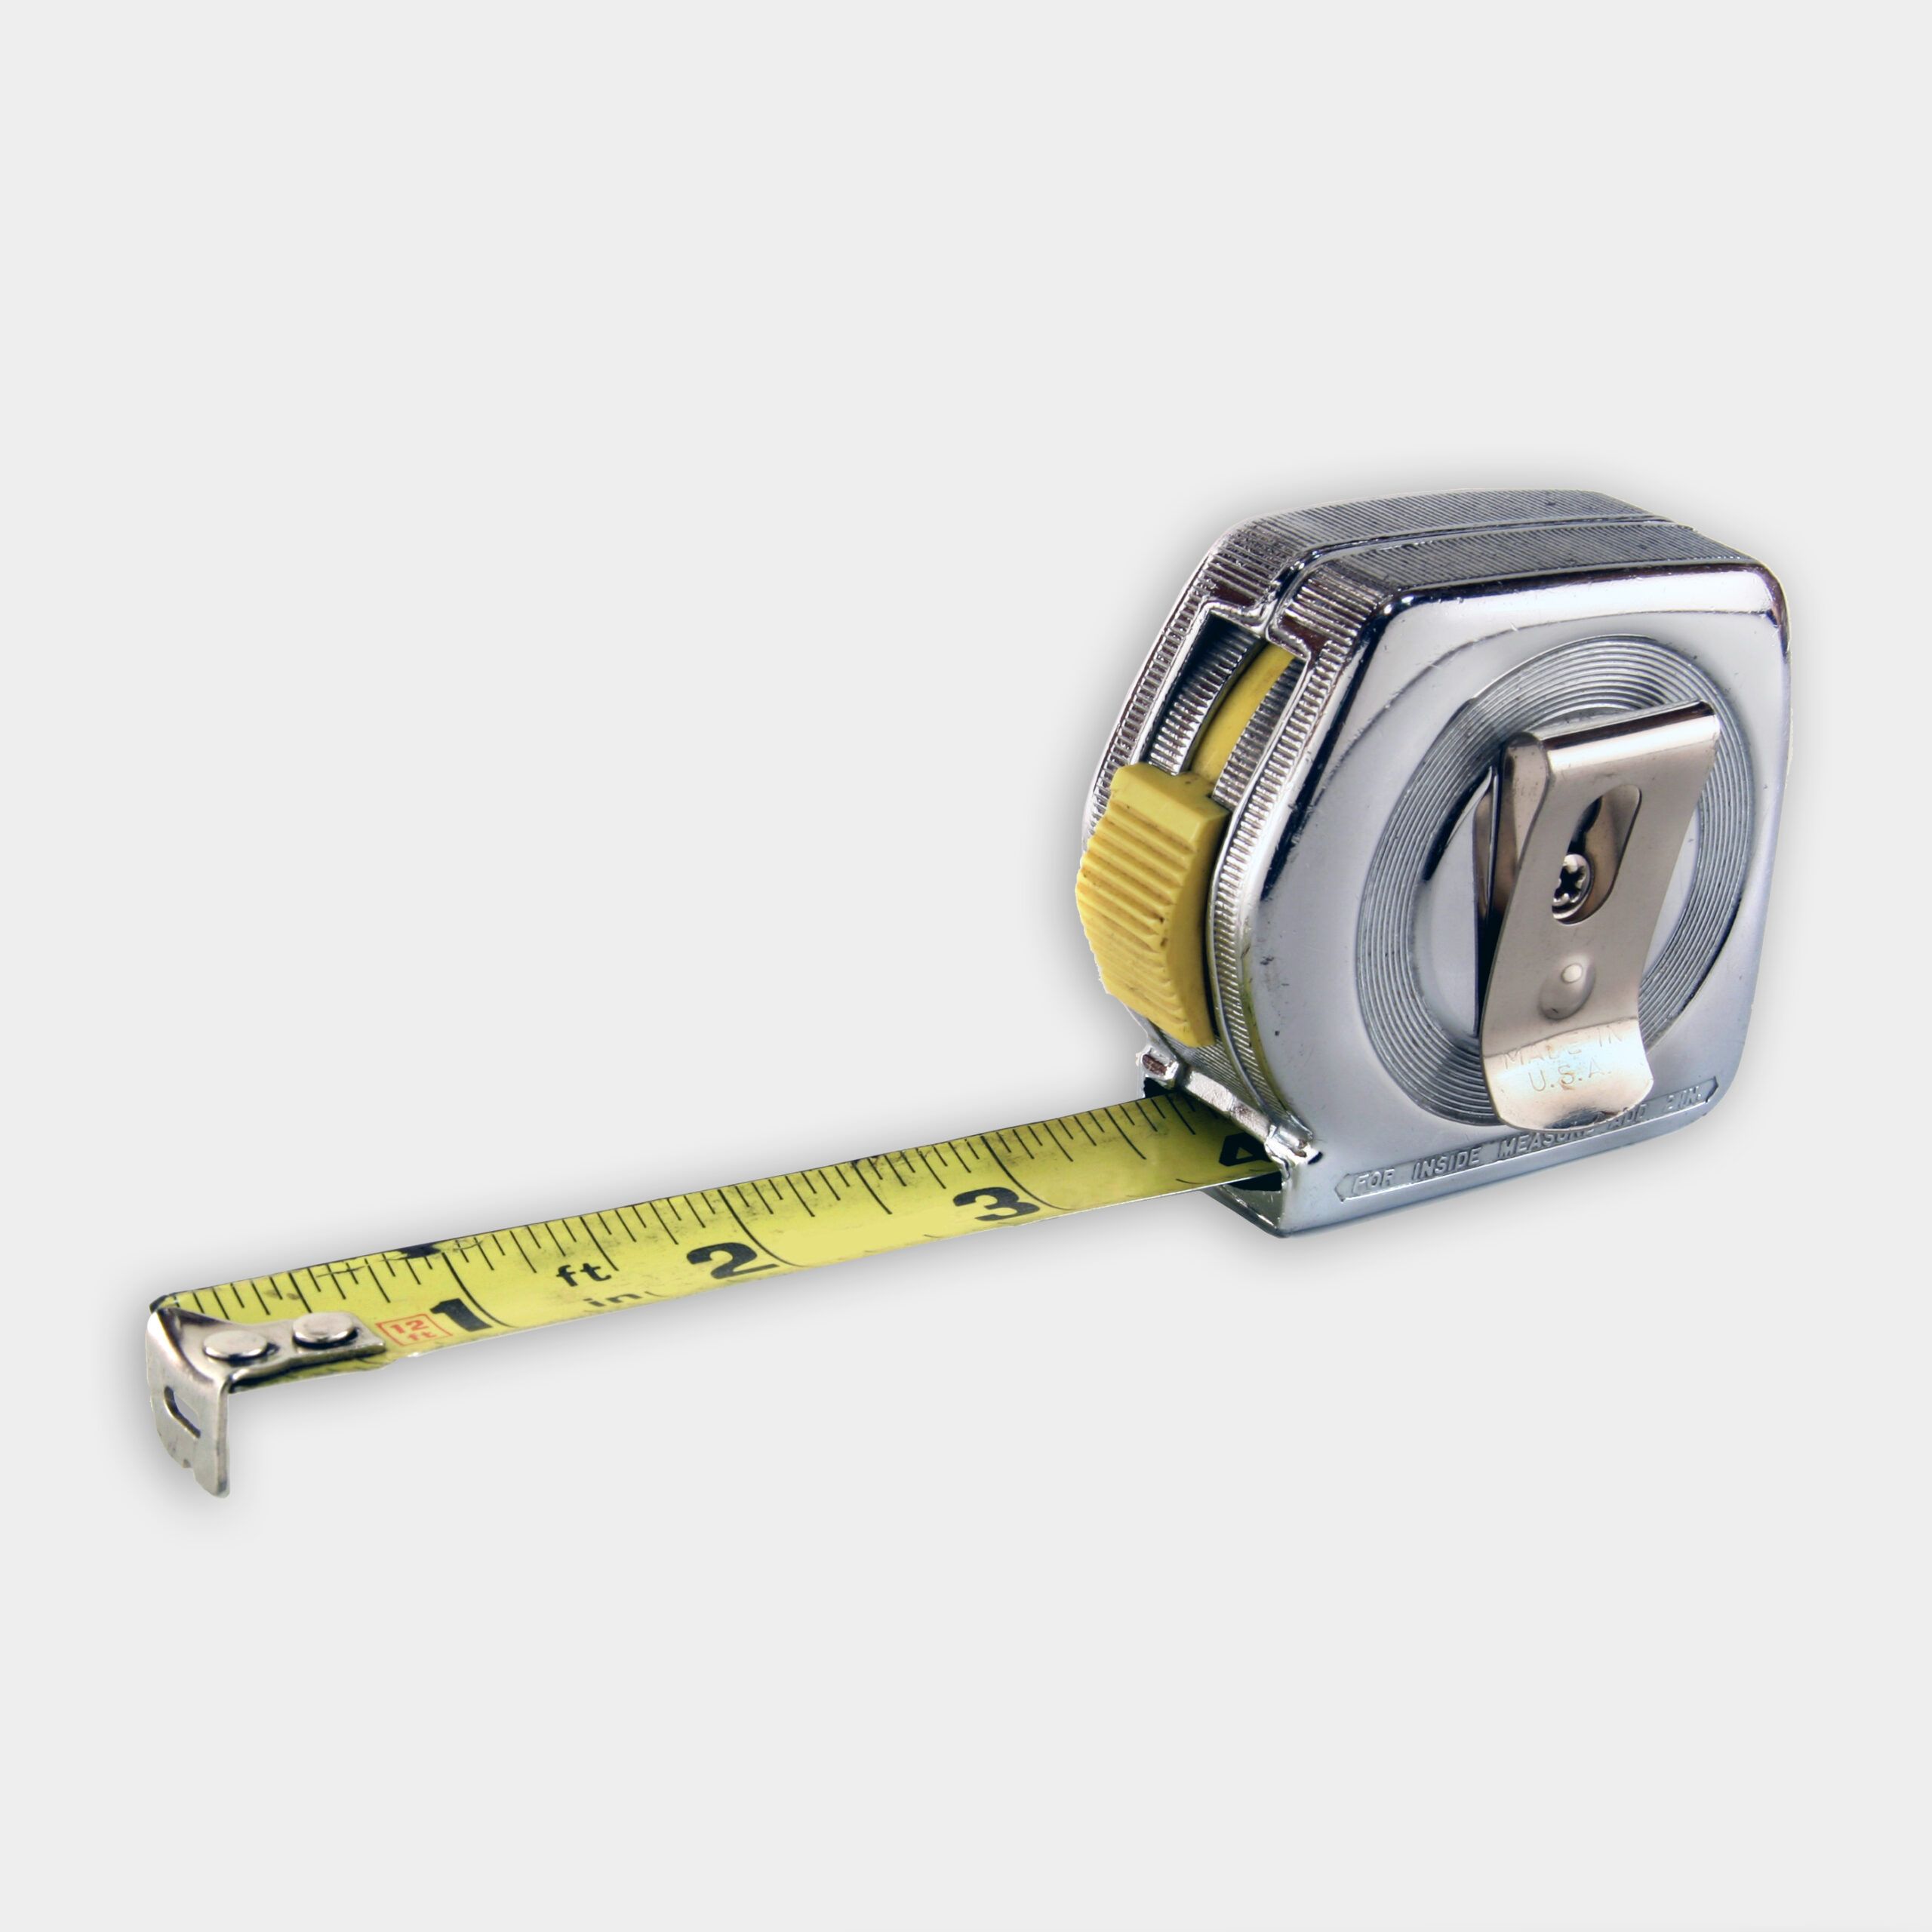
Jenn used a long tape measure to figure out the dimensions of the new wall. Then spray paint was used to mark where to dig for the footing of the wall.
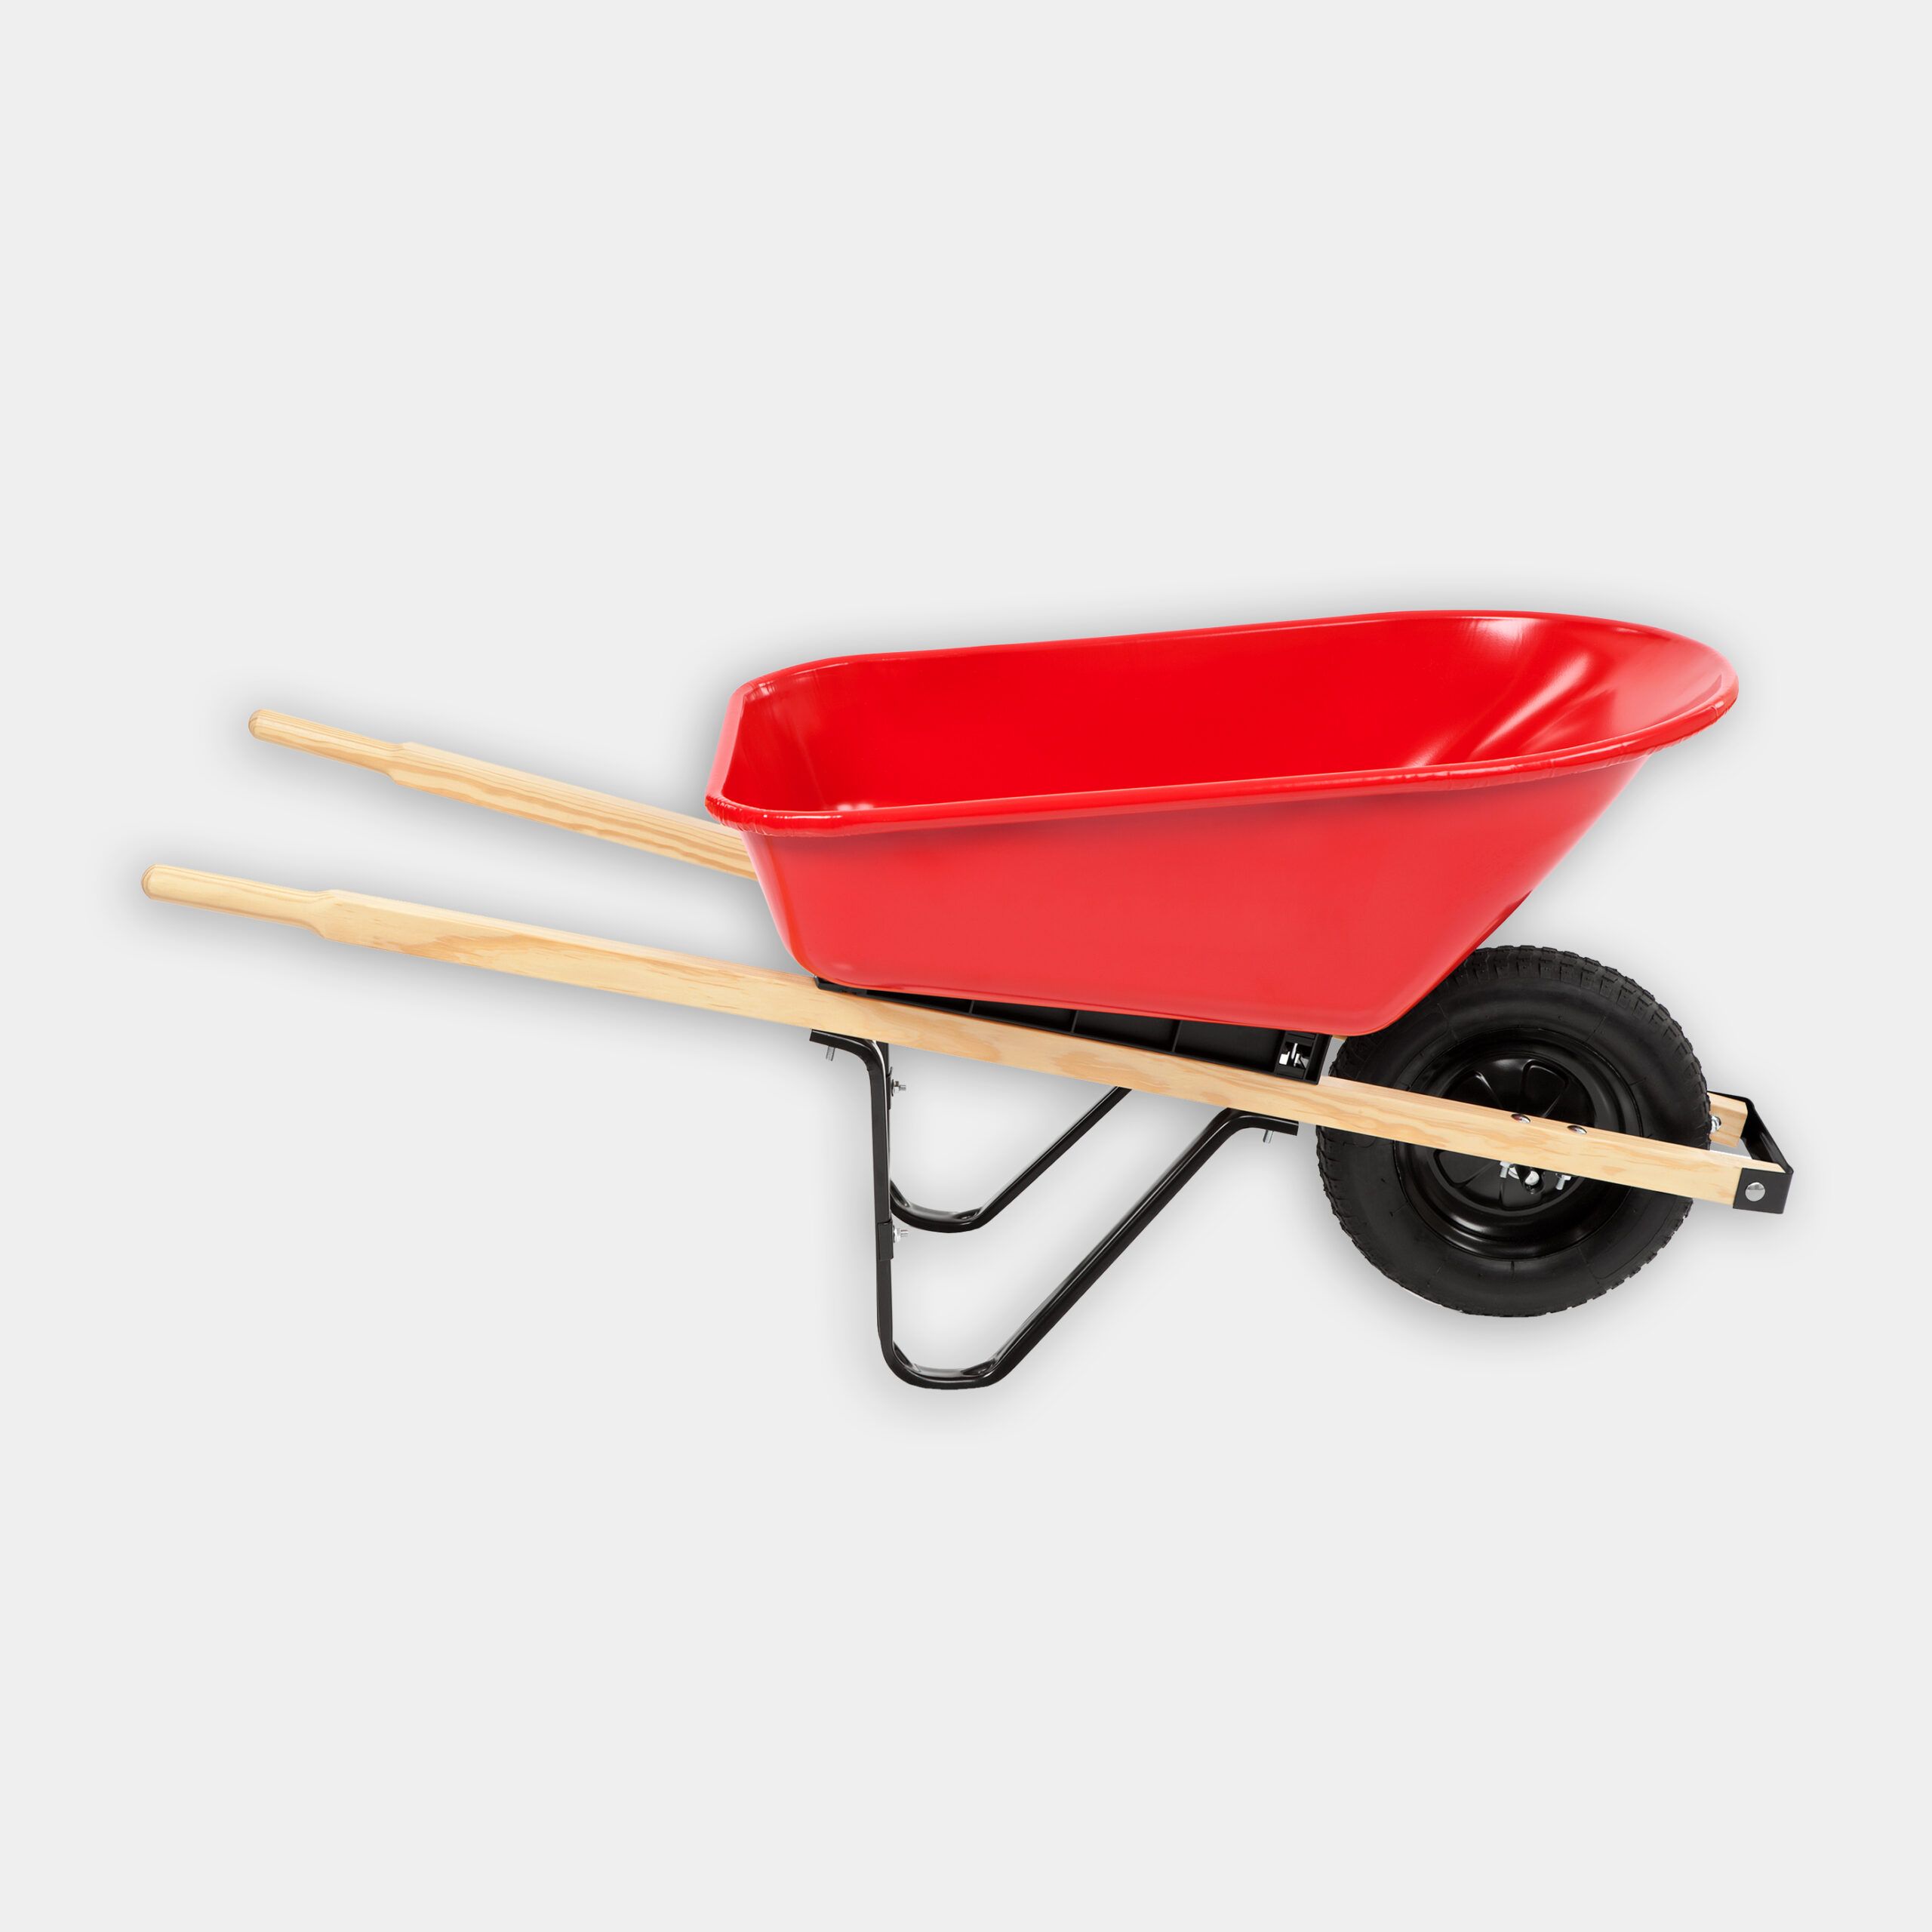
Mark used a mini excavator to regrade the garden bed and dig for the wall footing. The machine was used to make the work go by quicker, but shovels can also be used. Wheelbarrows were used to move dirt. Mark dug about 8 inches for the wall footing, but instructions for wall prep may differ based on the wall material manufacturer.
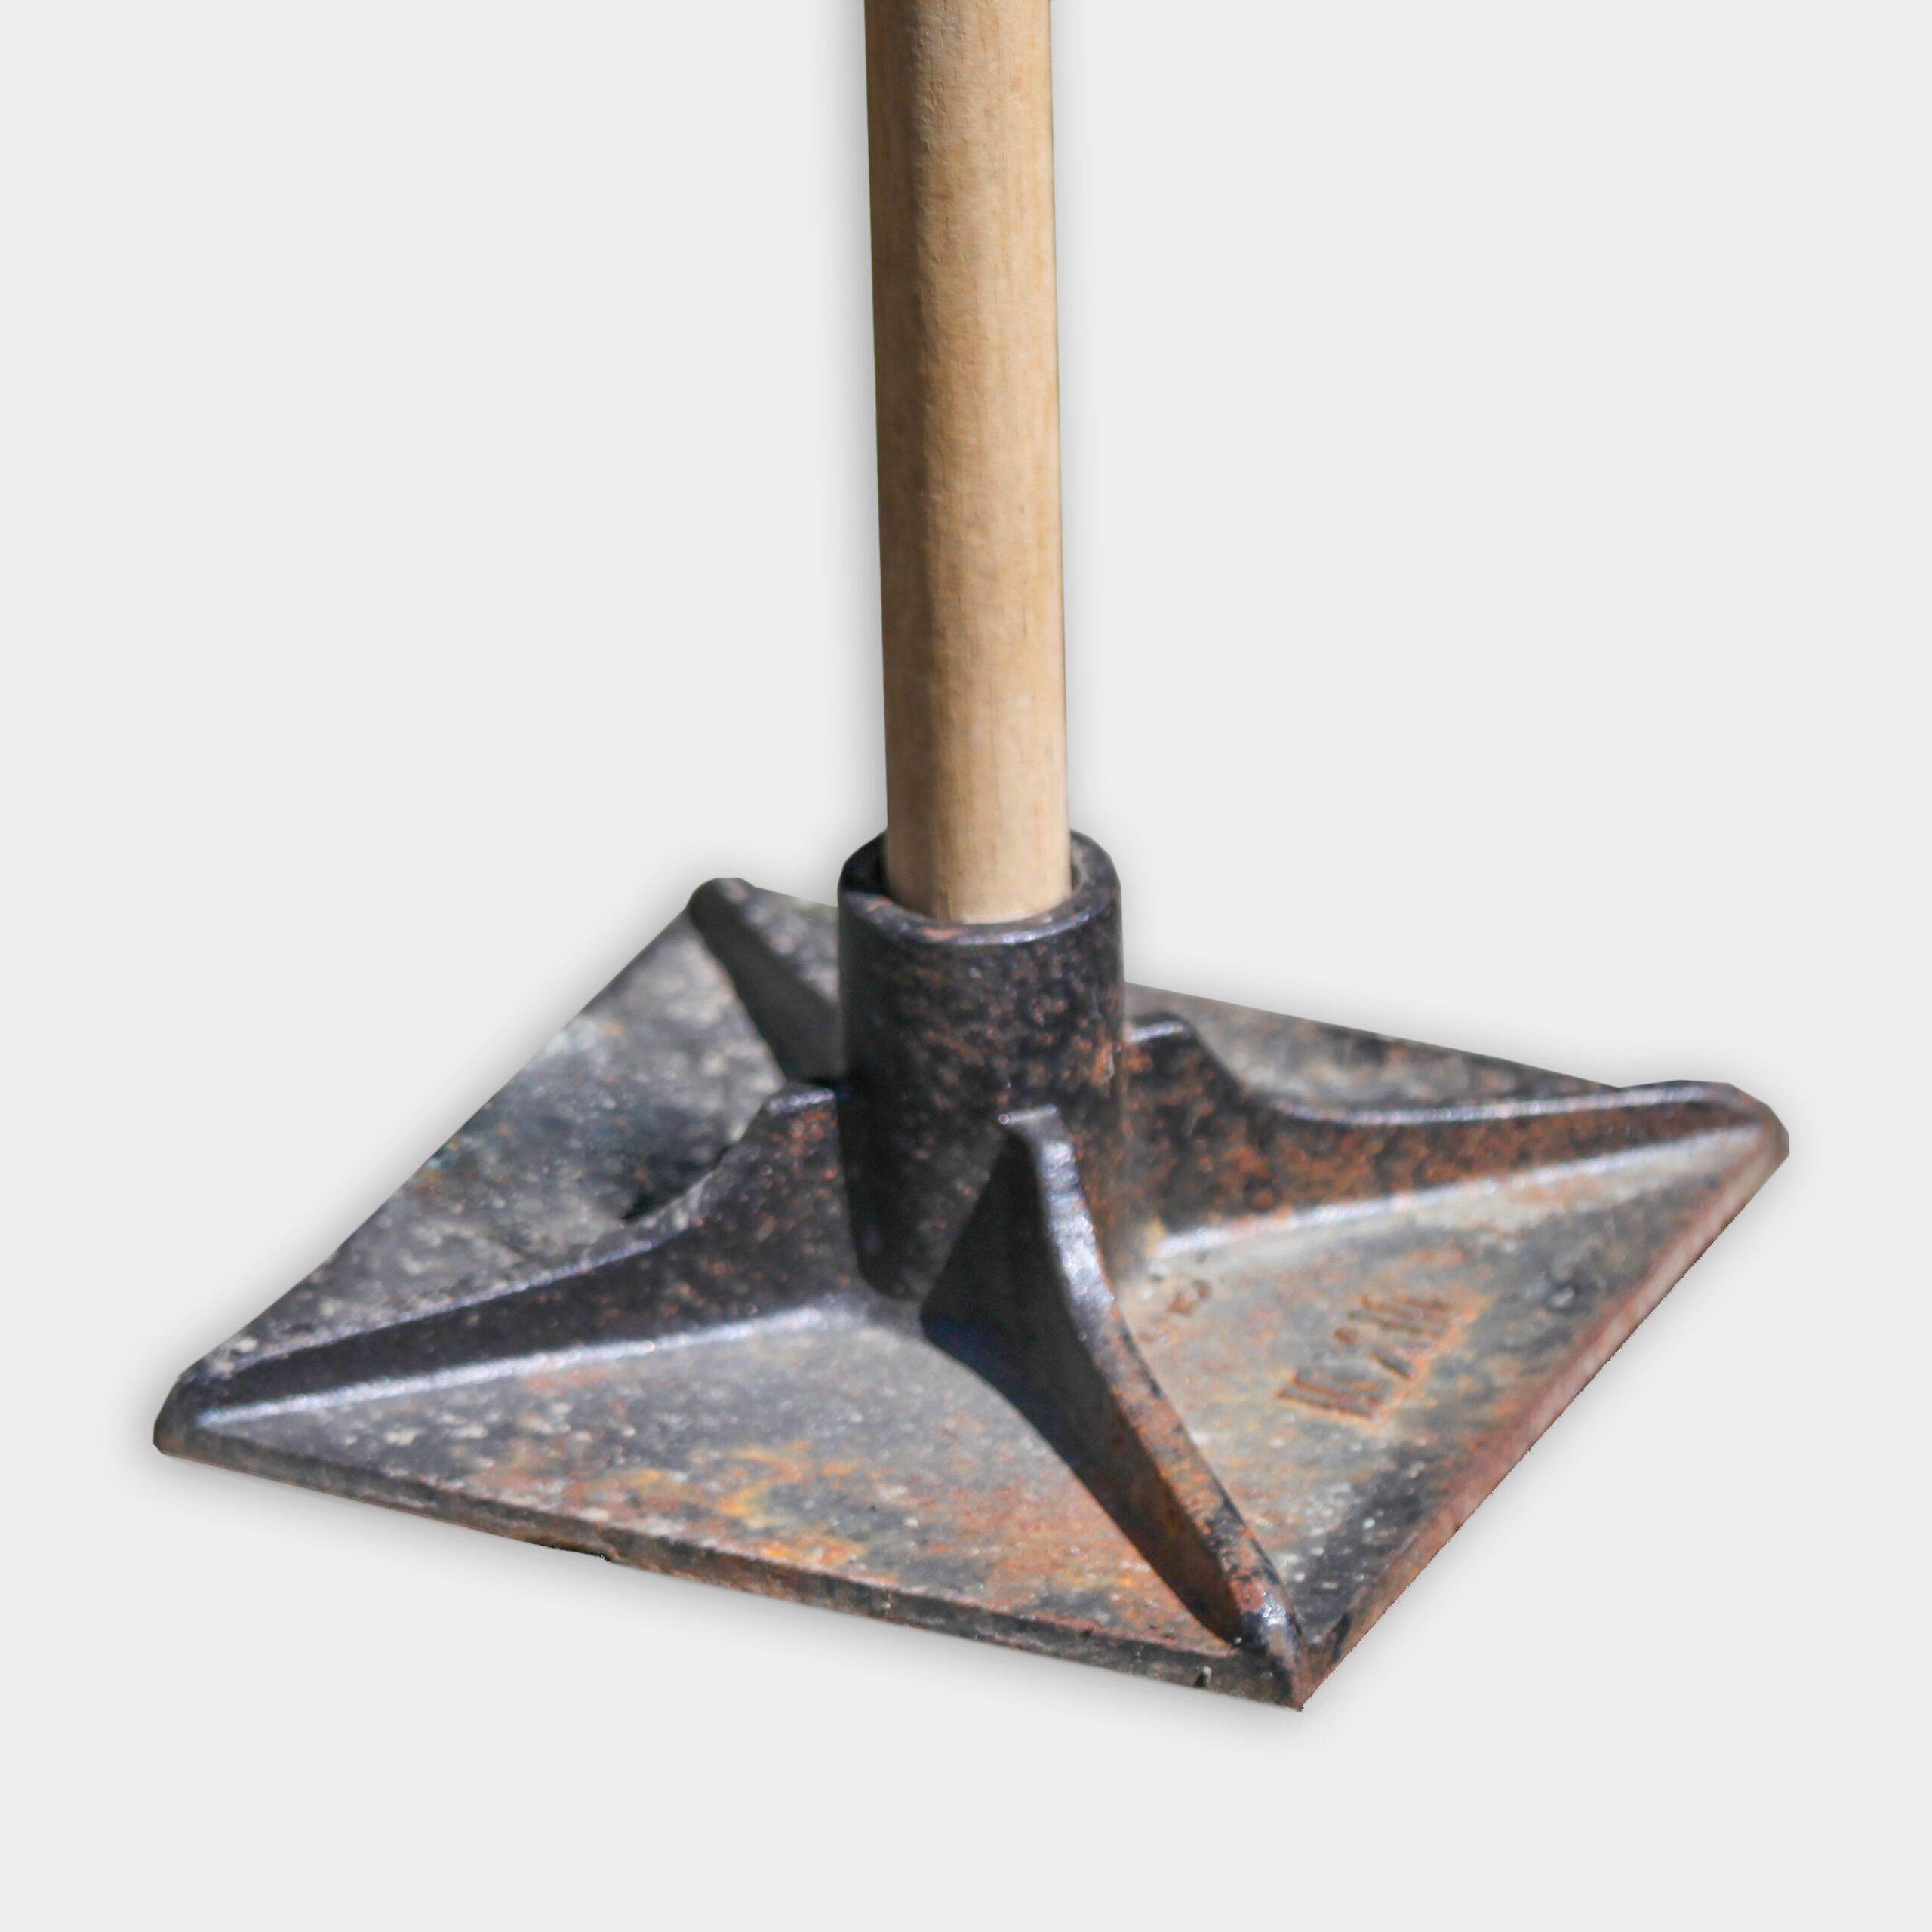
Hand tampers or a compactor can be used to compact the dirt down. About 6-8 inches of clear gravel was added for the wall base. Then a heavy-duty metal rake was used to spread it out.
Mark used two stakes to mark the two corners of the wall. The stakes were used to make sure the wall would be square to the foundation. Then he used string from stake to stake to represent the face of the wall. He used a line level to make sure the string was perfectly level. Then placed two benchmark blocks by each stake, using a torpedo level to make sure they were completely level. He then added a block every 6 feet, using a 6 foot level and mallet to shift the blocks into place.
Heavy duty construction adhesive was used on the corner and cap pieces of the wall.
For the drainage portion of the wall, Mark and Jenn used a 4” perforated pipe wrapped in drainage filter fabric. And downspout adapters to connect the pipe to the downspouts.
Jenn planted:
- Green Mountain Boxwoods
- Delaware Valley White Azaleas
- Little Quickfire Hydrangeas
- Cunningham’s White Rhododendron
- Oakleaf Hydrangea
Materials
- Marking paint
- Gravel
- Mason’s string
- Garden stakes
- Retaining wall block
- Cap blocks
- Perforated pipe
- Landscape fabric
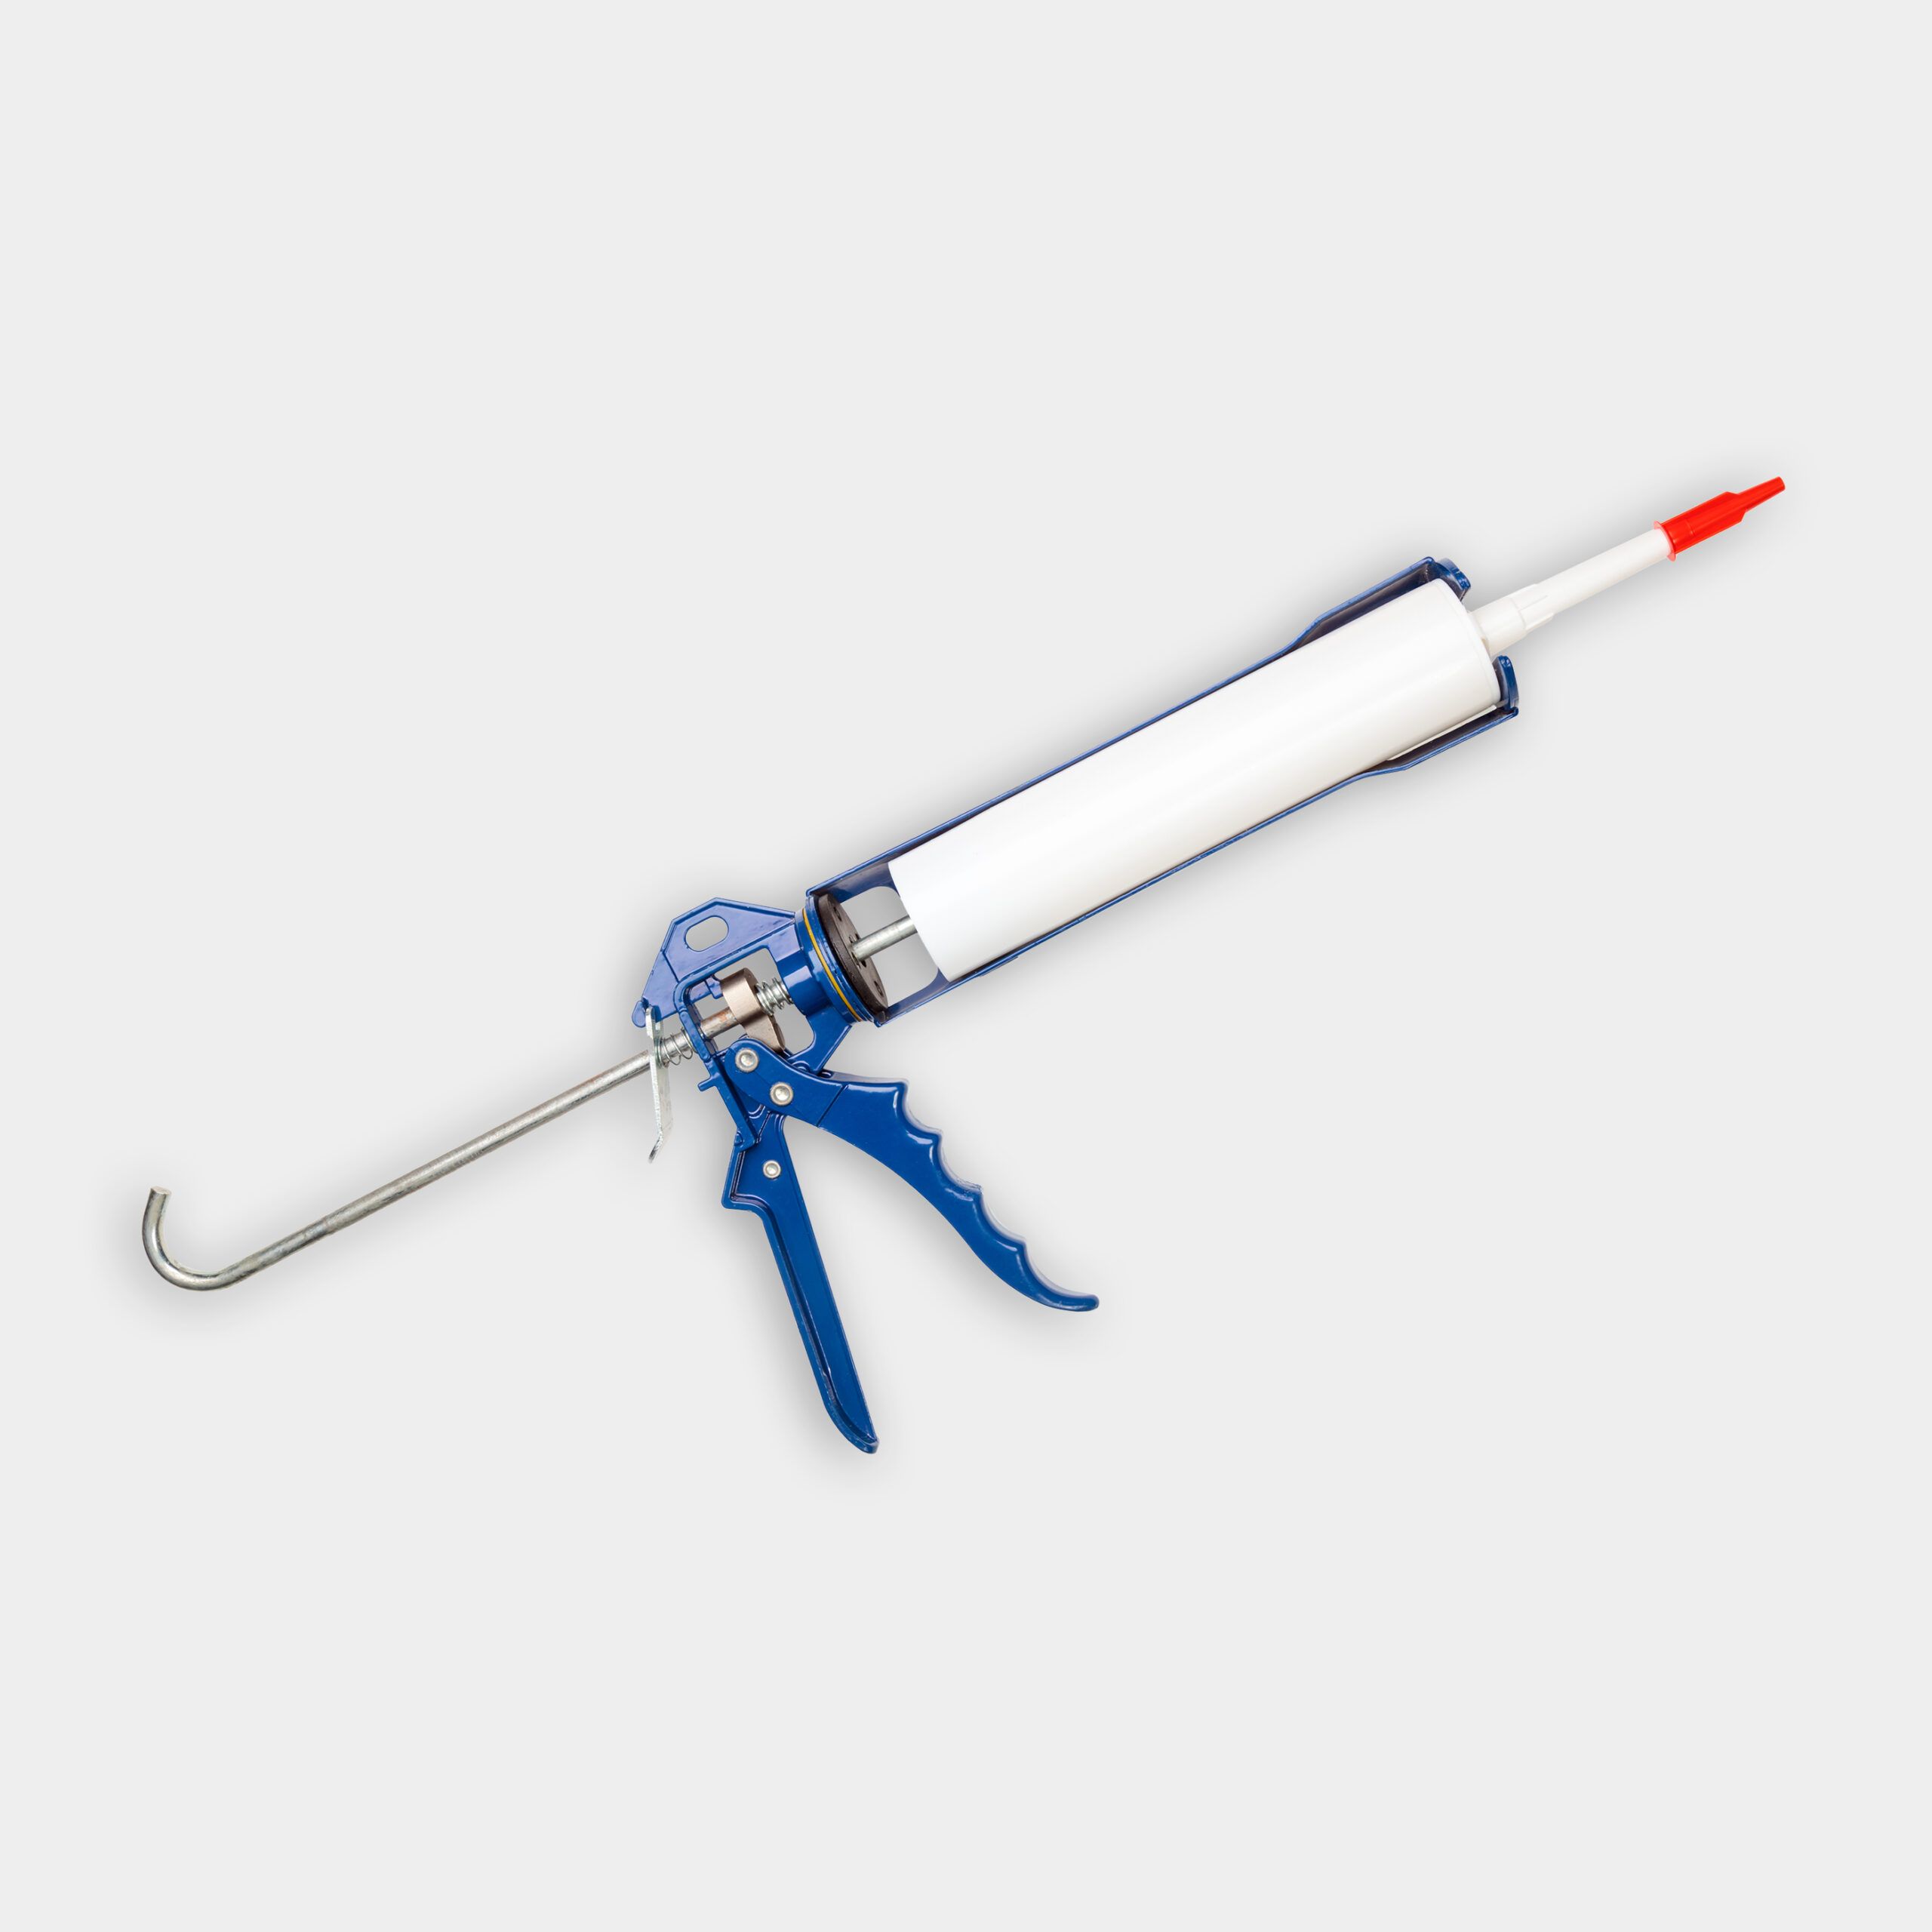
- Construction adhesive
- Downspout adaptors
- Mulch
Tools
If a lot of earth needs moving, you should consider renting an excavator.